Happy Valentine’s Day!
I’m so glad you’re here!
And I’m so excited to be sharing a cute little tutorial today!
You can make this as you spend Valentine’s Day in, or make it for the hot date you have tonight, or just because you want to! Any reason is good enough for me!

I’m not much of a jewelry person. You can usually find me in my wedding ring, sometimes earrings, sometimes a watch, sometimes a bracelet, and very rarely a necklace.
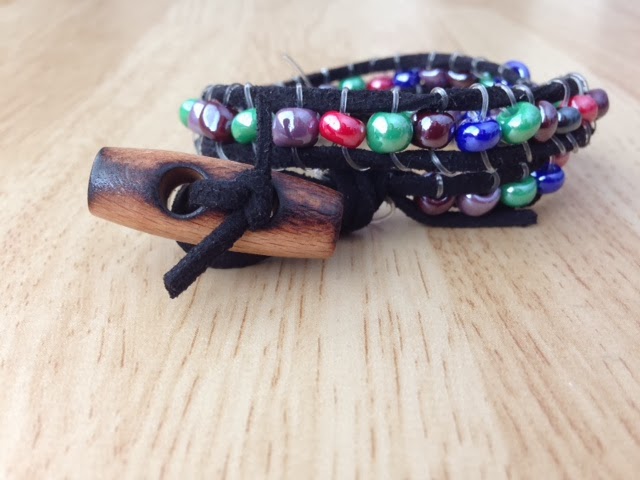
I have a few pieces of go-to jewelry and one of my very favorite bracelets my friend Tiff made for me. Well I thought that I’d show you how to make it. The fun part about this bracelet too is that you can make it as long as you want and have it wrap around your wrist as many times as you want. The one Tiff made me wraps around 4 times. The one I made only wraps twice so it just depends on how you want it to look.
You’ll need:
-a bunch of beads (mine are about a quarter inch in diameter, I forgot to save the packaging so I can’t tell you exact)
-2 strands of thicker string (I used some strips of suede)
-1 very long strand of clear floss, which will be used to wrap around the other strands and through the beads
-Button or toggle to finish
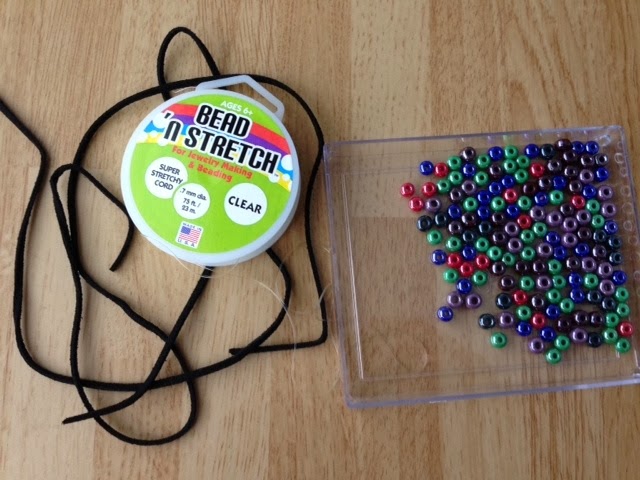
Once you have everything I put some beads in a little container for easy threading.

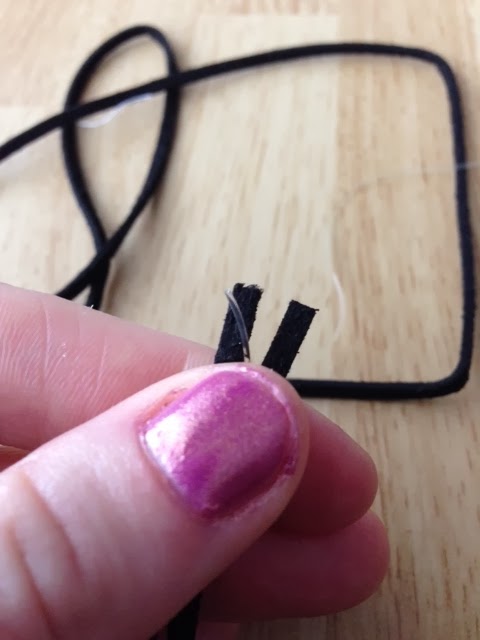
Next take your two thicker pieces of thread and your clear thread which needs to be a lot longer, like 3 times longer than the rest, maybe even more just for good measure. The thicker strands need to be as long as you want your bracelet plus a little extra for finishing and a knot. (If you want it to wrap around 4 times then it needs to be a lot longer than mine.)
Put the 3 strands next to each other.
Then tie a knot with all three, leaving a loop where the bracelet will fasten.
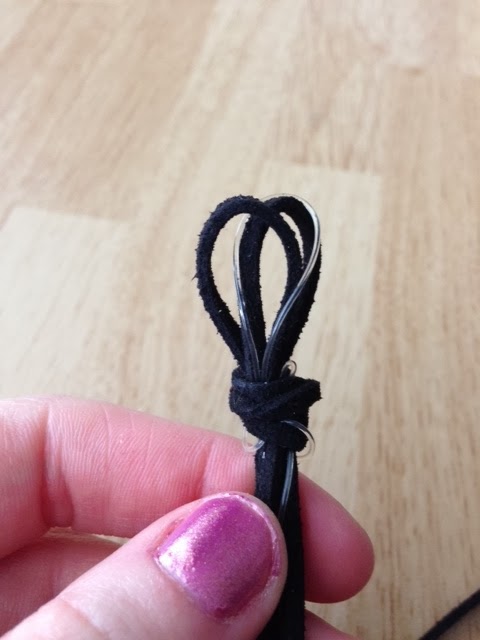
Then anchor it to something that’ll keep it in place while you add beads to it. Turns out my sewing machine was heavy enough to keep it in place.

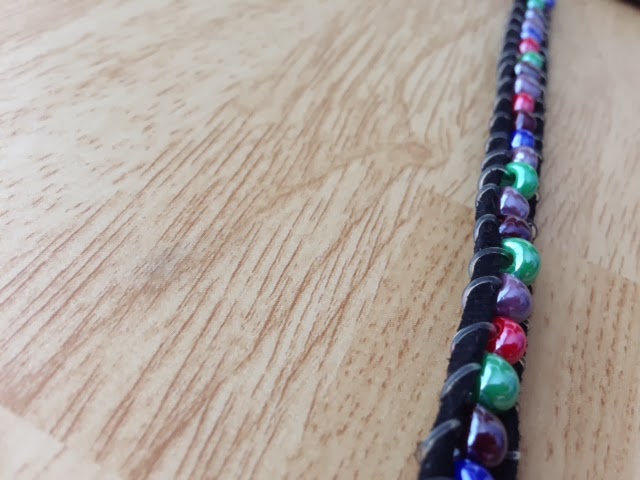
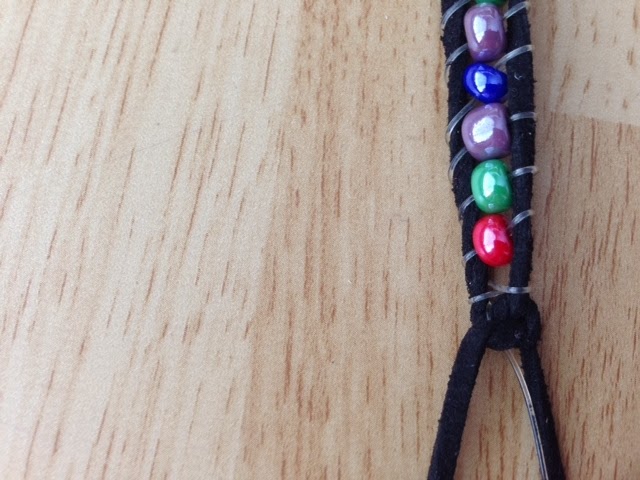
Then we are going to start beading. I started showing you after I had done a few but you start it the same way.

First you start with the clear thread on top of the large thread on the left.
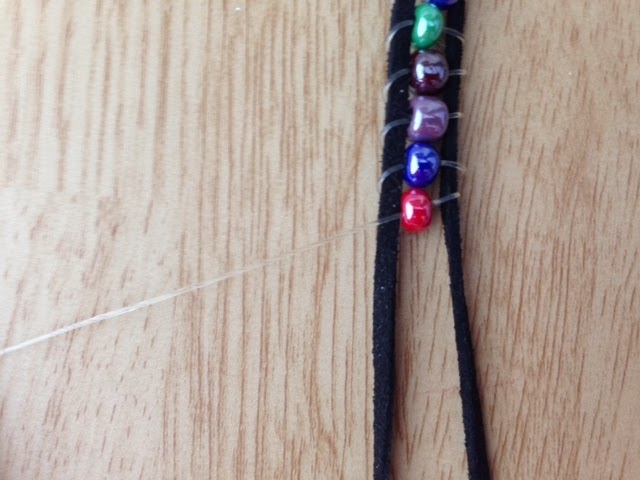
Flip it underneath the left thread.
Add a bead and then put the thread on top of the right side of larger thread.
Making sure the bead stays in the middle of the two larger threads, wrap the clear thread under and around the right larger thread.

Then put the clear thread back through the bead, putting the end of the clear thread through the right of the bead to the left.

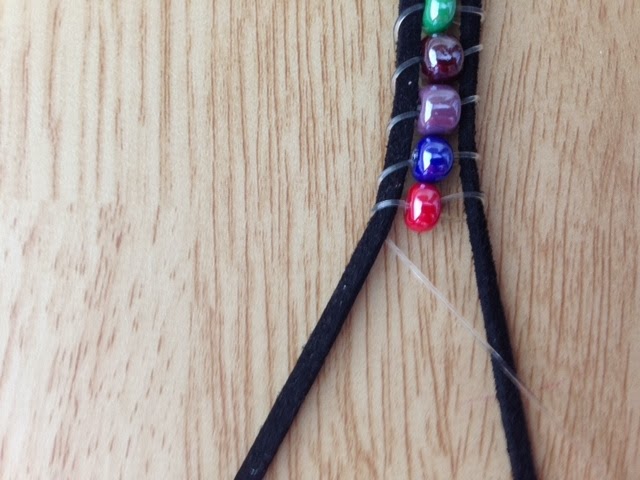
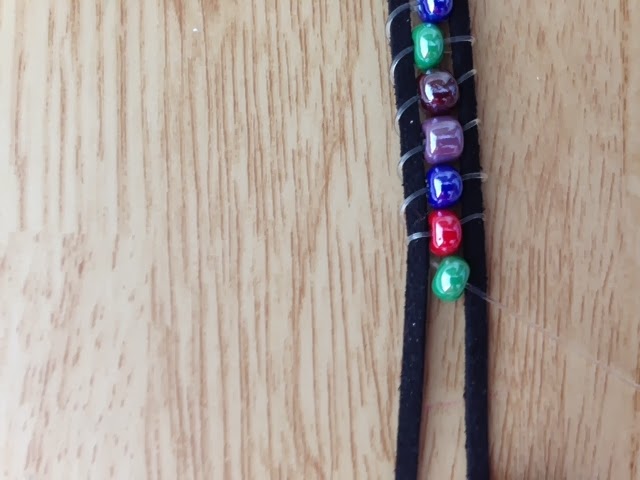
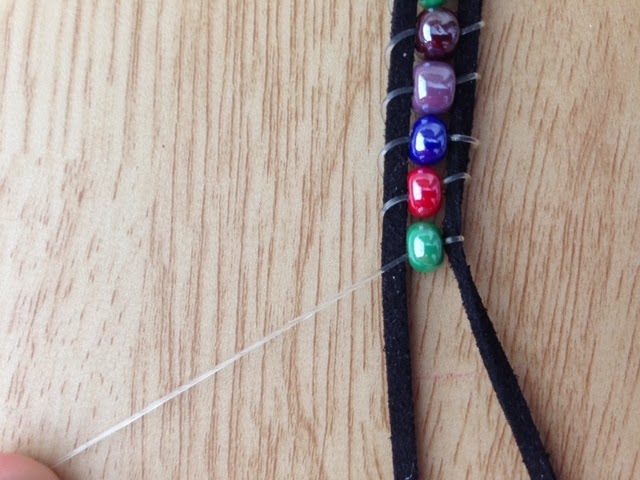
Pull tight and start with the clear thread on top and you’re DONE with this bead. Repeat wrapping the clear thread, and adding beads until it is the desired length.
(I just kept the pattern of “on top, wrap under, bead”)
It took me awhile, especially since I had little hands helping me inspect every bead.
But it sure looks cool when it is done!

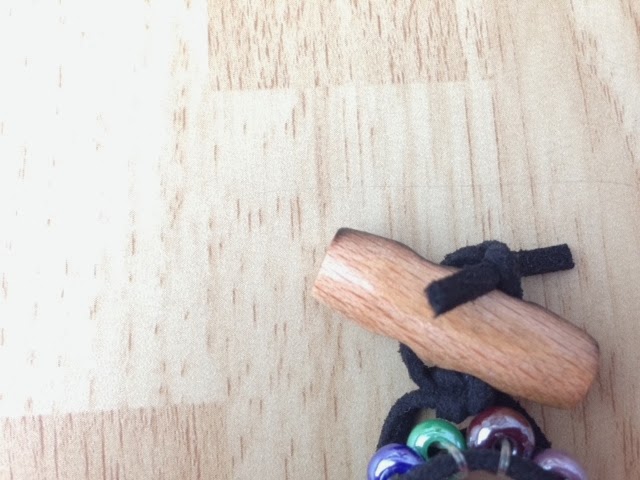
To finish I tied some knots at the very end.
Then I add a toggle. Or a button or whatever that’ll fit in the knot at the beginning.
Then you’re DONE! Wrap it around and have fun!
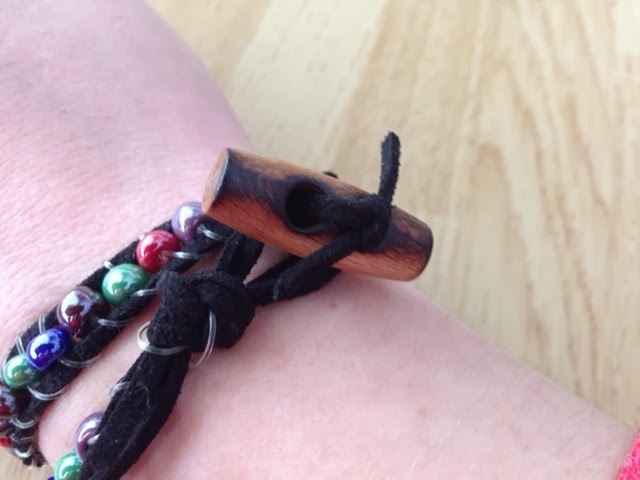
Doesn’t it look awesome!?

Make as many as you want, and have fun with colors, and lengths!