Freezer paper is my new best friend. Well I guess an old friend that I recently reconnected with.
Freezer paper is seriously the coolest thing ever that I have only used once for the purpose it was created for ha!
Anyway here is why it is so awesome!
Also don’t mind the bowl of cereal/treats she was having a rough day teething and this is the only way she would sit and smile for me!
Disclaimer: I honestly don’t really watch football, BUT I love going and watching eating food, and hanging with friends during the superbowl. With that being said, I also feel a little conflicted (ok not really) because I claim Washington as home but I have actually lived in Colorado longer than I have Washington. Anyway I’m taking a side and that side is… The Seahawks if you haven’t figured that one out yet. Sorry all my Bronco fan friends. You can still use this tutorial for a Bronco logo… just sayin.
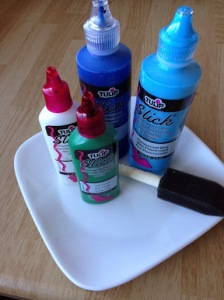
You’ll need:
Freezer paper (And it MUST be freezer paper, wax paper will NOT work, trust me I’ve tried haha)
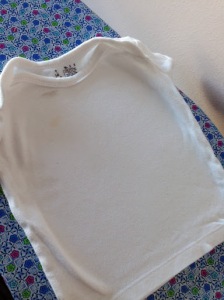
T-shirt (or other fabric to transfer the design)
Designs cut from the freezer paper
Iron
Fabric paint
Sponge Brush
Paper Towels
Ok here is how it works.
I got these designs from off of Silhouette’s website. For Christmas I got a Silhouette Cameo and I stinking love it! But you can cut out any image you want using freezer paper. Before I got my Silhouette I would print off a design, trace it on some freezer paper and then use an exact-o knife to cut it out. Either way works great.
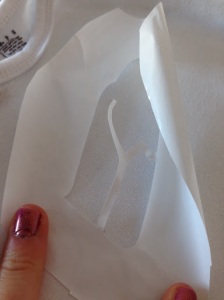
(Its kinda hard to see but that is the Seahawks Logo cut out in freezer paper.)
Then iron the area where the design will go. Creases, fold, and bumps don’t work so well when adding the freezer paper.) This is an old shirt that had a couple little stains on it so it worked perfect, too bad they weren’t going to be right where the design would be.
Next set up the design where you want it go on your shirt or fabric.
Now there are two sides to freezer paper. One side is super smooth and shiny, the other side feels like, well paper, and it isn’t shiny. Before ironing make sure the shiny side is down. (If you put the shiny side up it will stick to your iron and that is no fun.)
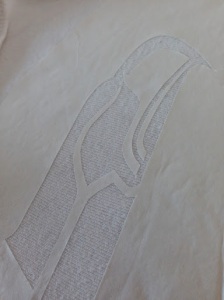
Then simply iron each design on. My shirt was 100% cotton so my iron was on high heat. Whatever your material is, make sure that the iron setting is set to go with your fabric. You need just enough heat to fuse that wax on the shiny side of the paper to the shirt.
I did mine piece by piece to make sure everything would line up correctly.
Then you should have something like this when all the designs ironed on.
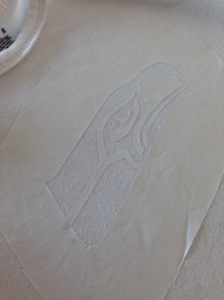
Now I’m going to use the fabric paint but I don’t want the paint to soak through to the back so I added a couple paper towels inside the shirt, under the pattern.
Now with a sponge brush and fabric paint, and a bowl if you want to mix colors. (I was going to and then decided I like just the red.)
Then just dab on the color all over the designs. Be careful where the colors go if the design has more than one color.
Then when the design is all painted wait until it is dry then peel off the freezer paper.
(Or if you are impatient like me you can peel it off when it is wet BUT you have to be a little more careful when you are trying to pull up the sides of each shape to peel it off. Good Luck!)
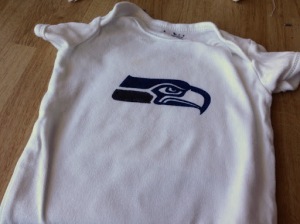
Finished! I also took a blow dryer to mine to get it to dry faster.
Next I wanted to show from another design I did what NOT to do vs. what to DO.
The picture on the left is another design where the sponge brush was a little wet when I put on the paint and then dabbed it on. In the middle of the design see where it looks like the paint bled? Well thats because it did because of the excess water on my brush.
The Seahawks design on the right i made sure my brush was completely dry before I used it and when I washed it out to switch colors.


Add it to all sorts of things shirts, bags, pillow cases… So many possibilities!
Enjoy!!