So tessellations have always intrigued me so I figured my first tutorial post I’d post about them!
I did this as one of my senior art projects in college and really enjoyed doing it mostly because of my math background (I have a BA in Math Education and a minor in Art Education.)
First, what the heck is a tessellation?
o Oxford American Dictionaries definition: Mathematics, cover (a plane surface) by repeated use of a single shape, without gaps or overlapping.
o Short Tessellation history.
Tessellations are thousands of years old and can be found all over the world in a variety of cultures and in a variety of forms. They can be traced all the way back to the Sumerian civilization (about 4000 B.C.) in which the walls of homes and temples were decorated by designs of tessellations constructed from slabs of hardened clay. Not only did these tessellations provide decoration but they also became part of the structure of the buildings. Since then, tessellations have been found in many of the artistic elements of wide-ranging cultures including the Egyptians, Moors, Romans, Persians, Greek, Byzatine, Arabic, Japanese, and Chinese. (History taken from
http://library.thinkquest.org/16661/history.html)
OK now on to the fun stuff. There are 3 different types of tessellations, or in other words you can tessellate in 3 different ways.
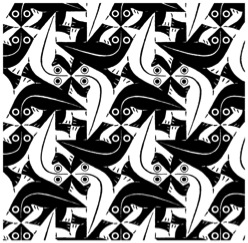
Rotating
 |
| This is not an example of my own, but one I found online through google. |
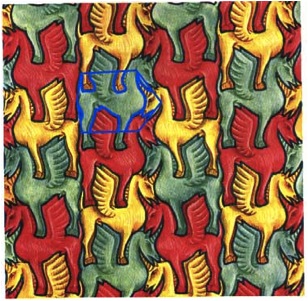
Flipping/Mirroring (this one also uses a little sliding)
 |
| This is not an example of my own, but one I found online through google. |
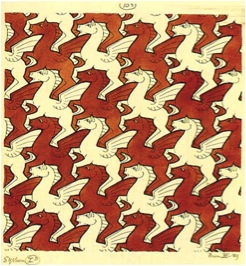
Sliding
 |
| This is not an example of my own, but one I found online through google. |
Today I just wanted to show you one. Maybe later I’ll show you how to do the other two. Although I have not created a Flipping/Mirroring one on a grand scale like the other two yet.
 |
|
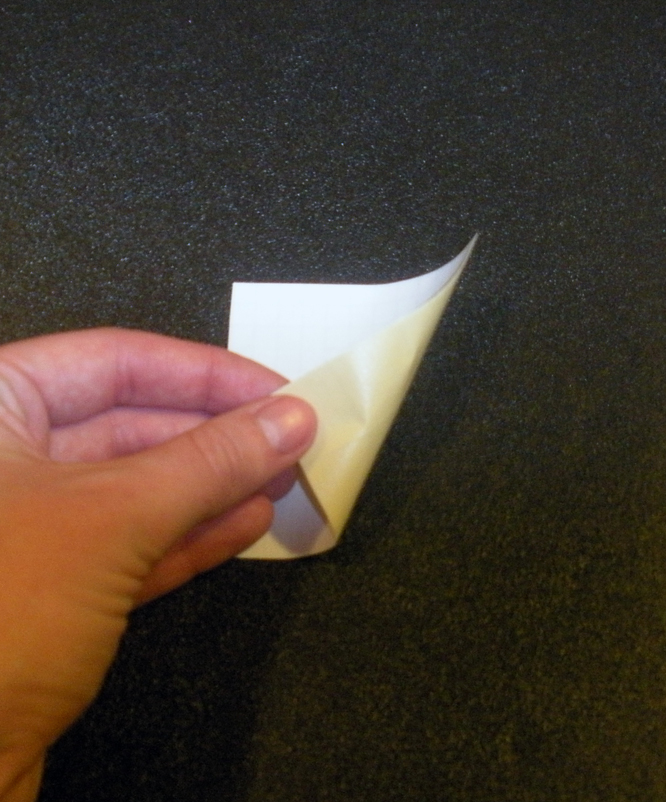
Using a piece of graph paper, apply tape to make it slightly thicker, this will help later when tracing the shape. You’ll want graph paper for the grid, it’ll help you later on.
|
 |
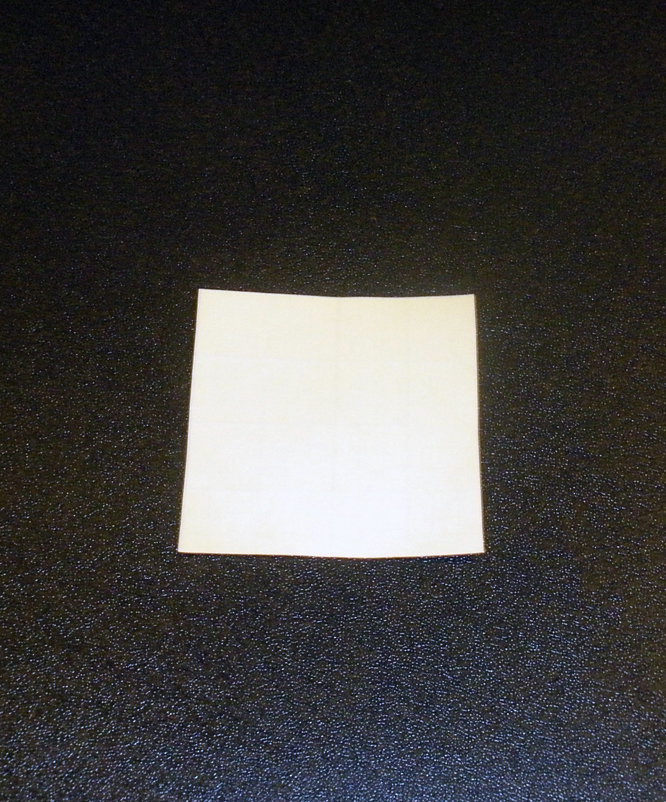
| Next start with drawing and cutting a square out of the taped area on the graph paper. Note: there are many other shapes you can start with, like diamonds, rectangles, triangles and more but for this example we will use a square. |
 |
| This is what the back will look like. |
 |
|
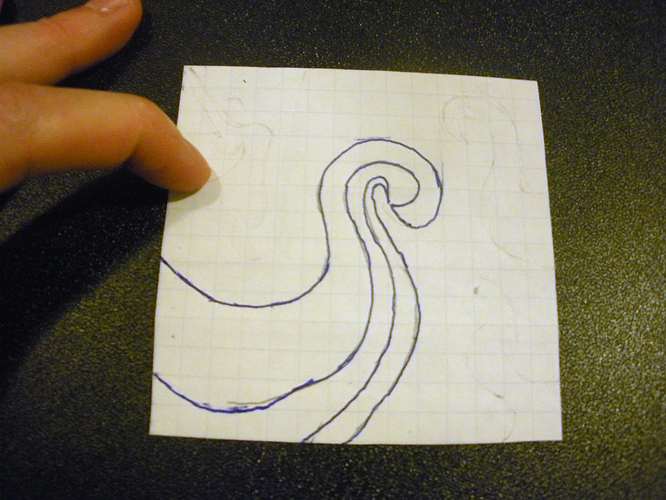
1. Next draw a design on the square that connects to the sides. (I drew two shapes on this on since it was the beginning to save time).
|
 |
|
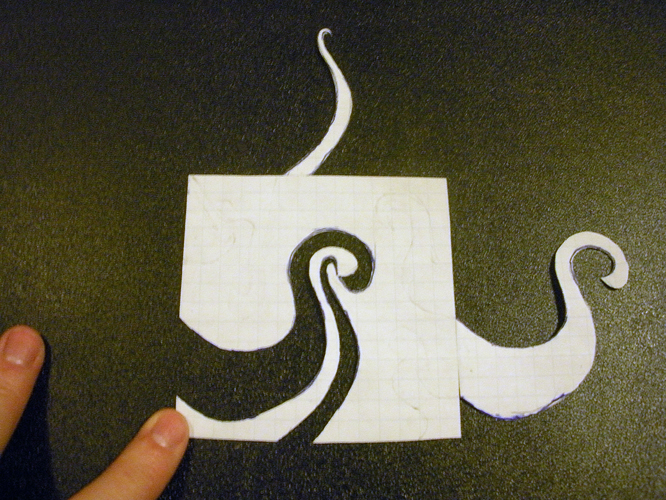
Cut out the shape and transfer directly across the square lining up the lines on the graph paper. Ex: the first shape I cut from the bottom side, so I’ll transfer to the opposite side, the top.
|
 |
|
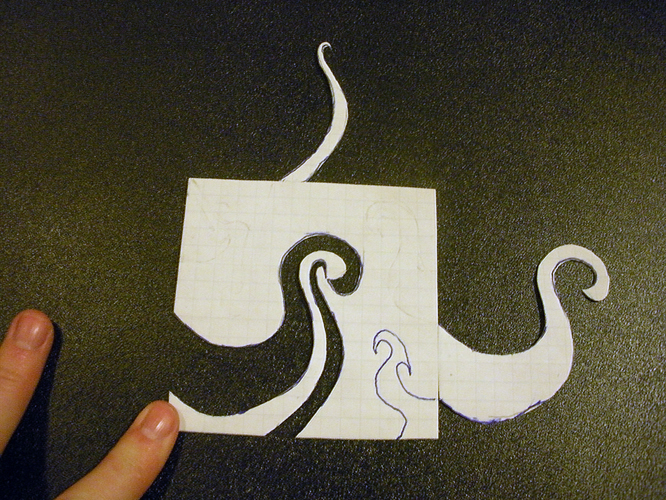
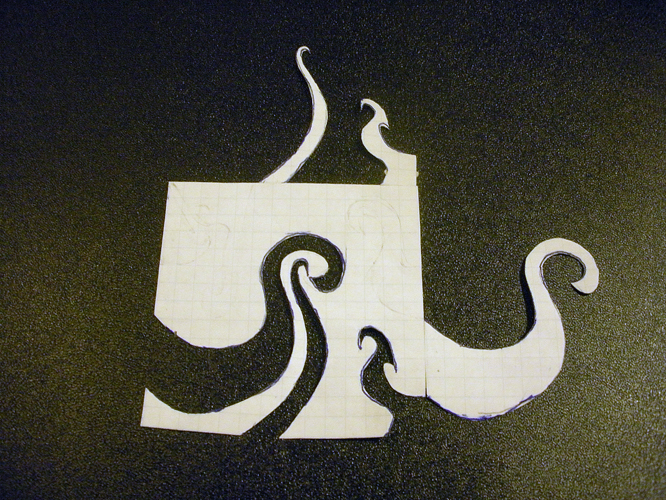
Then cut out the next shape and transfer to the opposite side. Notice that the shapes were transferred to different sides, because the sides that the shape connected with when drawn were two different sides. This shape I cut from the left side so I transferred to the right side.
|
 |
|
Now you can draw another shape adding more of a variety to your overall image.
|
 |
|
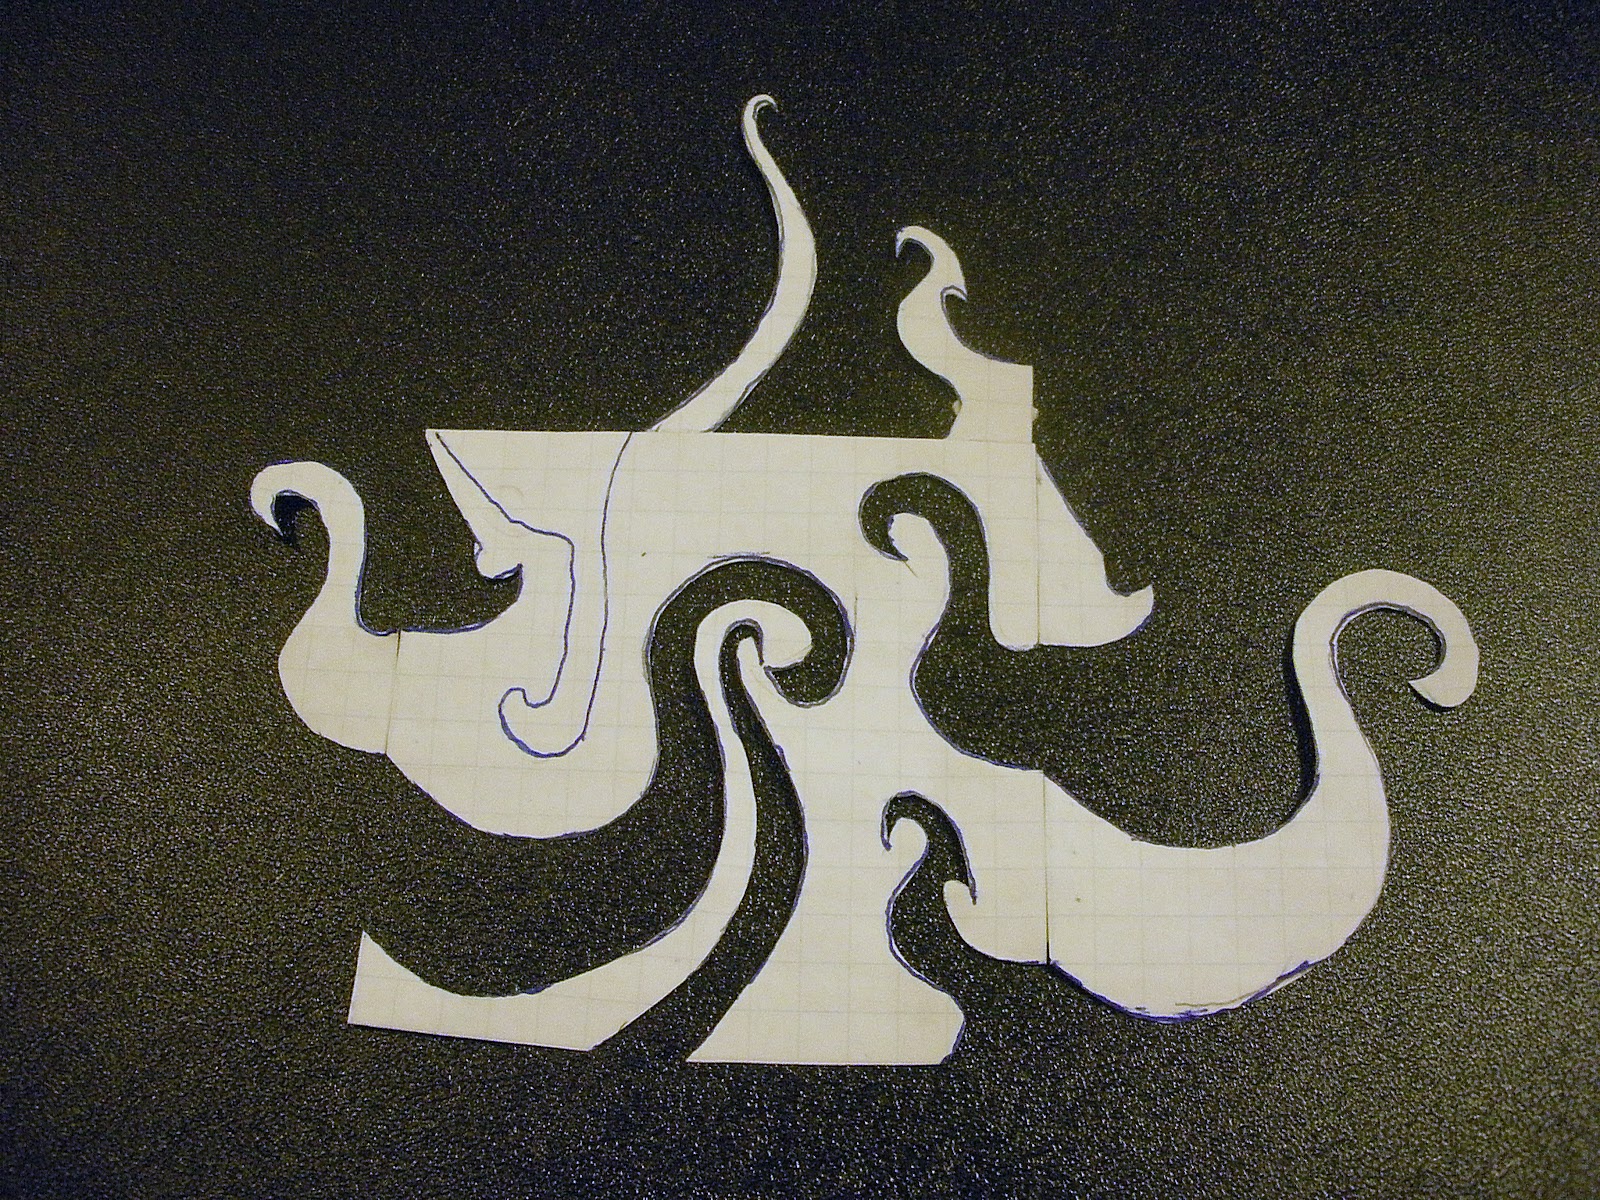
Again cut out your shape and transfer to the opposite side. However on this shape that was just drawn it is on a corner so you could either transfer it on the top right corner or you could transfer it to the lower left corner, either way it will still work.
|
 |
| Continue to draw, cut and move pieces until you are satisfied with your shape. Tip: to make your shape look less like a square (or the original shape you started with) draw your next shape where another shape had been transferred. |
 |
|
I kept going with a few more shapes.
|
 |
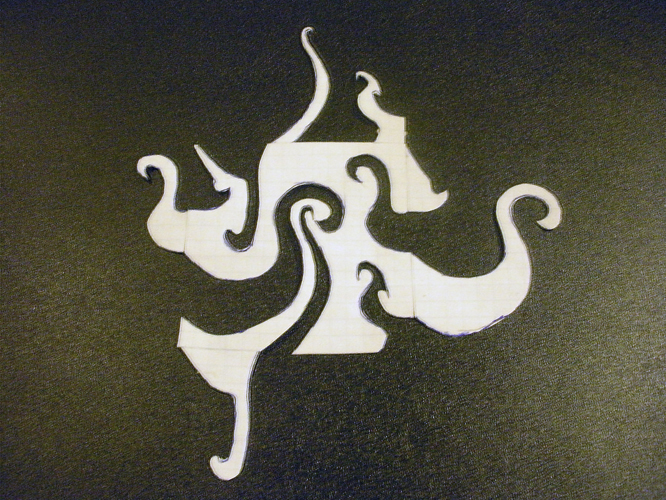
| This is what my finished piece looked like. |
 |
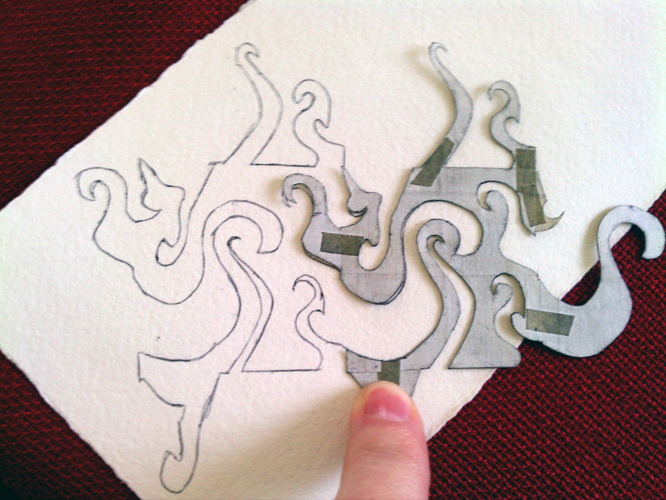
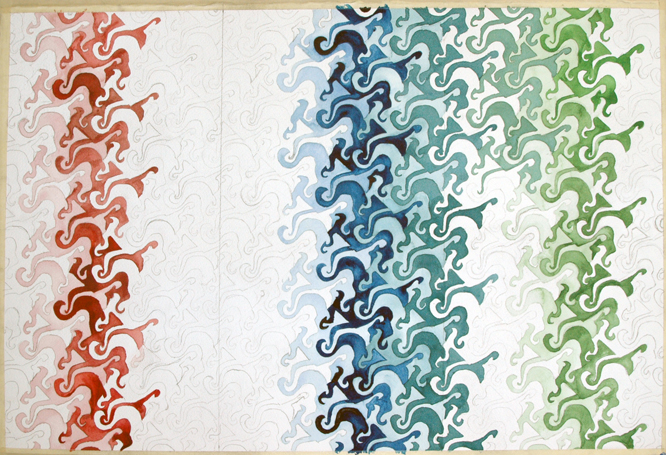
| Now starts the tracing! This can be tricky only because the more intricate the shape the more error you can have. A piece like mine, even though we reinforced it with tape, will still be slightly flimsy, so BE PATIENT when tracing and start in the middle of your paper to most of the errors will be on the very outside, and less noticeable.
To start tracing, trace your shape once, then SLIDE it until it connect up to the first traced image, Then do it again and again until you have your whole paper covered. |
 |
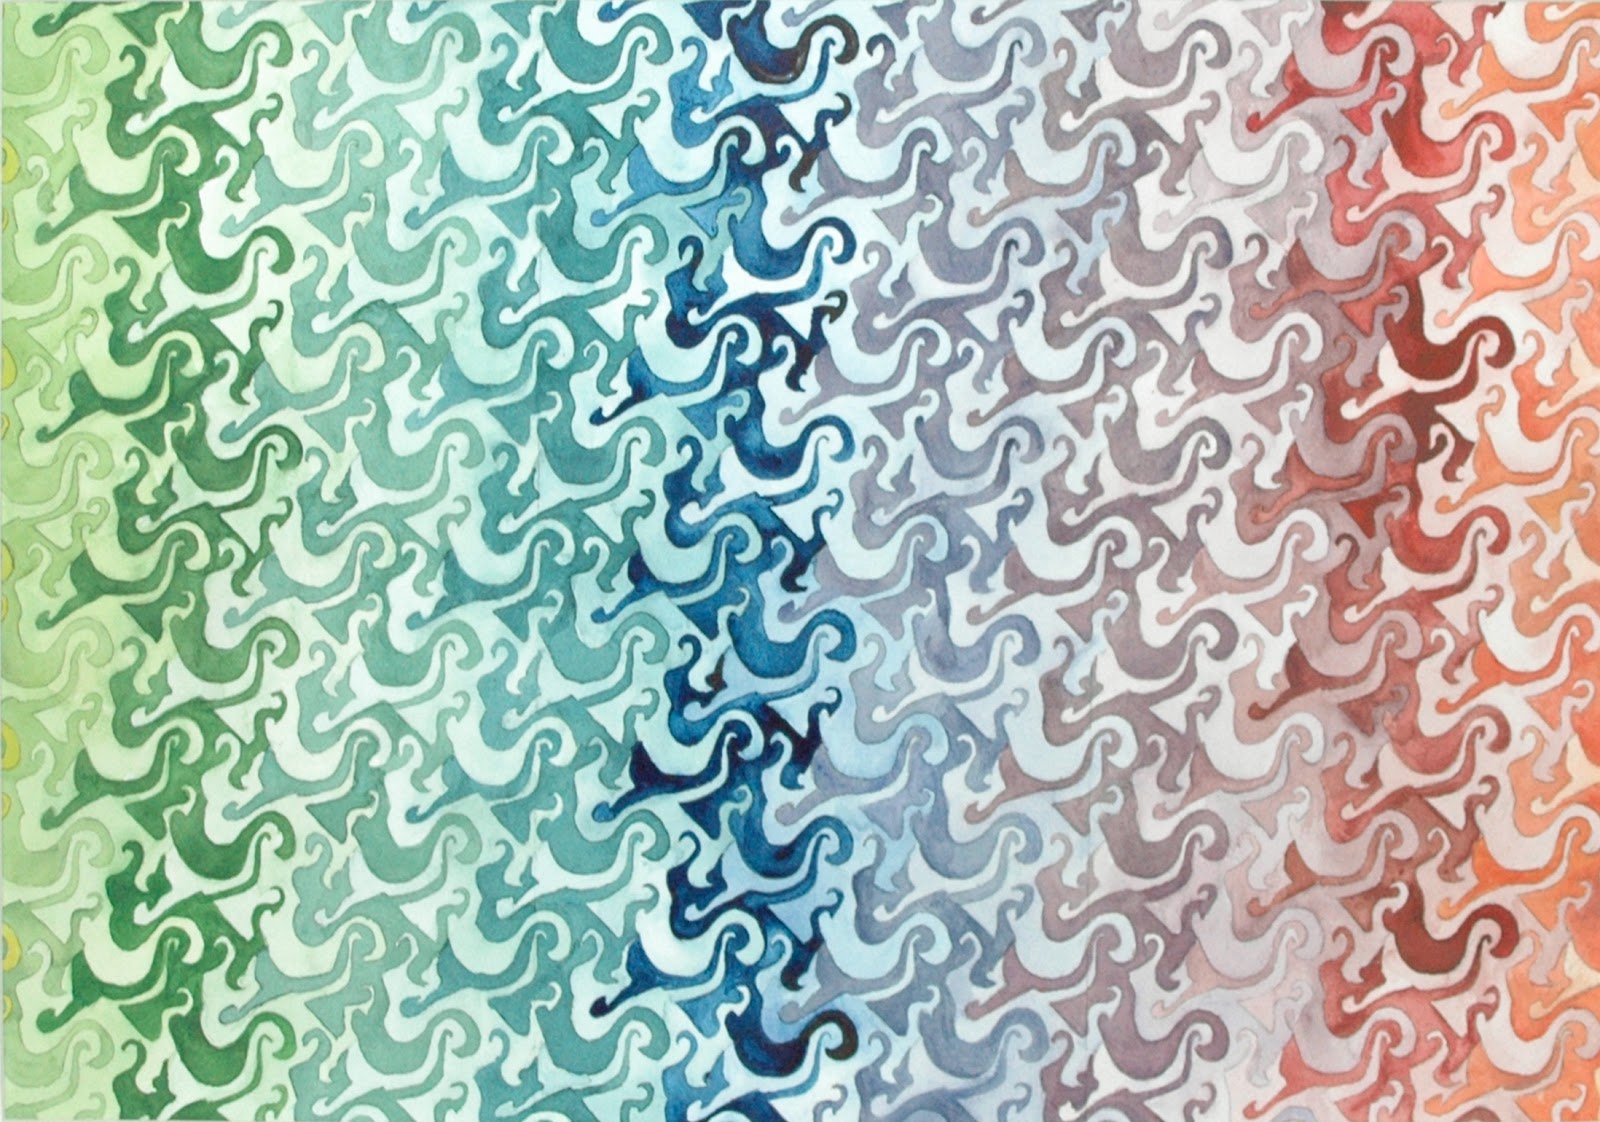
| This is what is should look like when you are done tracing. |
 |
| I used watercolors, but any medium will work that can work in detail, colored pencils, painting… whatever |
 |
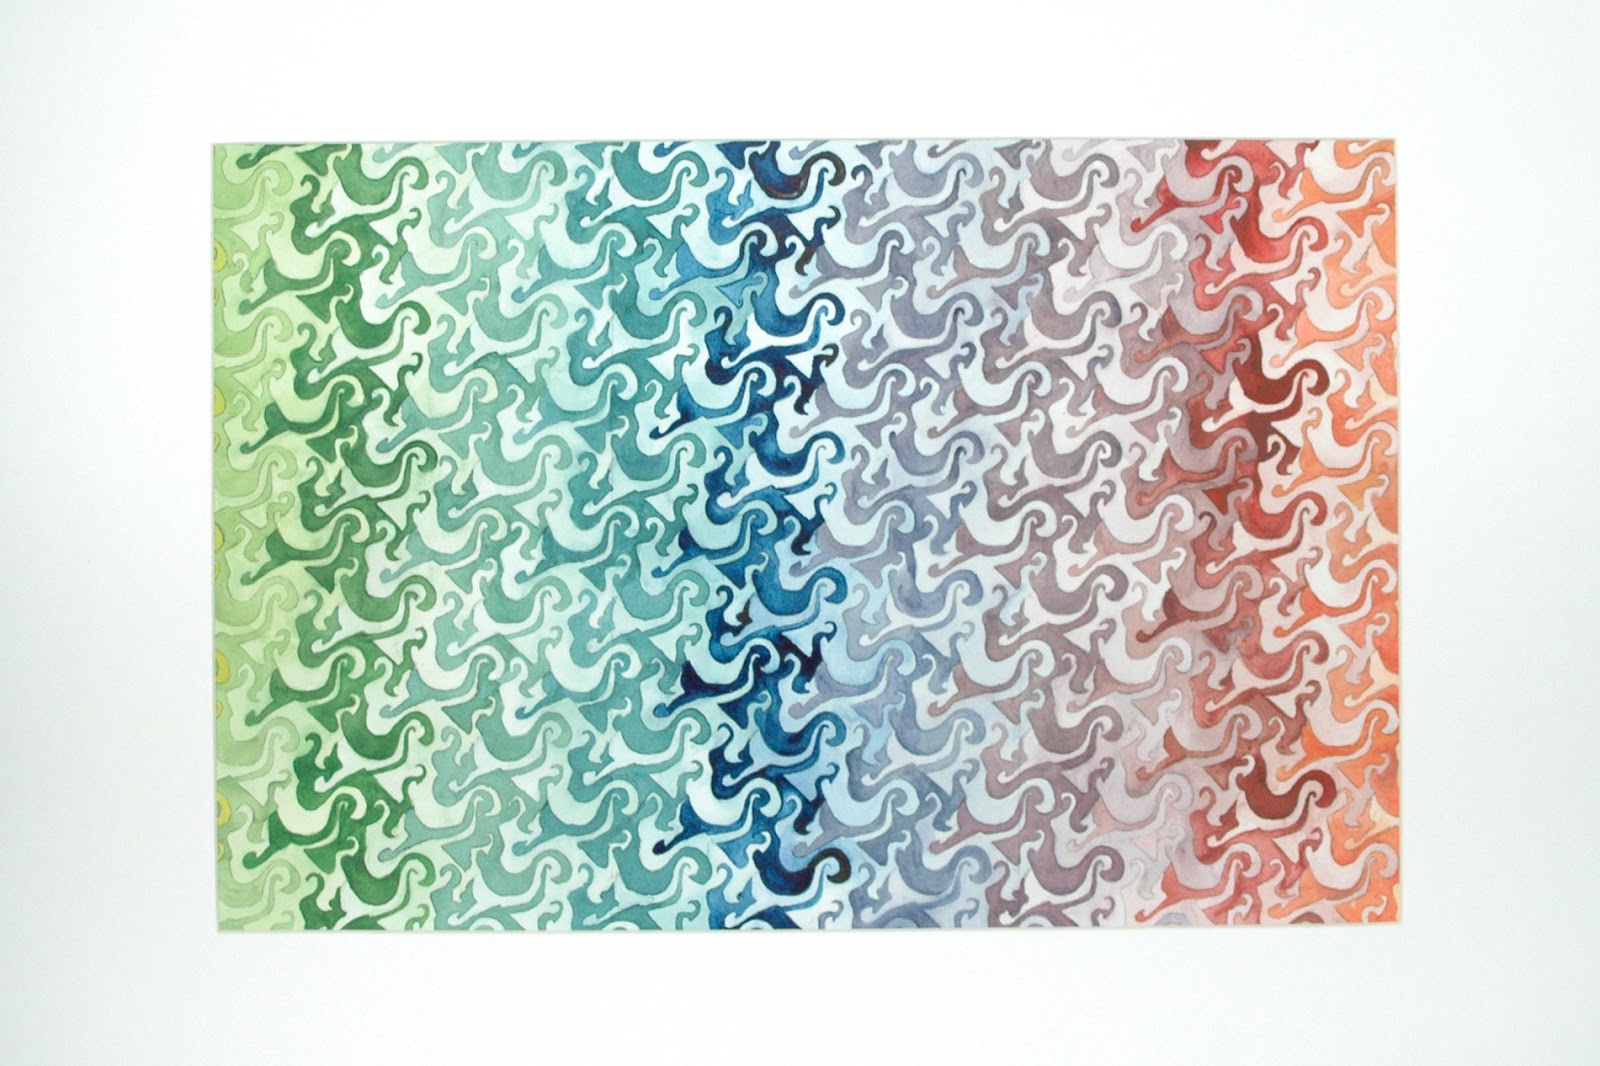
| Finished painting! |
 |
| Matted! |
 |
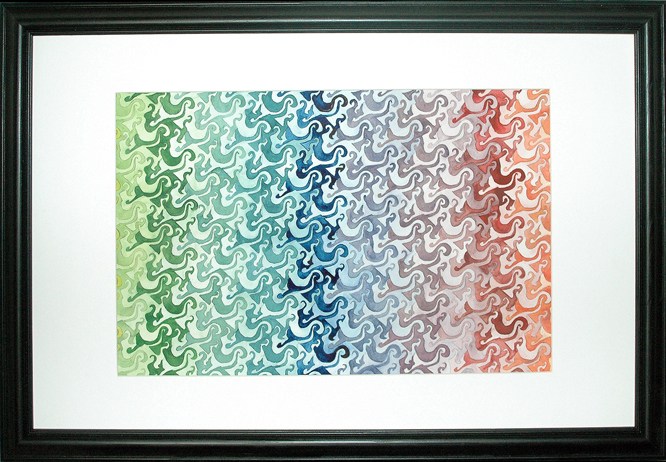
| Framed and Finished!
For easier tessellations start with a larger shape at the beginning, like 3″x3″ and use larger shapes when cutting out. You can also use a small piece of paper when tracing and you will have much less errors.
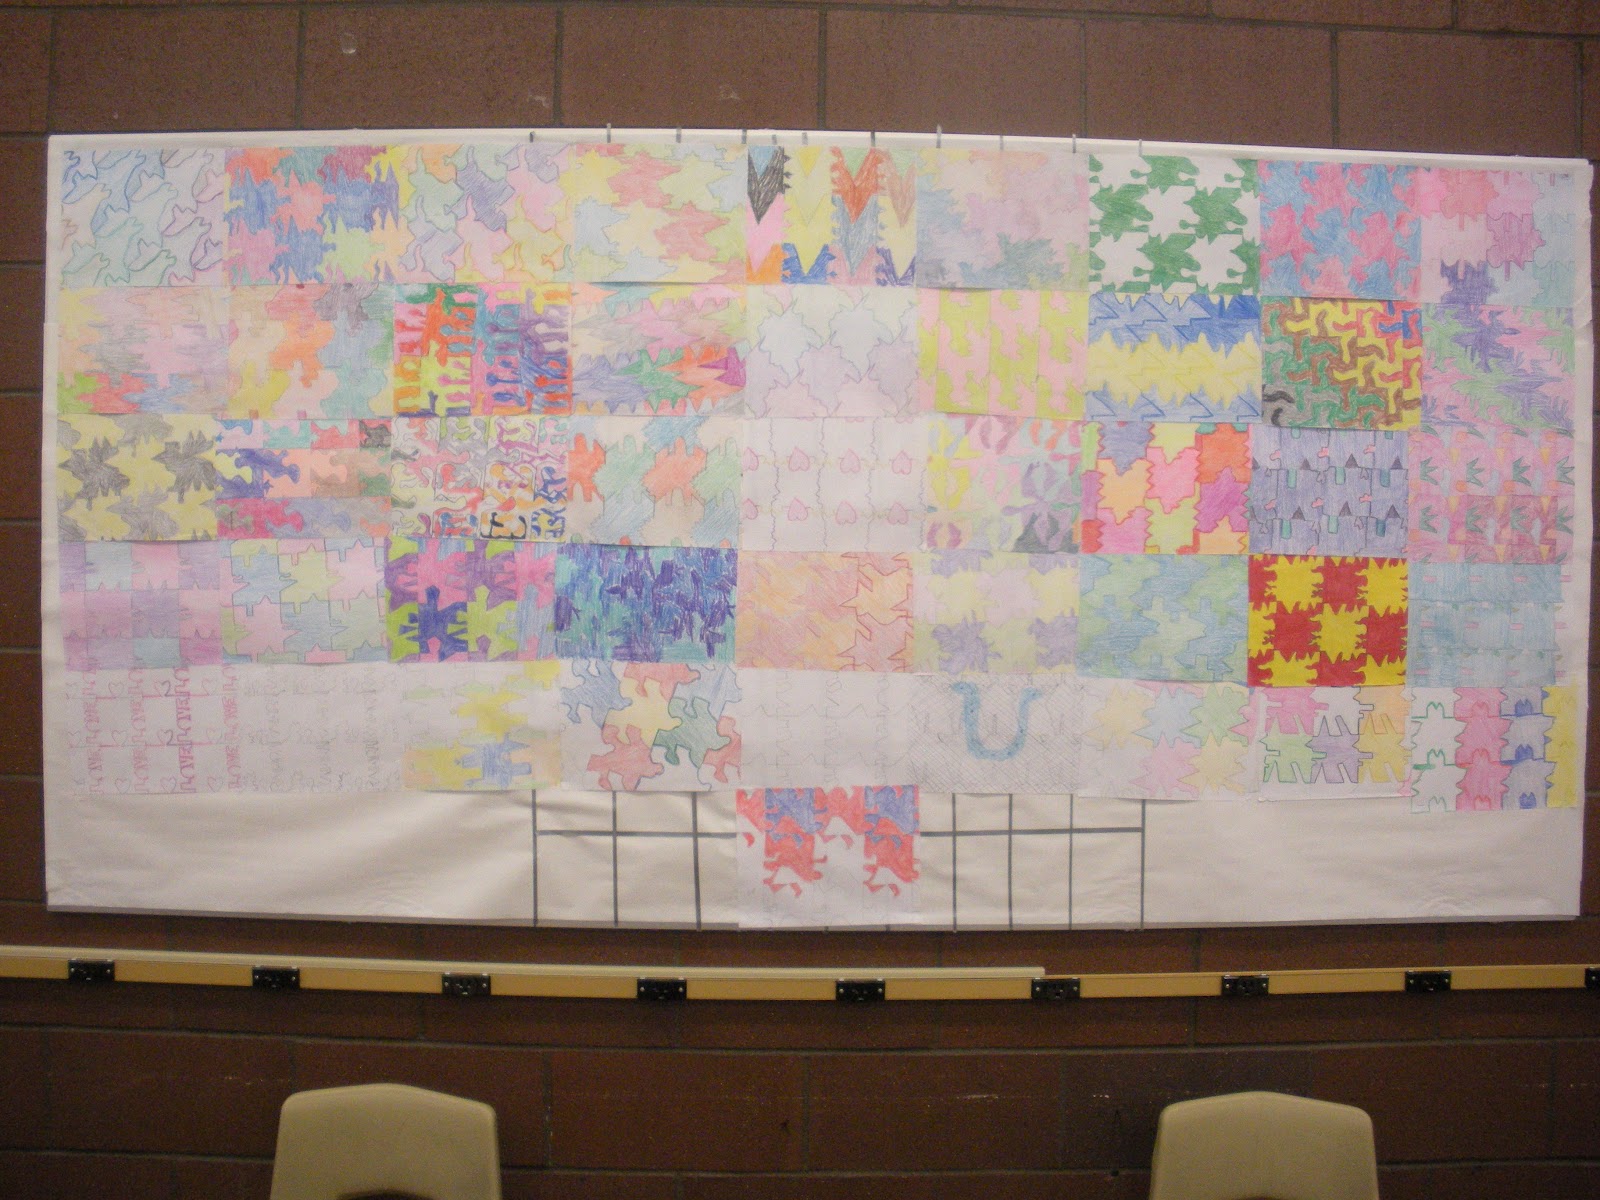
I did this with my math class when I was student teaching, here is the bulletin board I used to display them. We used index cards which we cut into squares and then printer paper and crayons! |
 |
| Here is a ROTATING one I made for my corporative teacher. She picked the colors and it turned out great! |
Eventually I’ll post on how to make a rotating one as well as a flipped/mirror image one.
We would love to see your tessellations!
Send us and email! kreativ77@yahoo.com