I have a slight obsession with patches lately. I really want to do some patches on some of my cardigans but the perfect idea hasn’t quite sparked in my head. But I then thought that Valentine’s Day was coming up and no one can ever have too many leggings, especially when they are on little cute one year old leggies!
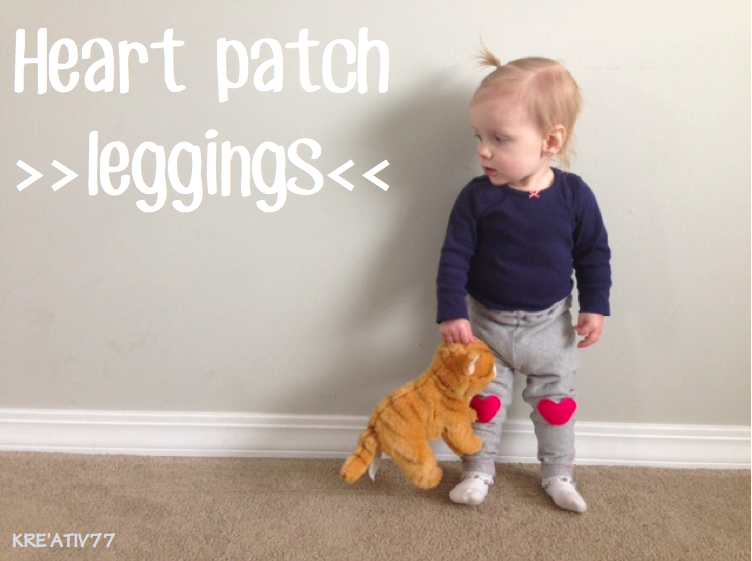
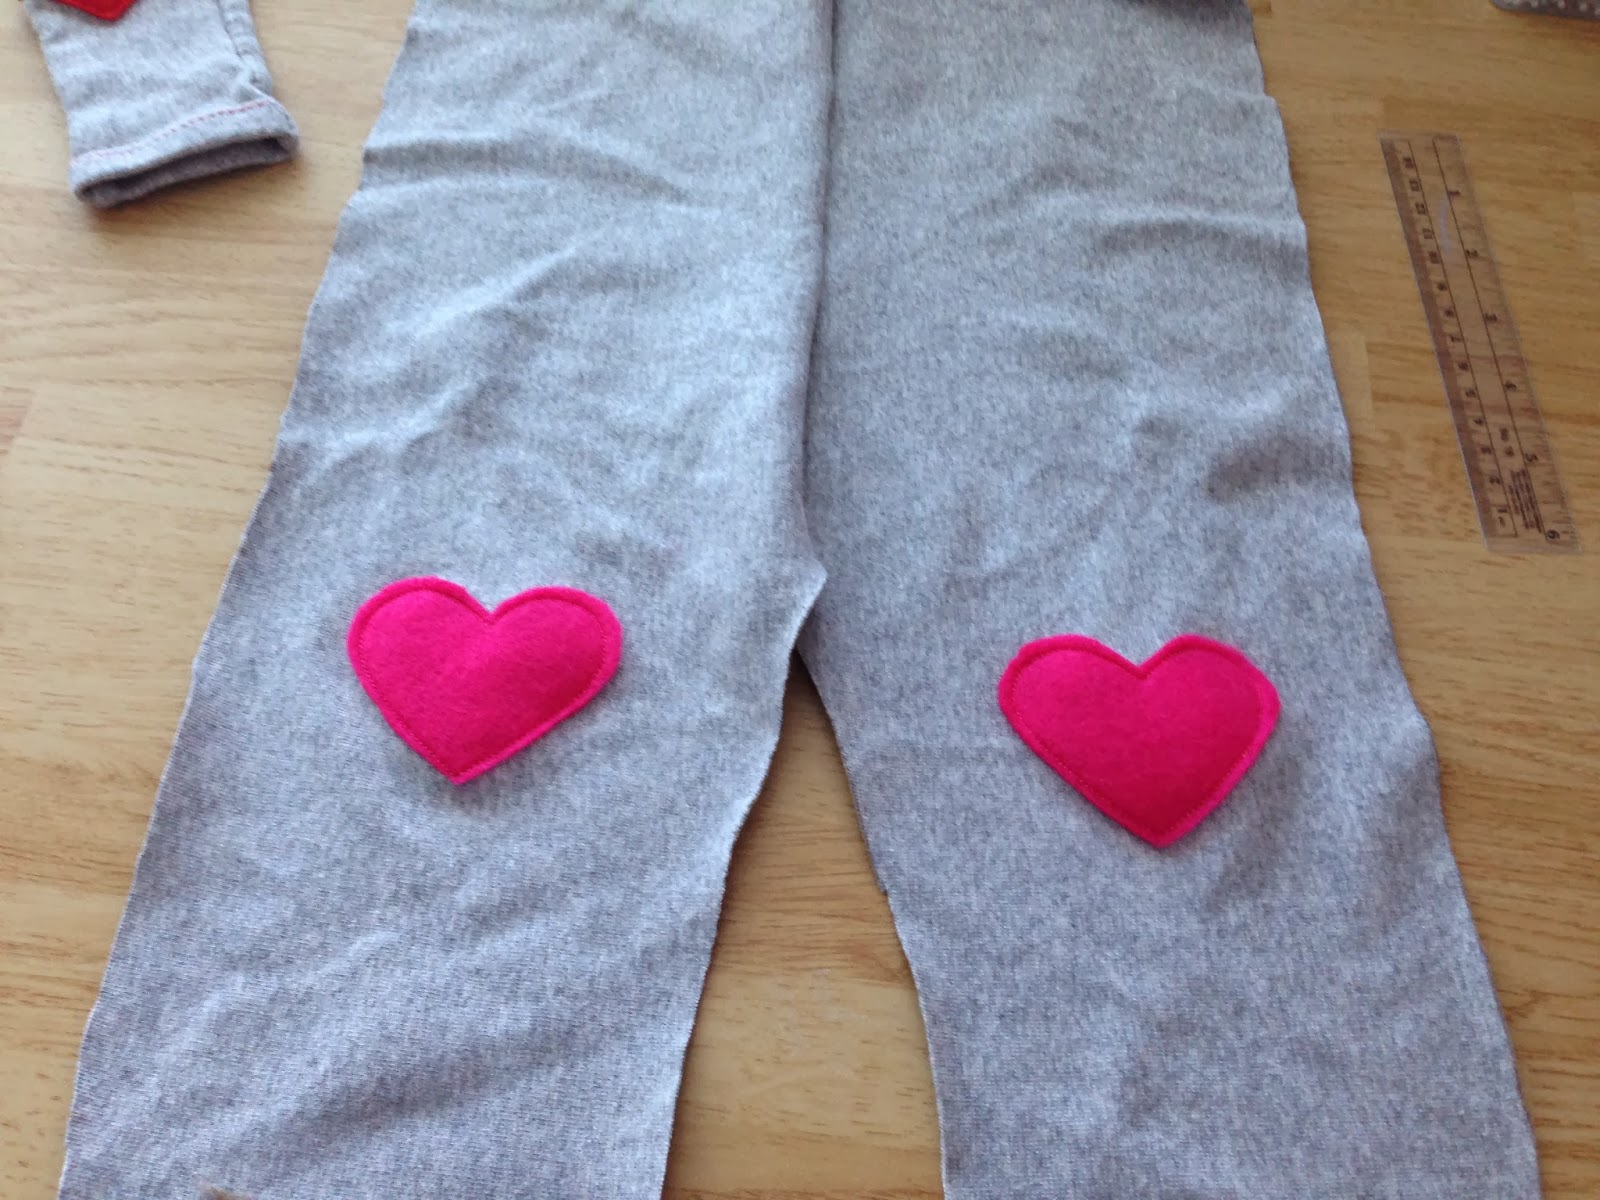
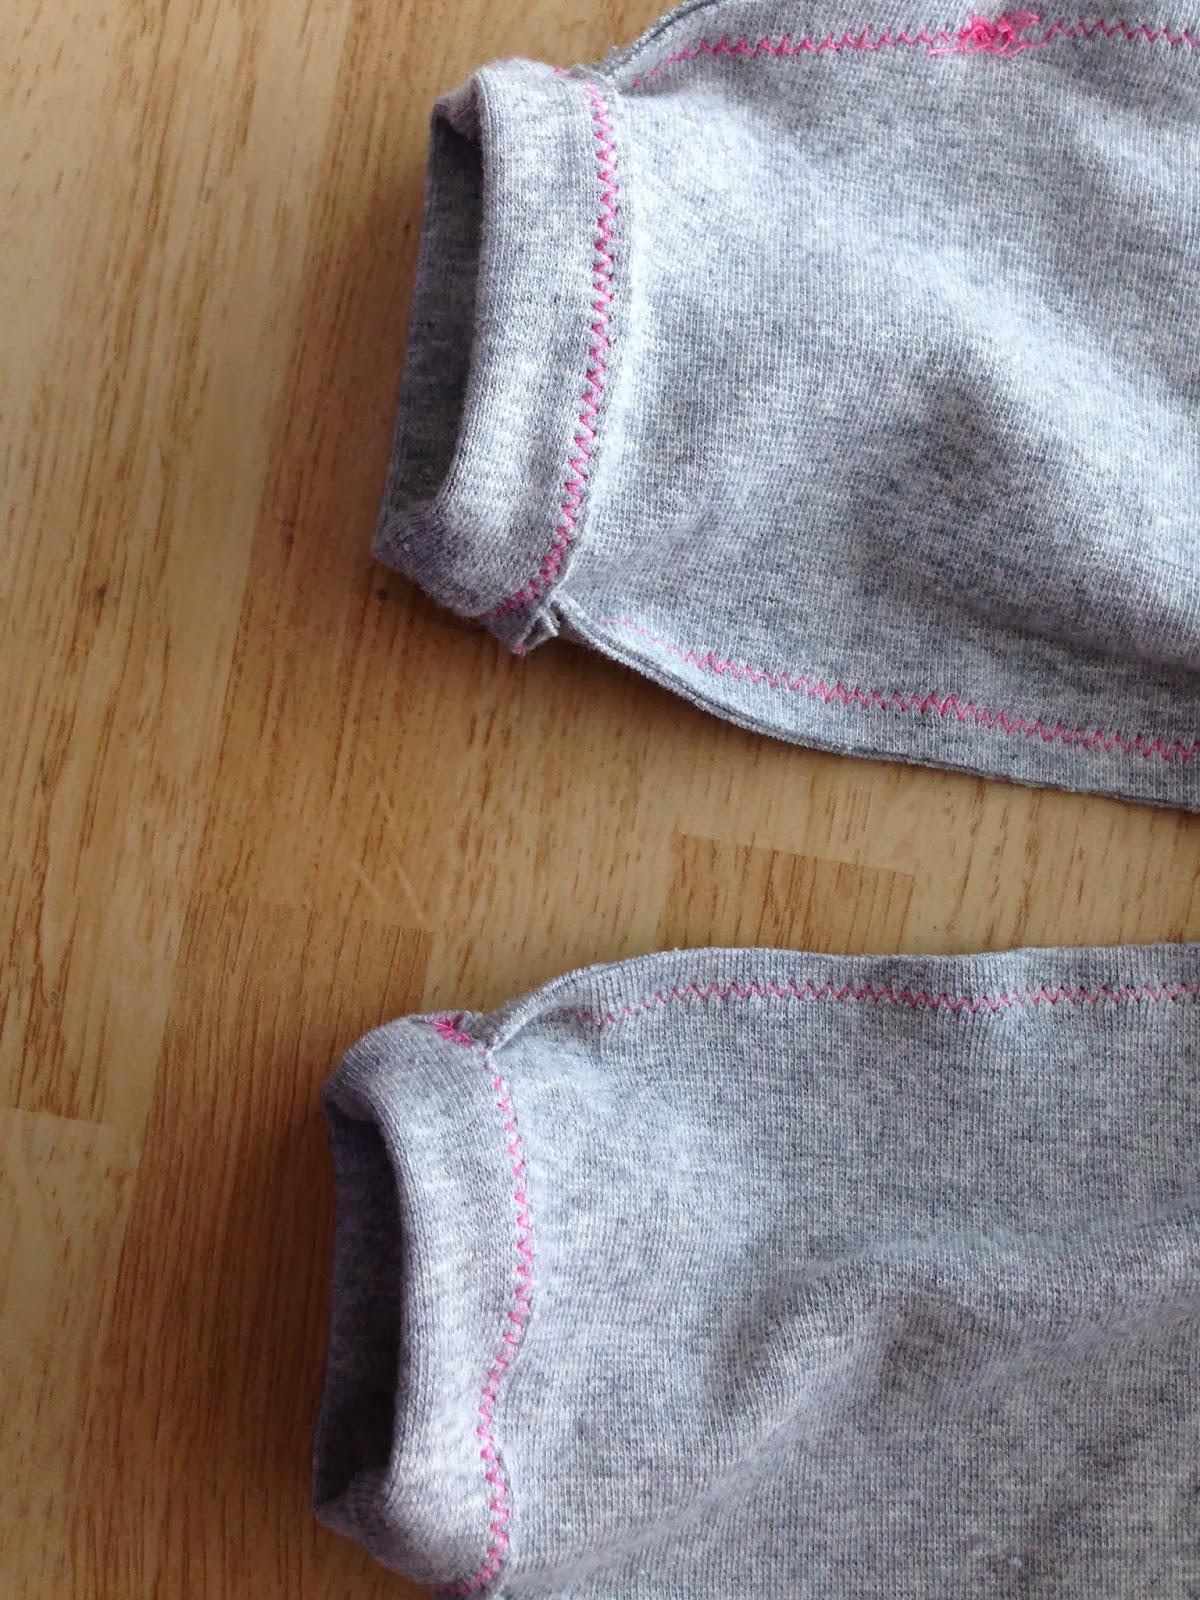
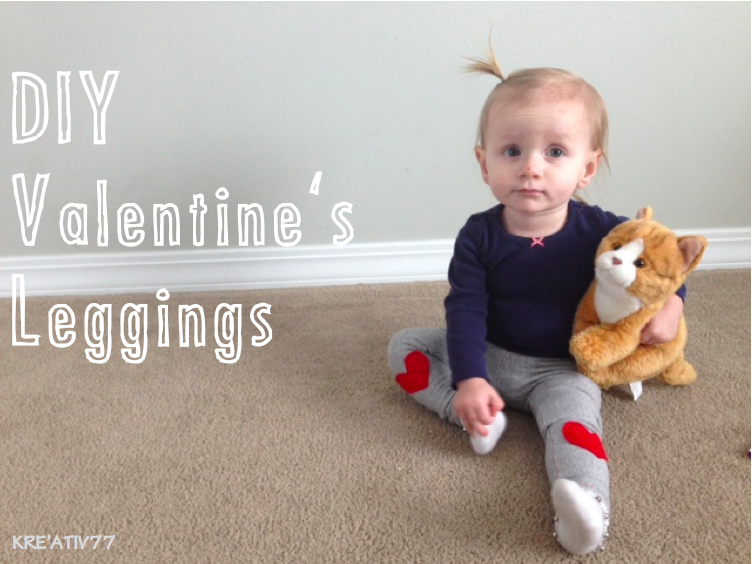
I made two pairs. The first ones were red, and then I realized that the heart patches were just a little too far down to be on the knee. So then I made the pink ones which turned out great! The pink ones the heart was right on the knee. (I measured these ones!)
They both turned out great! Now let me show you how you can do it!
You will need:
Knit fabric (I didn’t actually measure how much I needed, maybe 3/4 yard)
Felt, non-wool
Elastic
Here is how you do it:
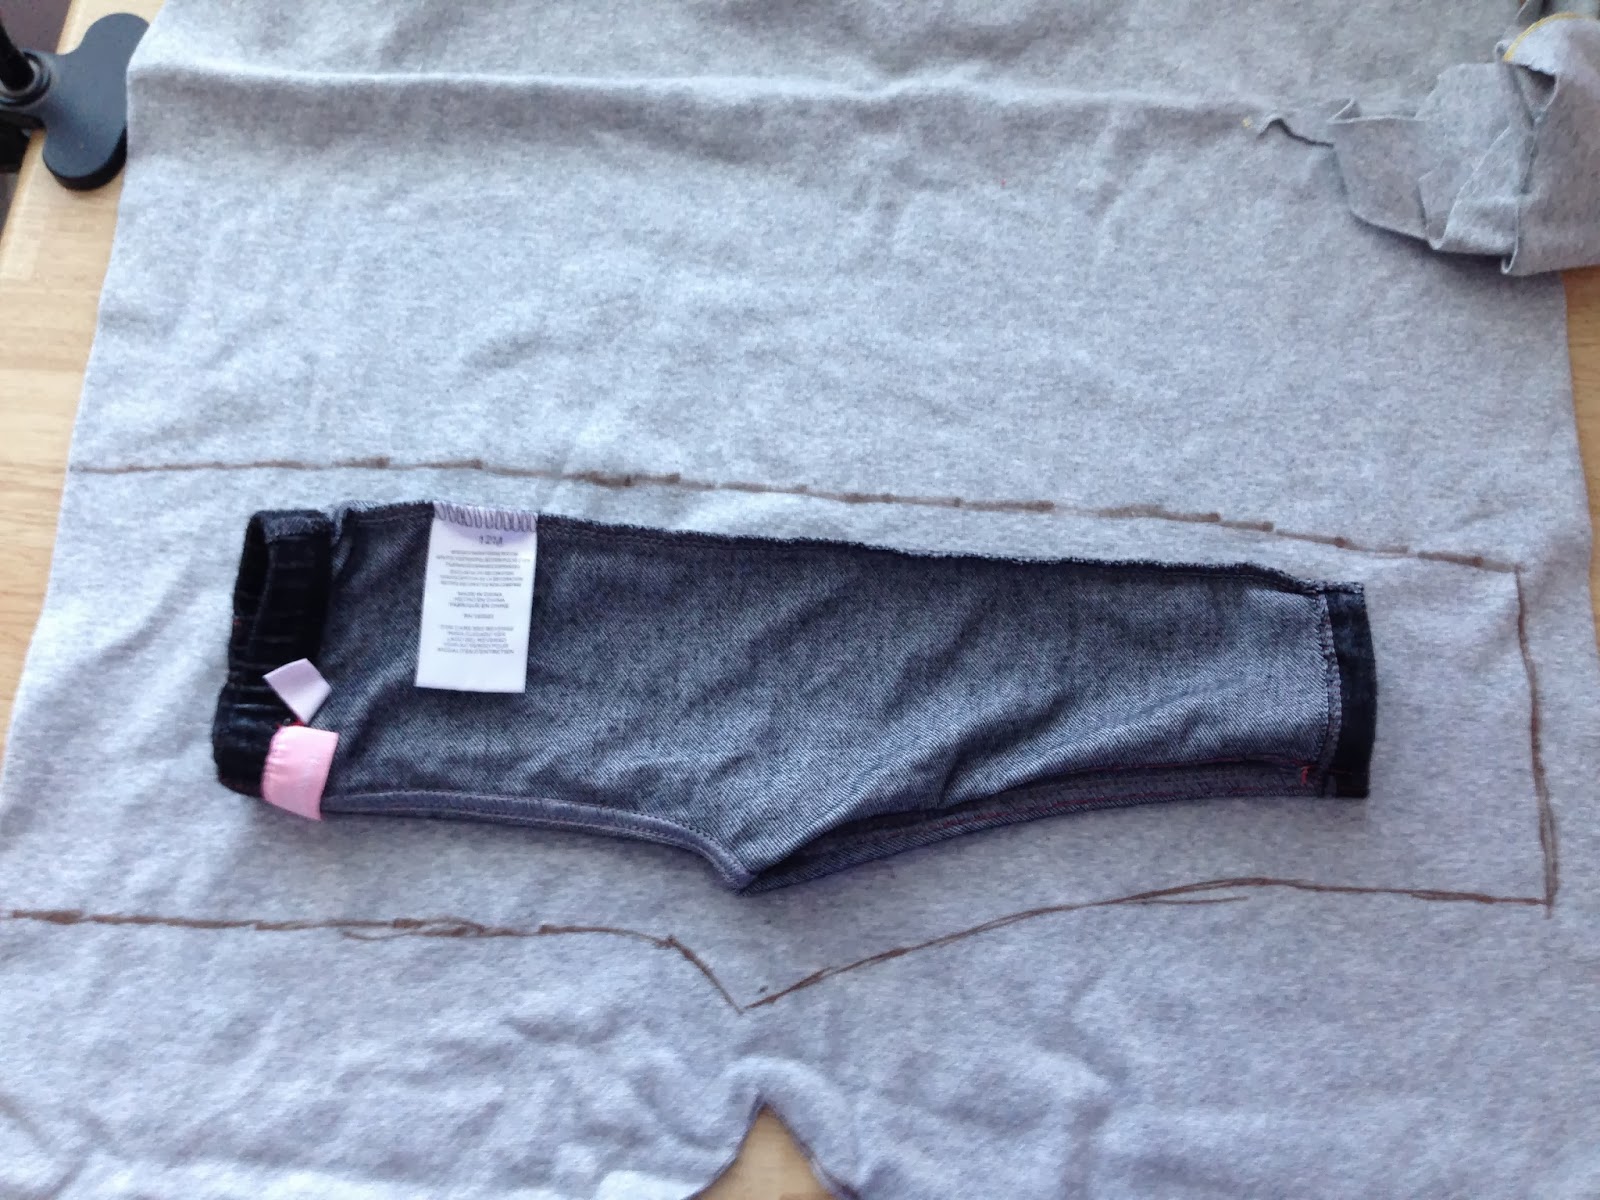
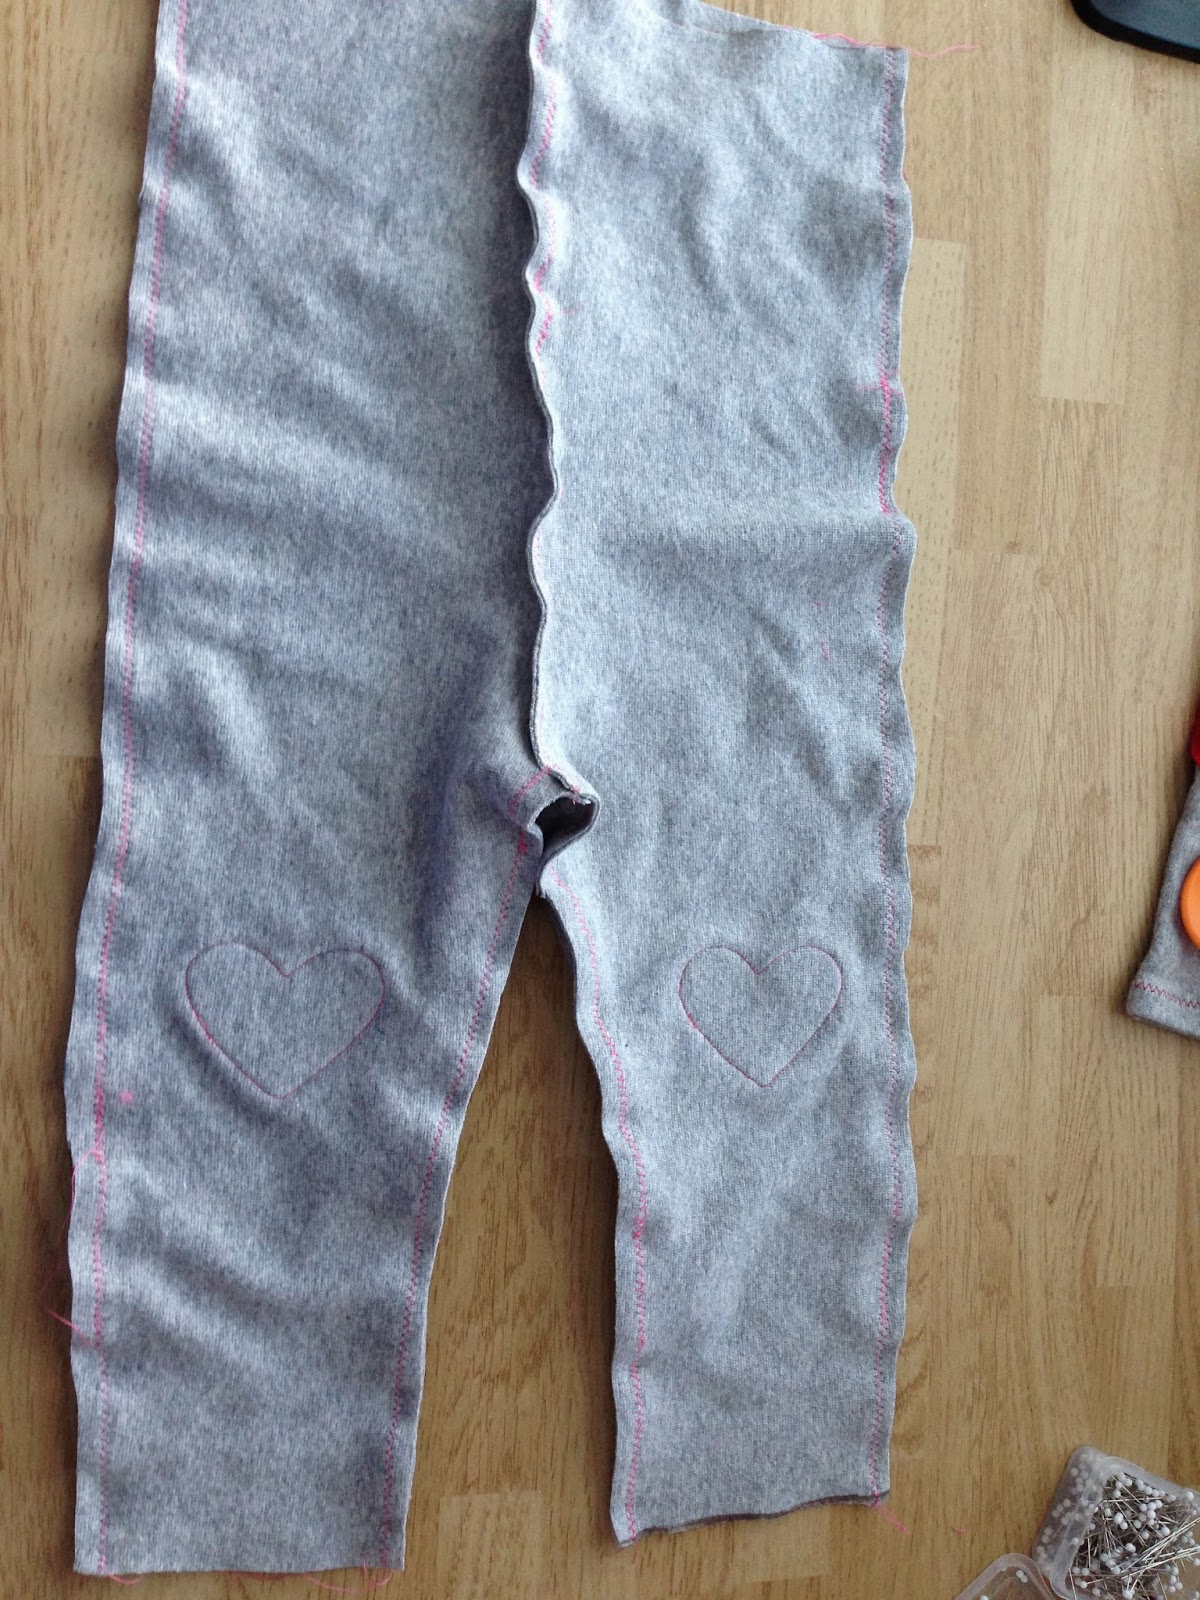
First I started by getting a pair of pants that were already the size I wanted. I turned them inside out, and folded them over, like in the picture. I then traced it but leaving enough for seam allowance (I used the standard 5/8 inch seam allowance.) I also allowed a little more for the top, since I will need to add elastic (I added the width of my elastic times two.) For the bottom, I also added a little extra allowing for the hem.
Cut 4 of these.
Now that there are 4, put them together in pairs, like this. One set will become the front and the other will be for the front.

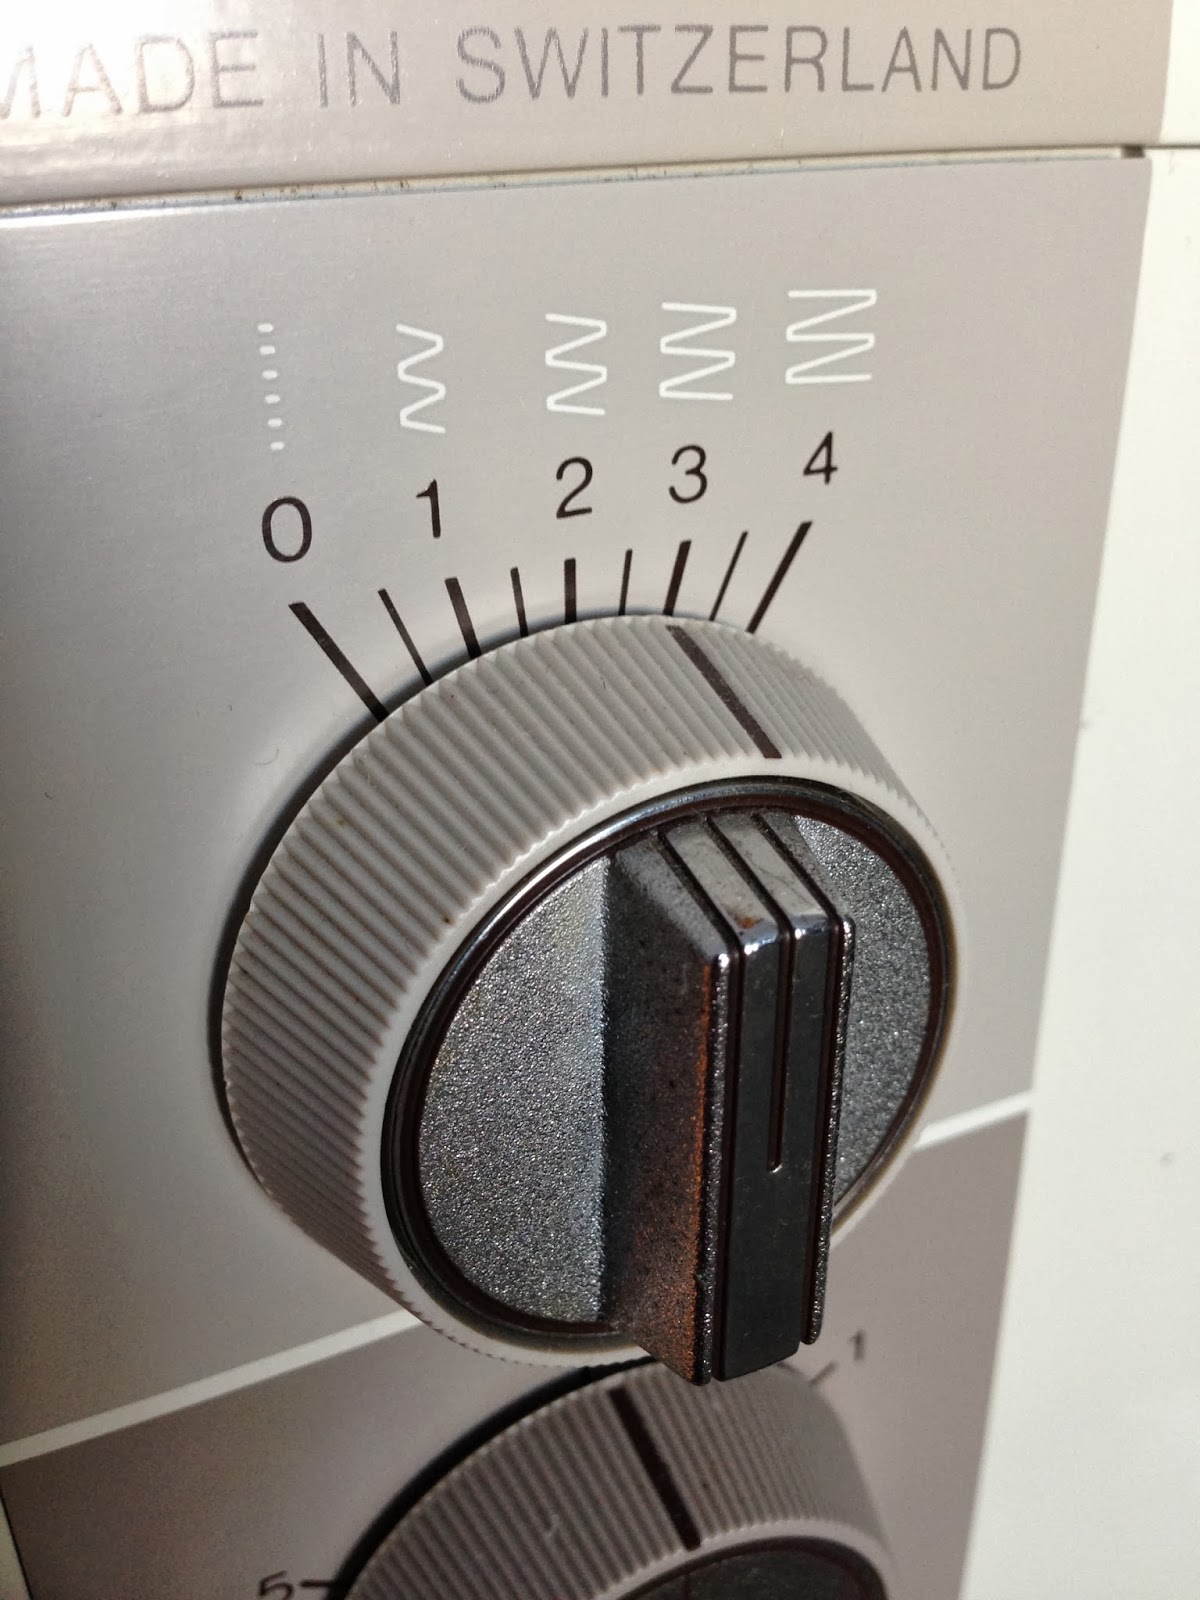
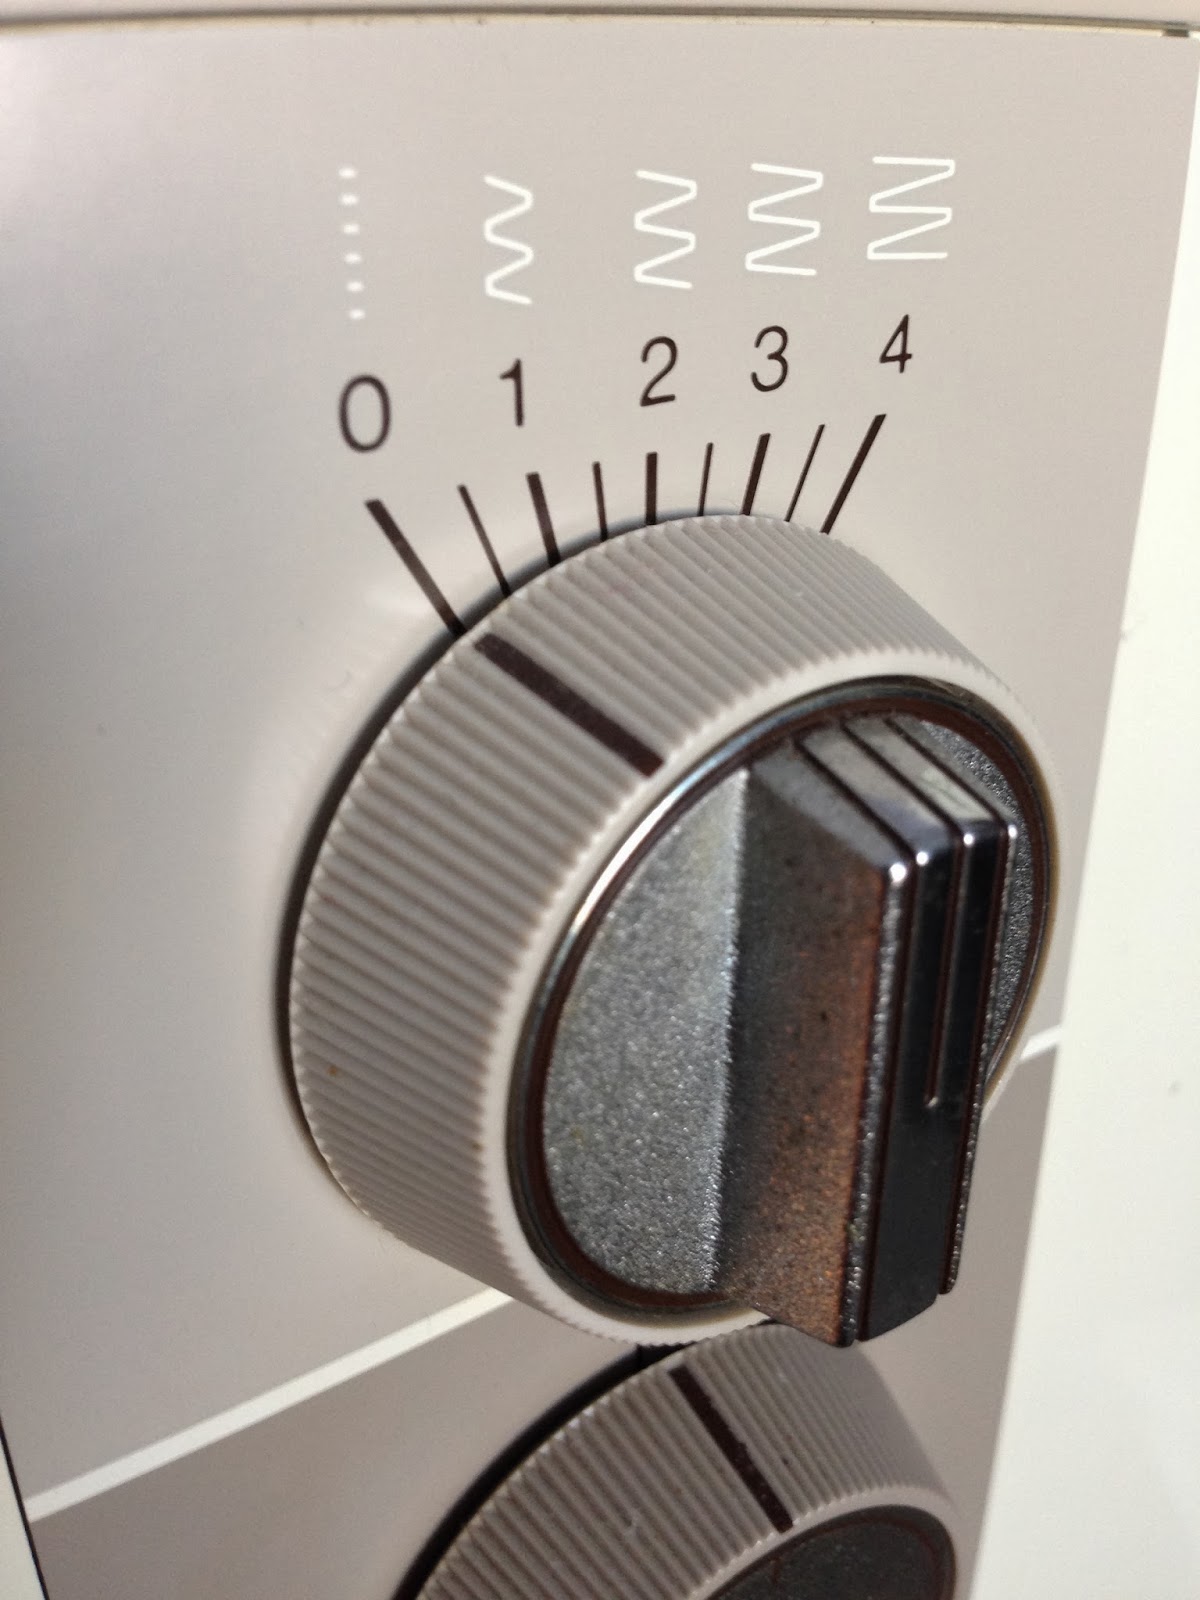
Before sewing, turn the machine stitch to a zigzag stitch. I didn’t want mine to be the biggest so a size 3 for me was just right.
Note: The wider the zigzag is the more “ripple” it’ll make in the fabric but it’ll have more vertical stretch. The more narrow the zigzag is the less “ripple” but the less vertical stretch.
Note: The wider the zigzag is the more “ripple” it’ll make in the fabric but it’ll have more vertical stretch. The more narrow the zigzag is the less “ripple” but the less vertical stretch.
I wanted to use the zigzag since I an using a jersey fabric that is stretchy anyway, the zigzag allows the hem to stretch with the fabric.
Now sew the curved seams or the crotch seams, on both the front and the back.

Onto the knee patches. Use a felt that IS NOT wool. It’ll last longer when washing it if it is something like a polyester material.
It should say on the sticker on the felt. (On mine is says polyester right under the green words, ecofi.)
It should say on the sticker on the felt. (On mine is says polyester right under the green words, ecofi.)

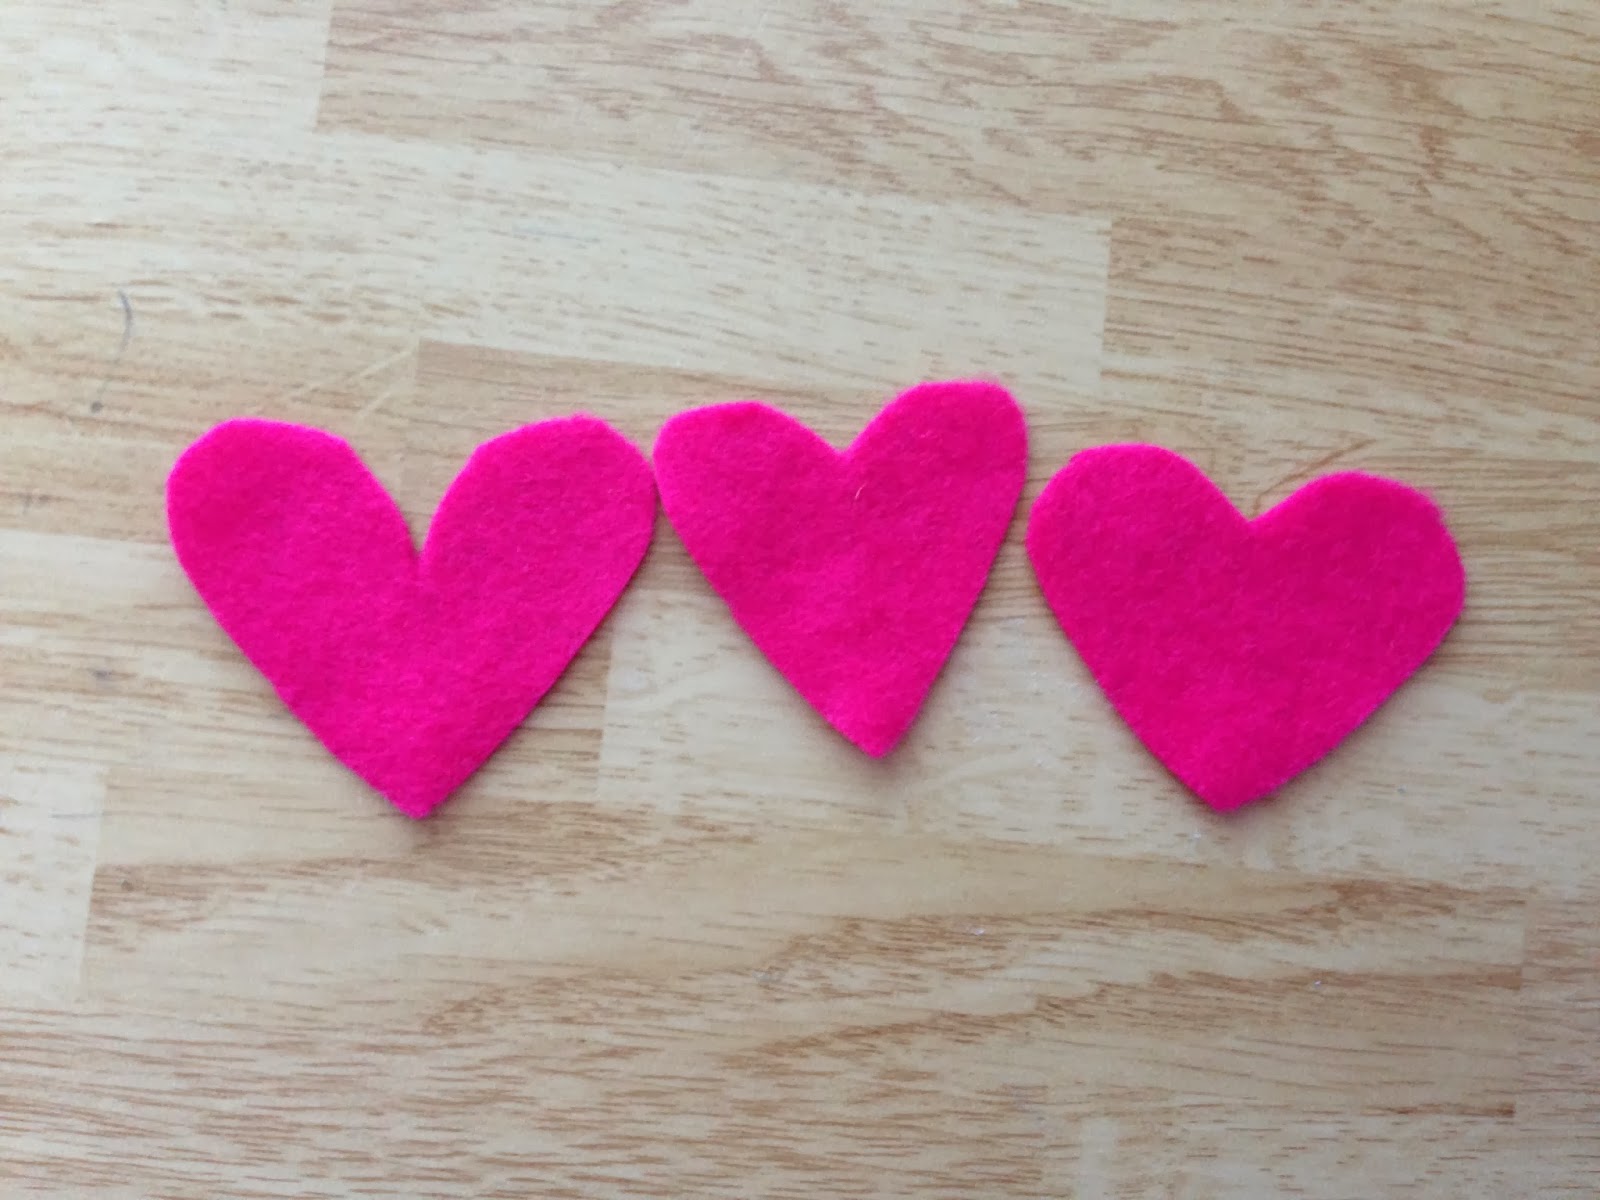
Then I cut out some heart shapes until I got one I liked. Then cut another one, two hearts total, one for each leg.
Next open up on the the pants.
Then pin the hearts onto the front of the pants where the knee would be. Remember to take into account that there is some added fabric for the hem. The first pair I made of these the heart was more on the shin than the knee. So measure the legs before placing the hearts
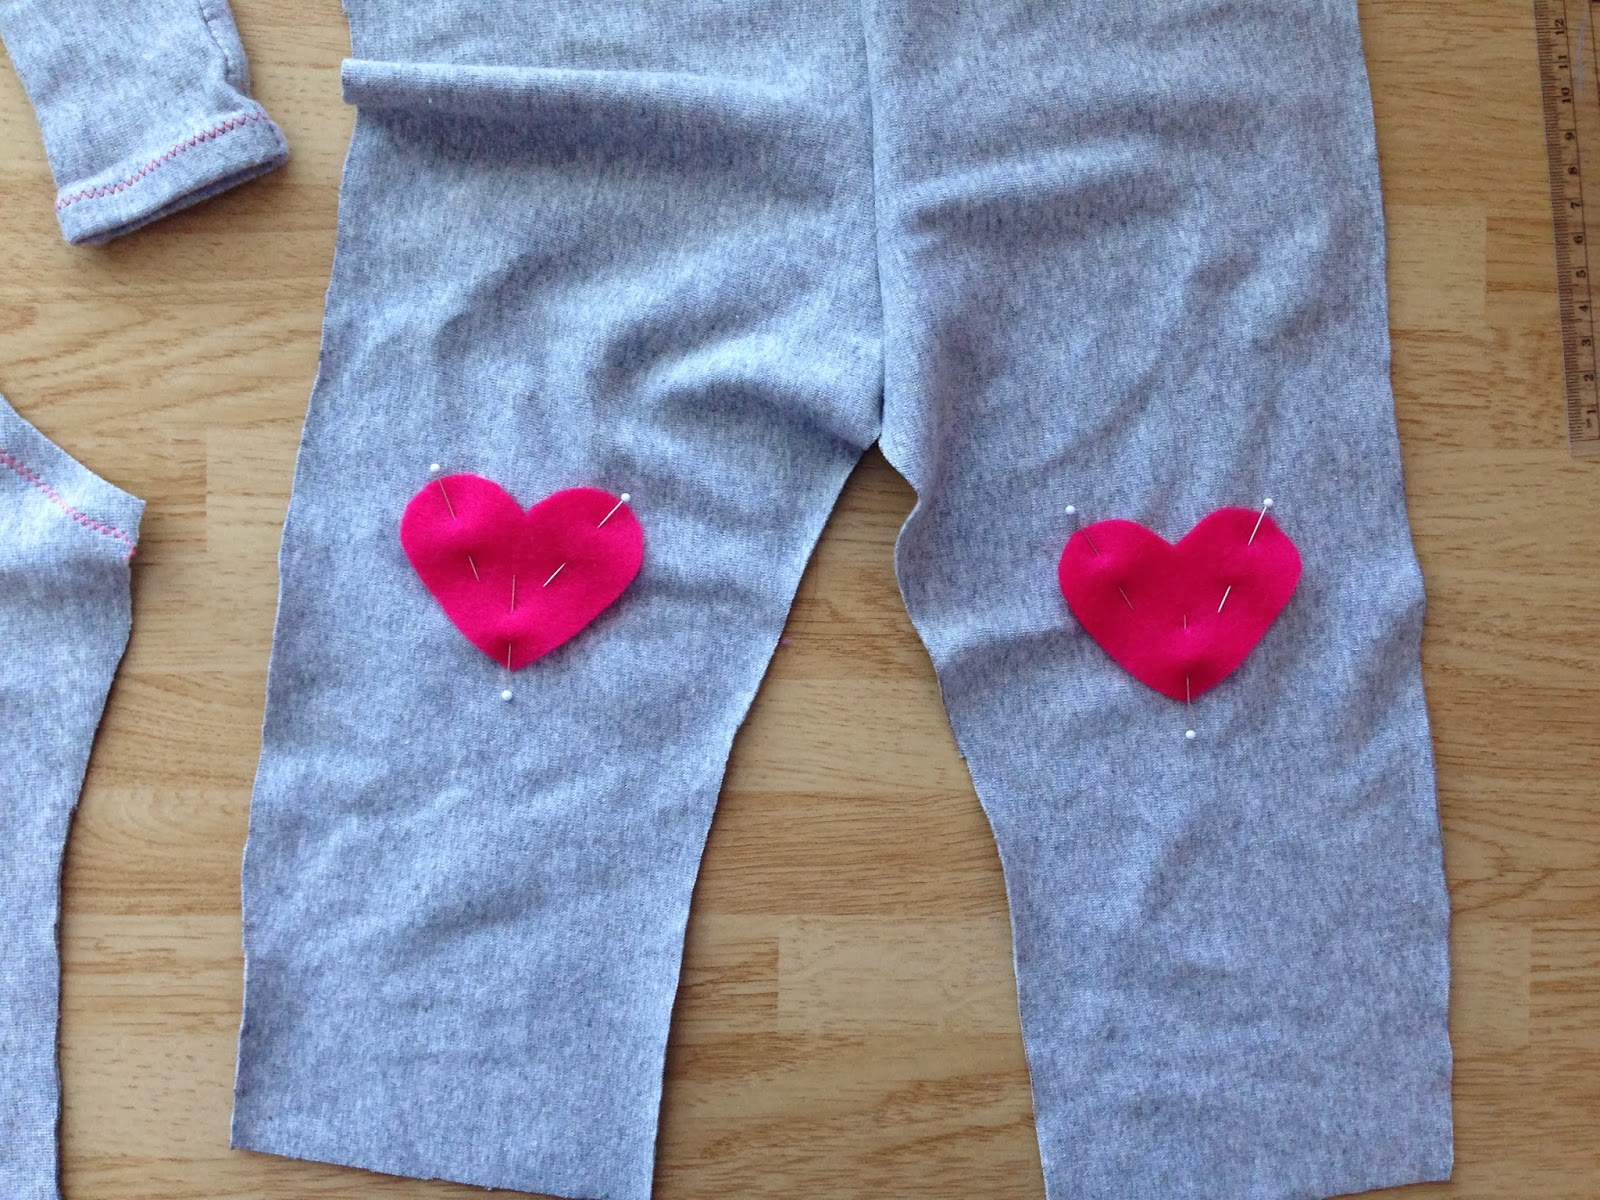
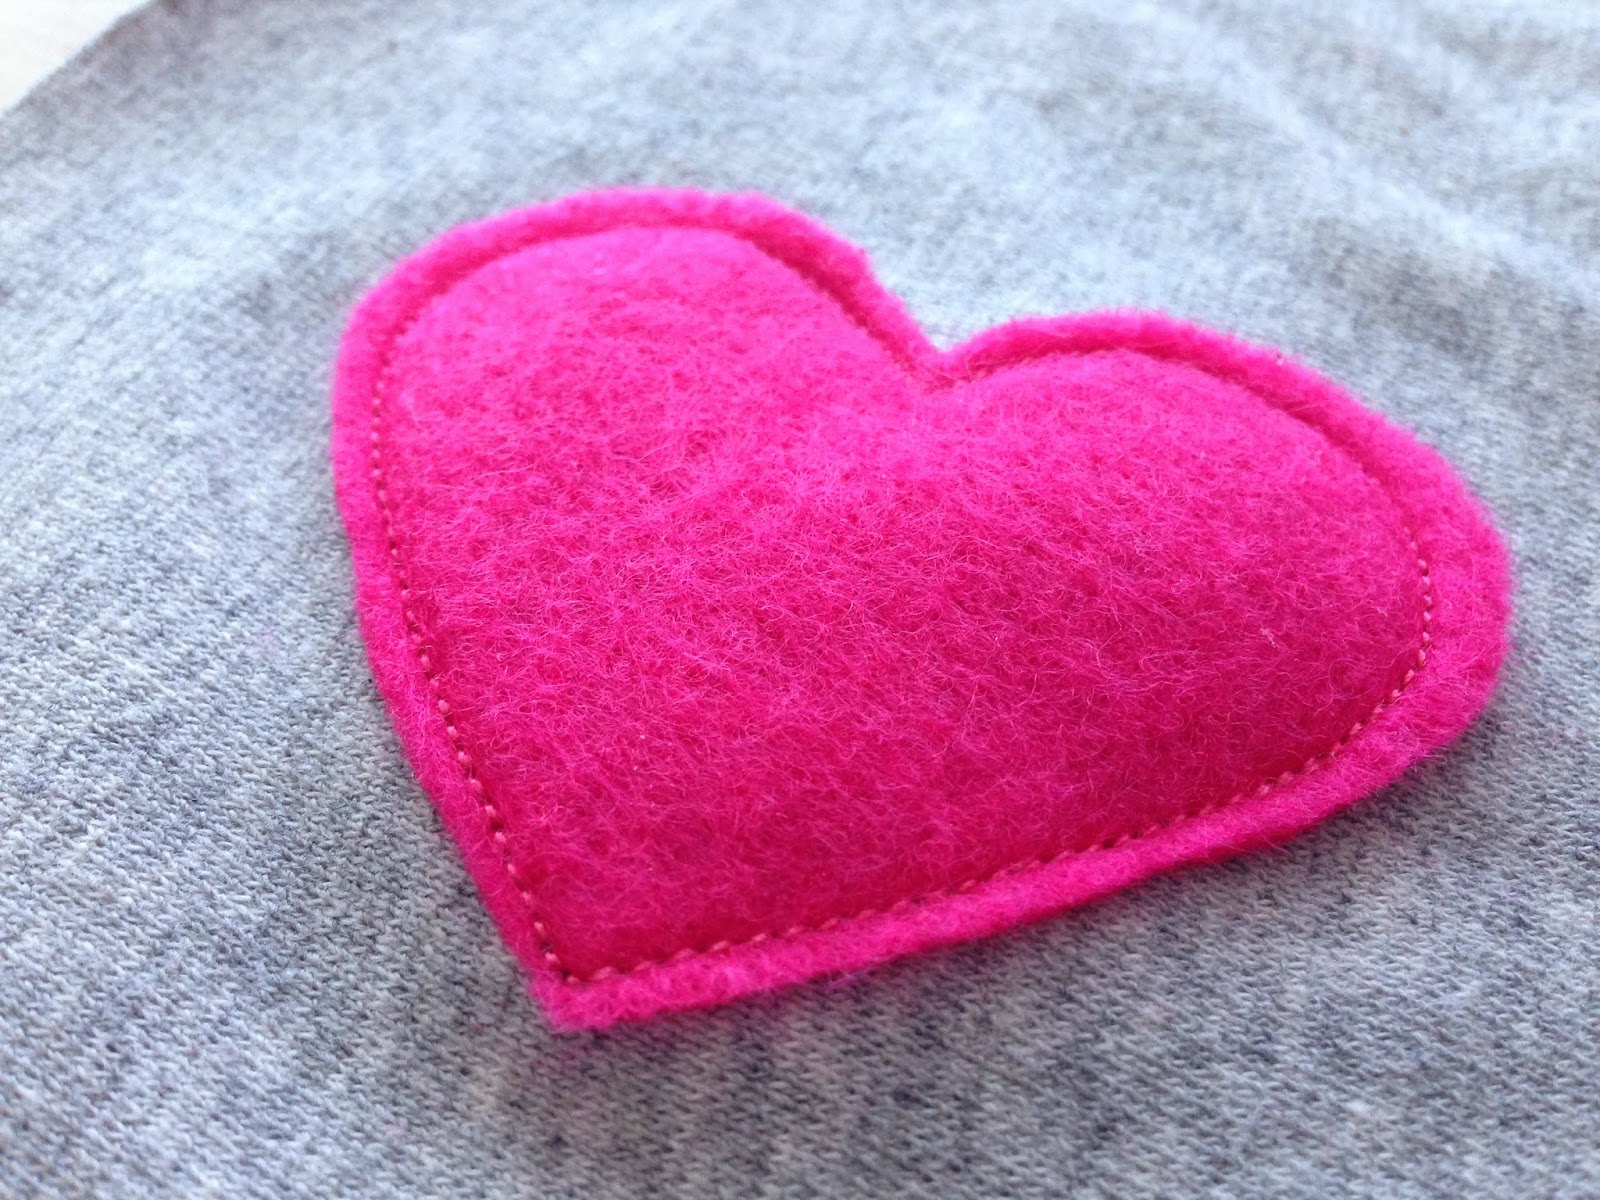
And switch your machine to a straight stitch.
And slowly and carefully sew around the heart. Isn’t it so cute? This is my favorite!
Now you should have something like this.
Next open up the back of the pants and line then up with the front. Make sure the right sides are together. And pin it up!

(Little side tangent: I used to HATE, absolutely LOATHE pinning. When my mom first taught me to sew, it was always “ok next you pin it” UGH! But now that I am older, and wiser, ok maybe not wiser but now I’ll take my time on things, and pinning it one of them. Pinning makes everything you sew turn out better, even if it is just a simple line. PIN PIN PIN!!!)
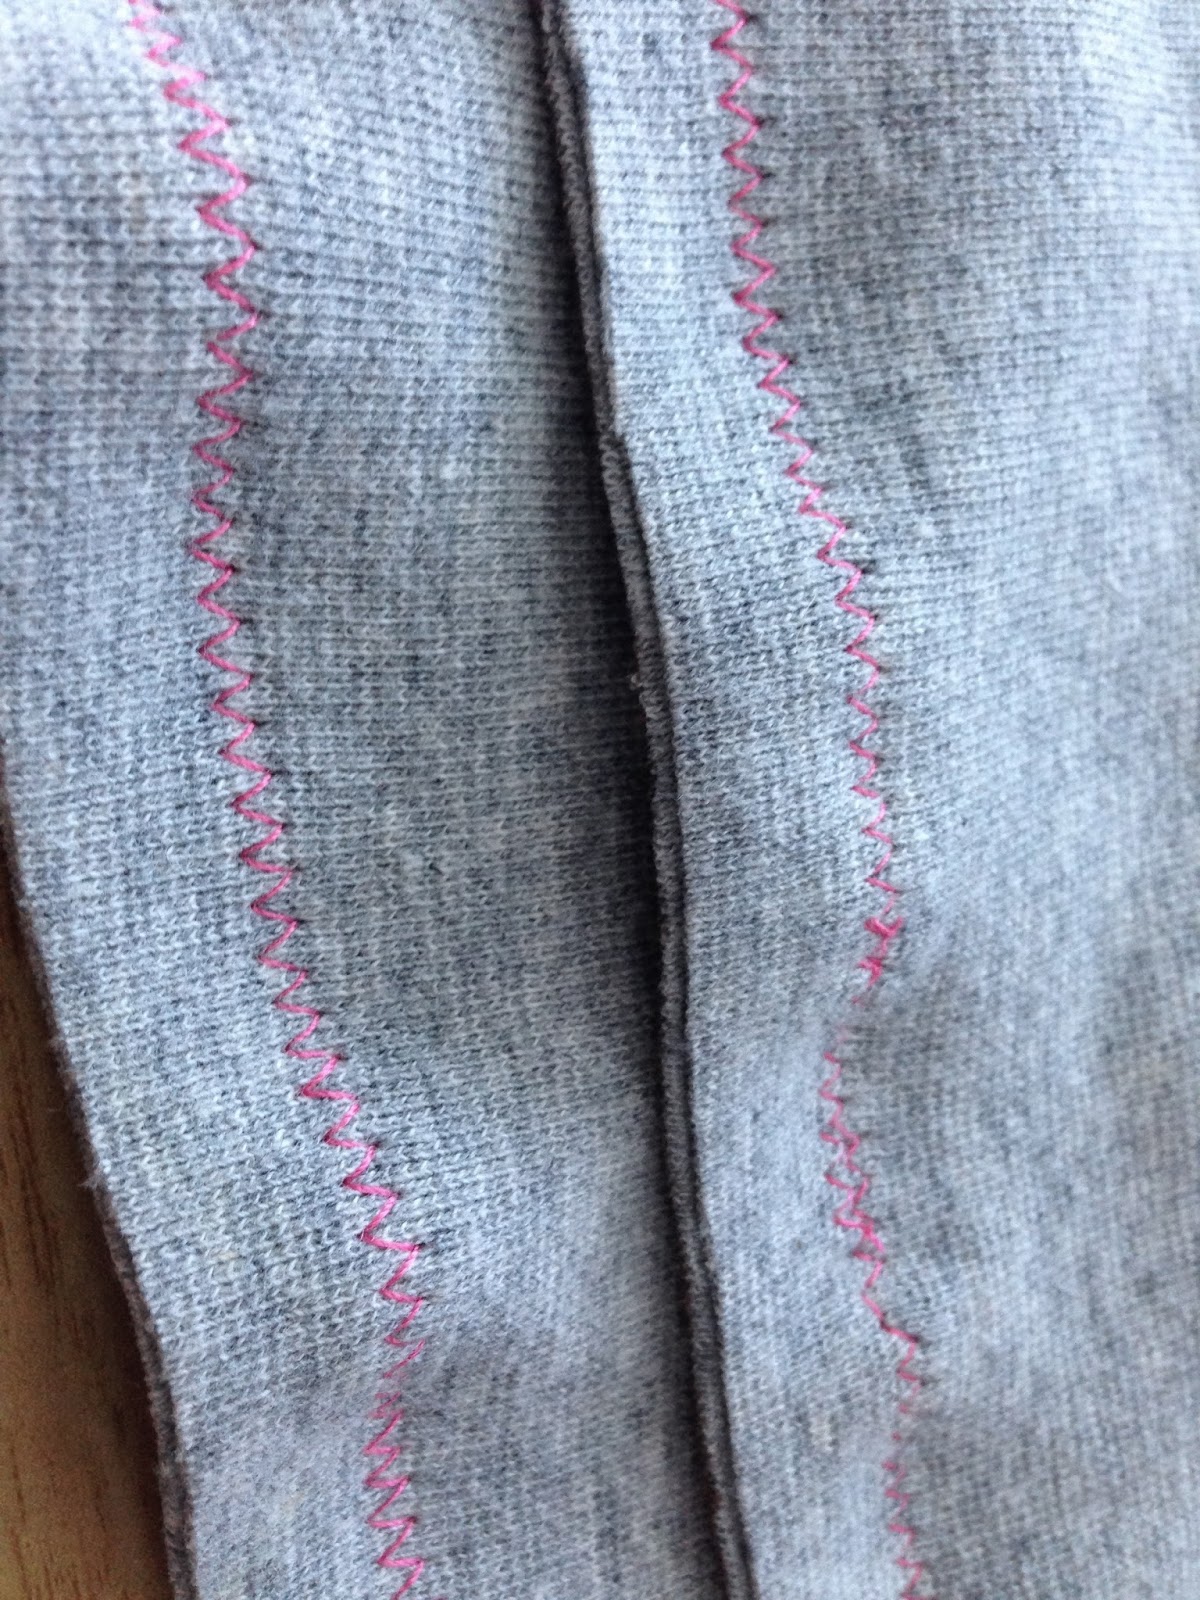
Now you should have a nice little seam like this.
(See how the seam kinda started to “ripple” yeah I was going to fast and wasn’t taking my time. You DON’T want this. I wasn’t see worried though since these were going to be a tighter pant, the ripples would be less noticable.)
(See how the seam kinda started to “ripple” yeah I was going to fast and wasn’t taking my time. You DON’T want this. I wasn’t see worried though since these were going to be a tighter pant, the ripples would be less noticable.)

Next don’t turn or move any fabric around, but line up the outside of the pants nicely and sew those as well. (Isn’t the backside of the heart so cute?)

Now almost done!
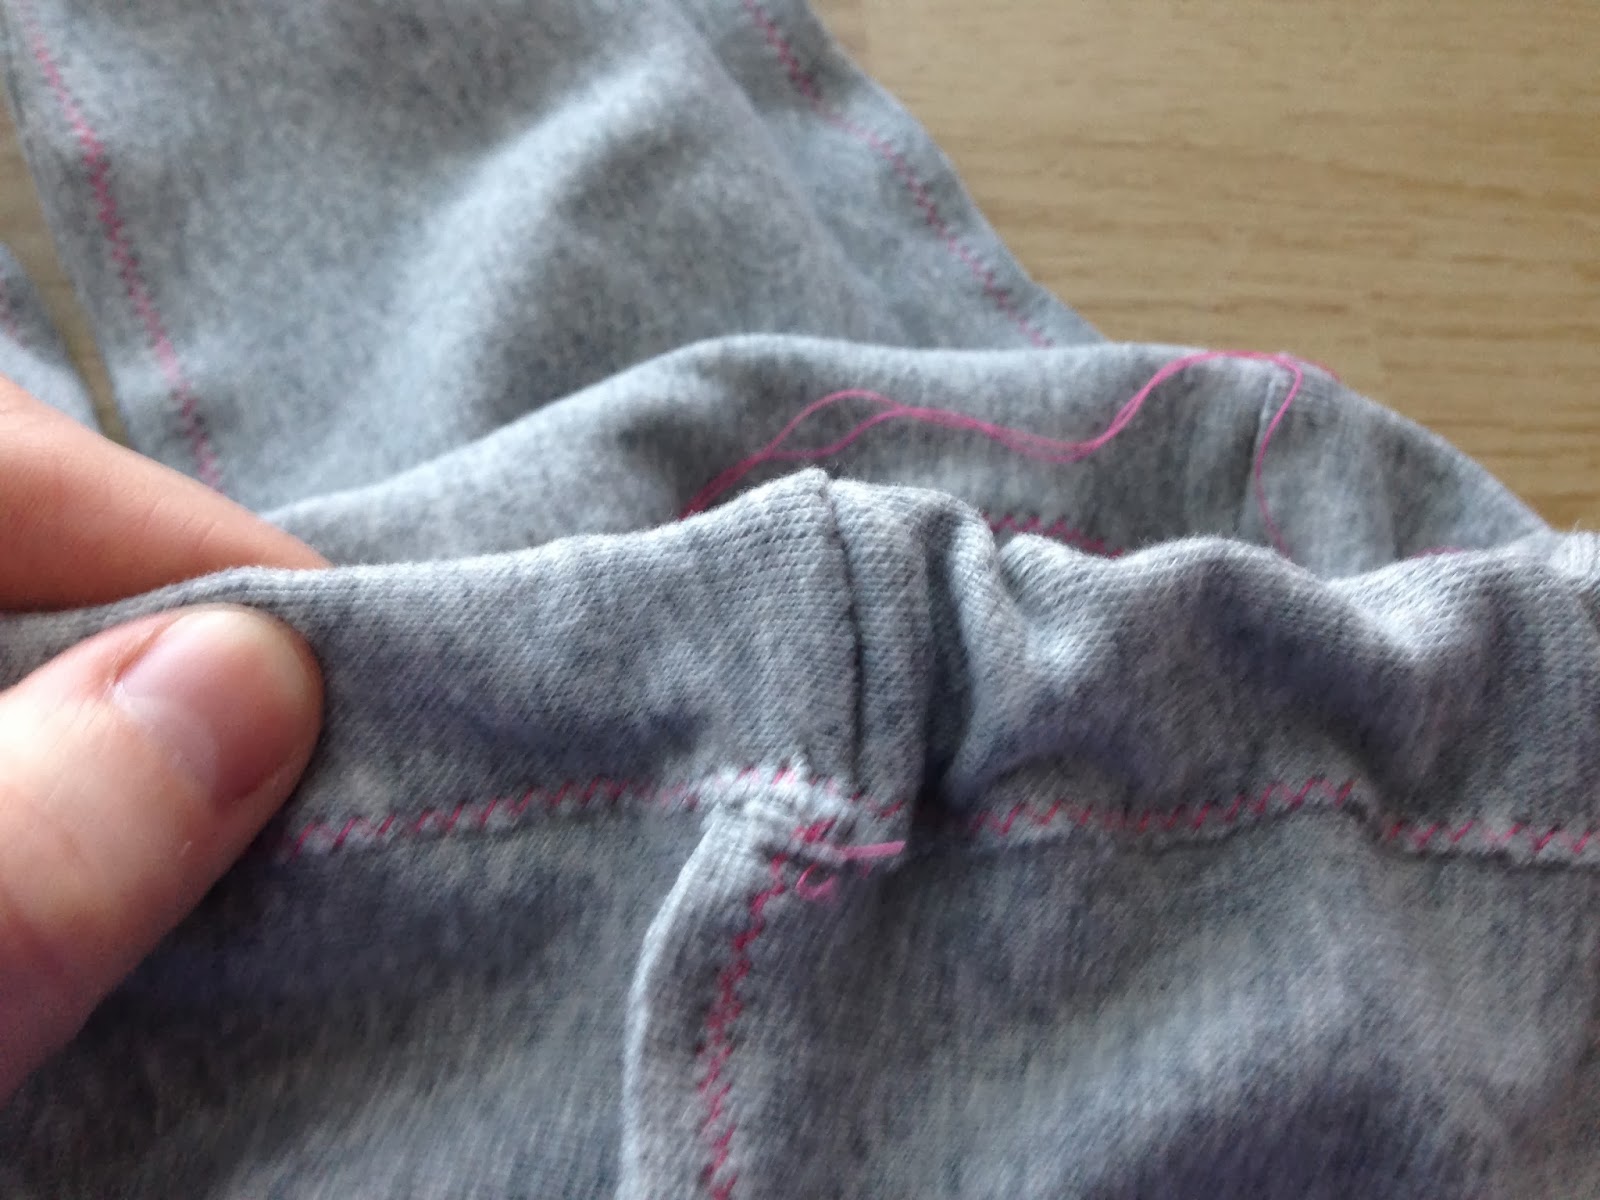
Now to hem the bottom of the pants. Since I used jersey I wasn’t worried about the ends fraying.
Turn over the bottom of the pant, I did about 3/4 of an inch or however much to you added for the hem at the beginning when you cut them.
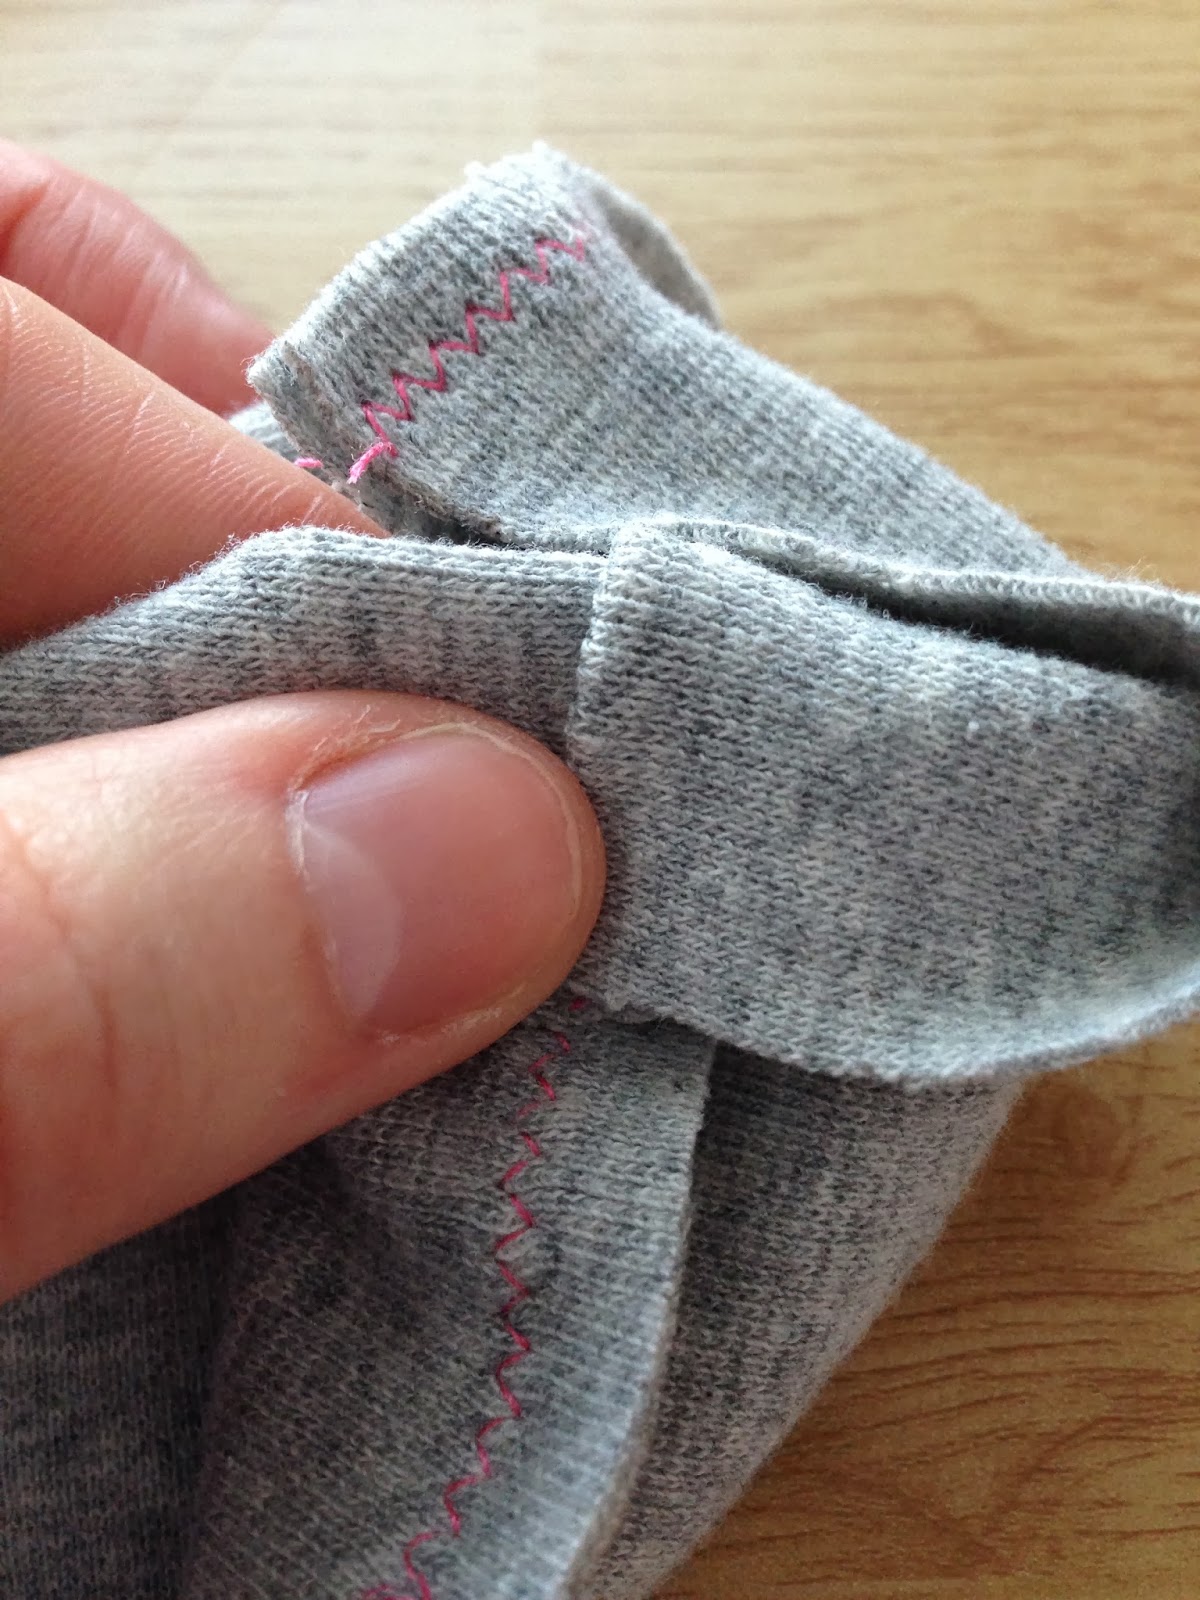
And of course PIN!

Yay! Don’t you love pinning?

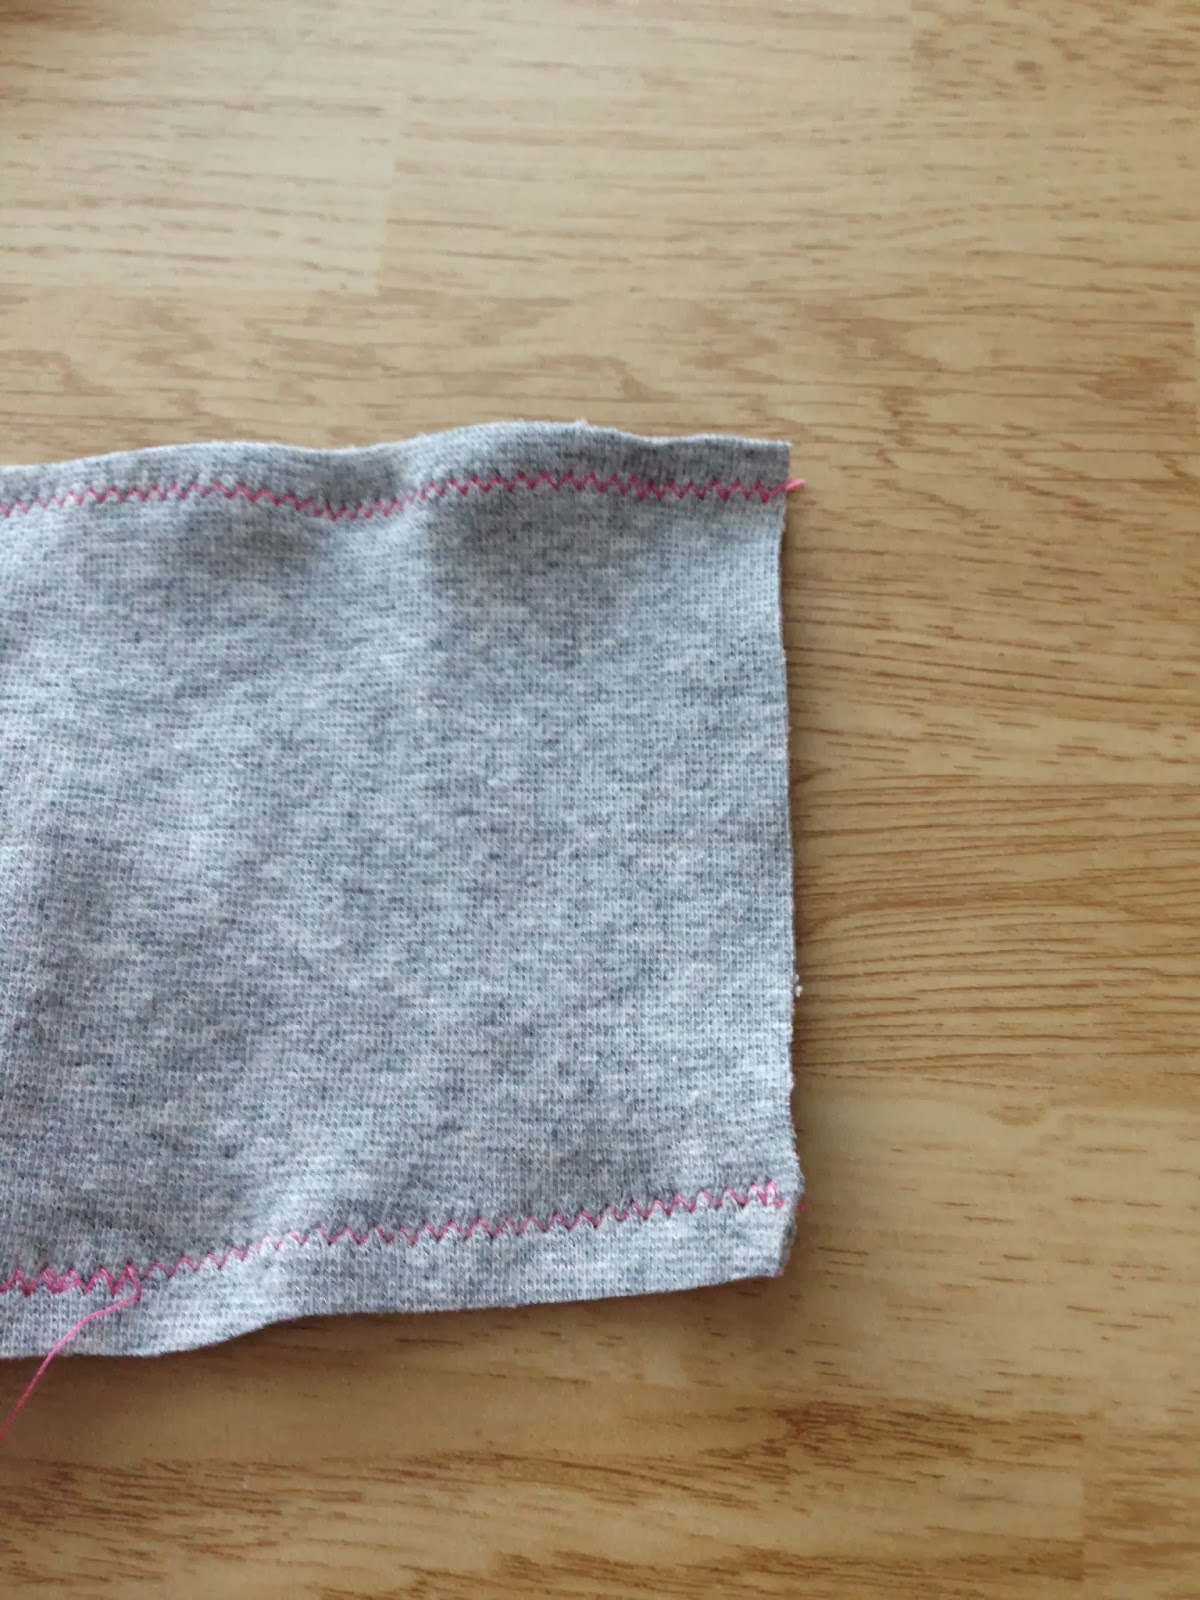
And sew on the edge a zigzag seam.
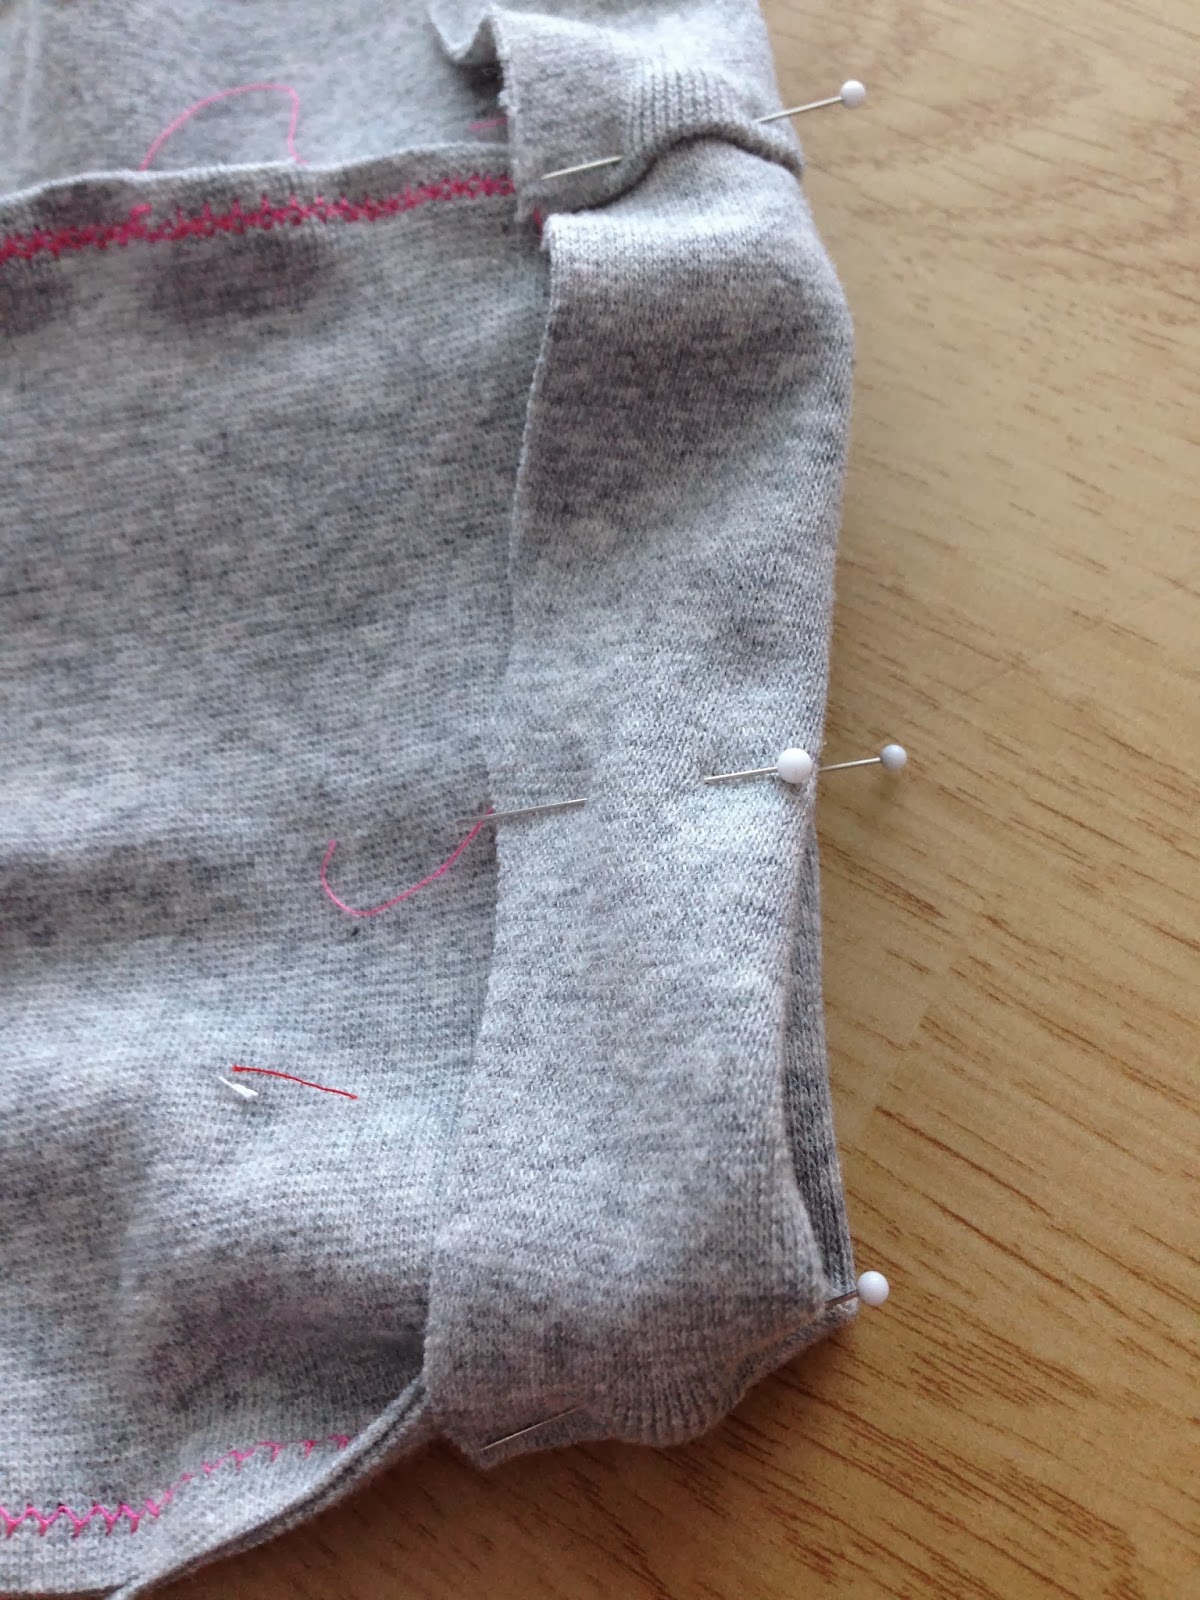
Now onto the waist. Fold over the top about an inch again and pin. (You might need to fold over more depending on how wide the elastic is. My elastic is about 3/4 of an inch so I wanted it just slightly bigger than that.)
Sew all the way around the waist, leaving about an inch gap. This is where we will put in the elastic.


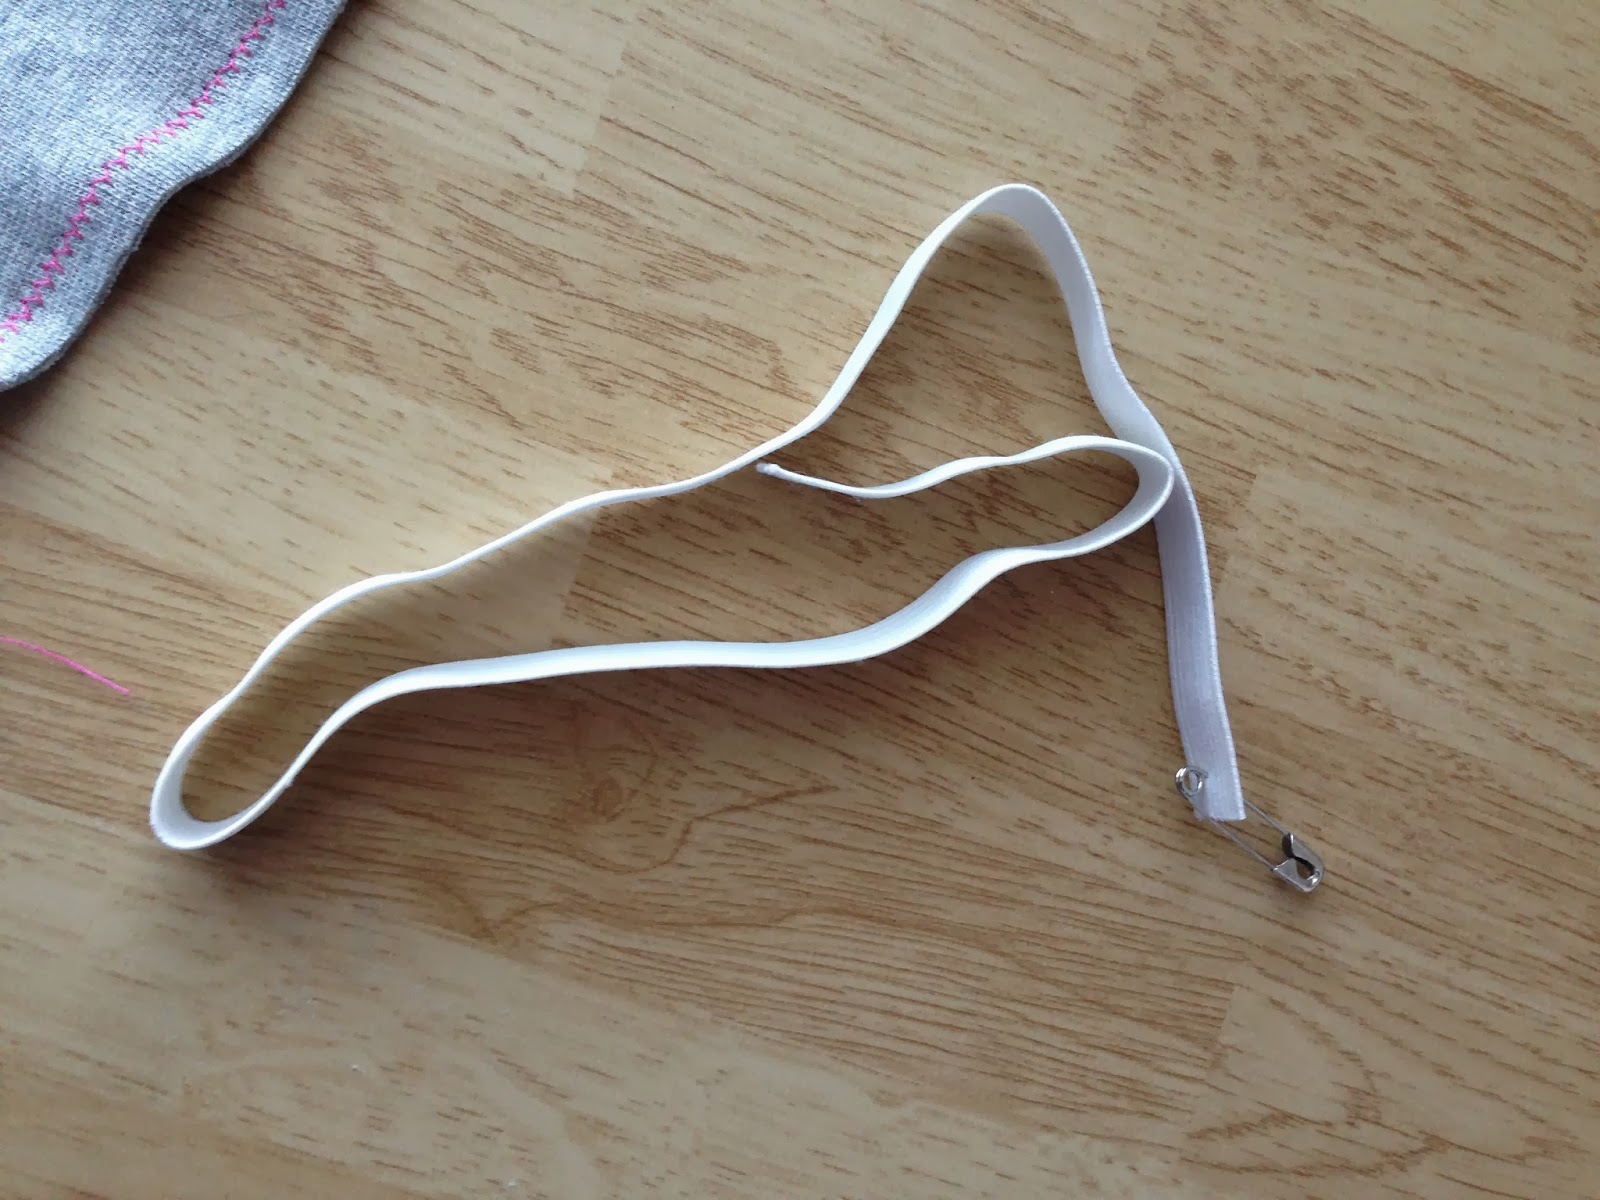
Next measure the waist of your little one, or whomever is going to wearing these, and then make the elastic just slightly smaller. Mine is about and inch smaller. Then put a safety pin on the end of the elastic, this will help move it through the fabric.
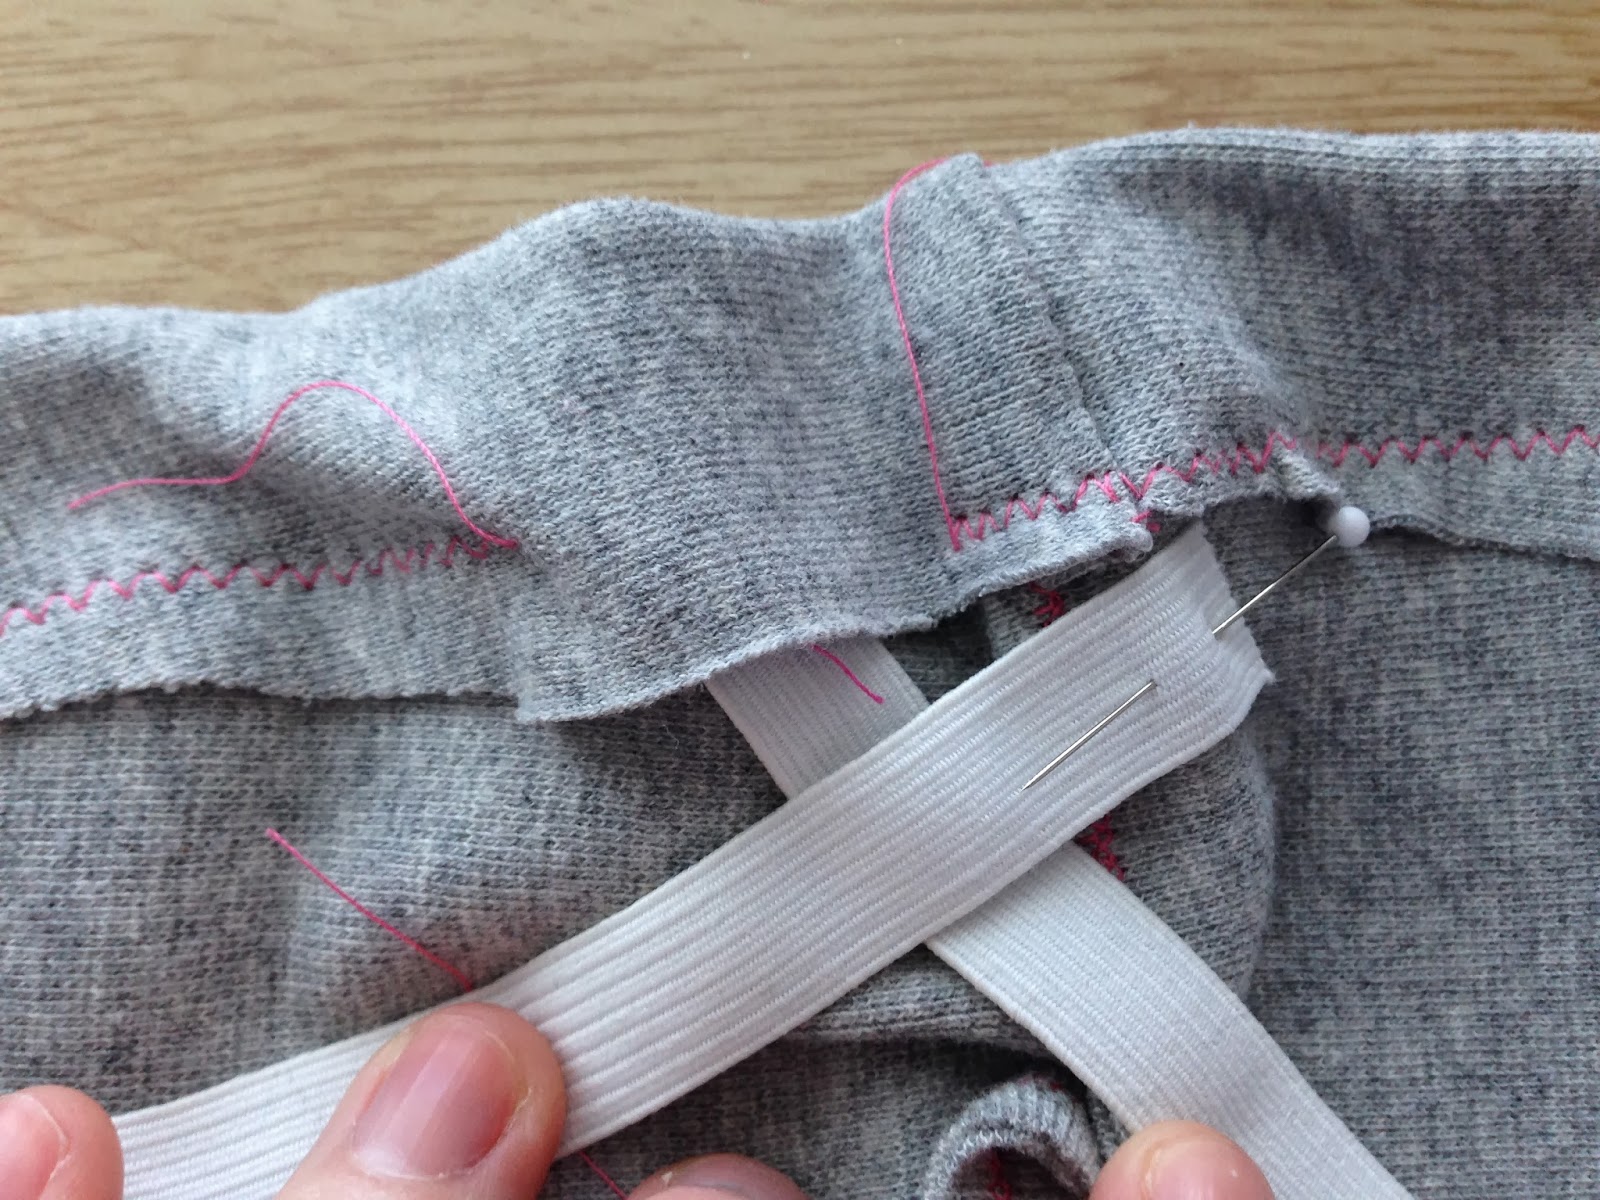
Put the safety pin in the opening that was created when sewn.

Then pin the other end to the pants making sure it doesn’t accidentally slip through when moving the elastic through.
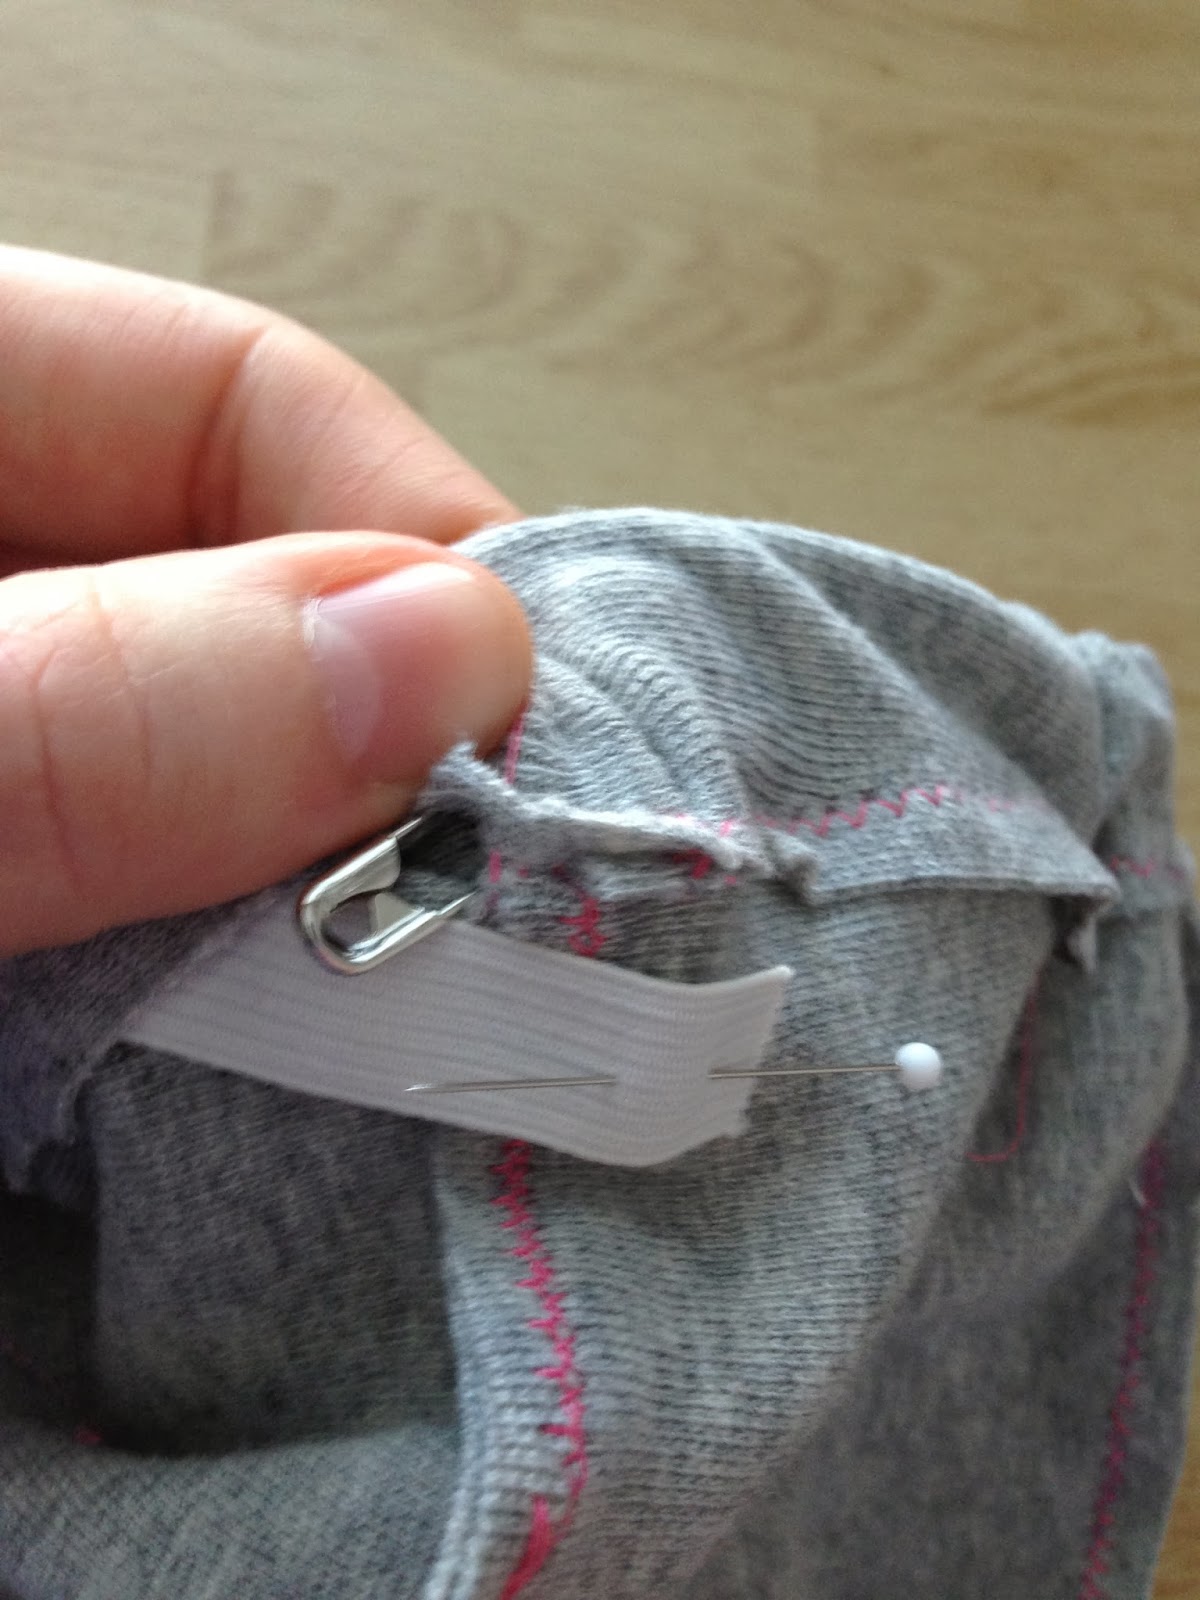
Move the elastic all the way through the waist.
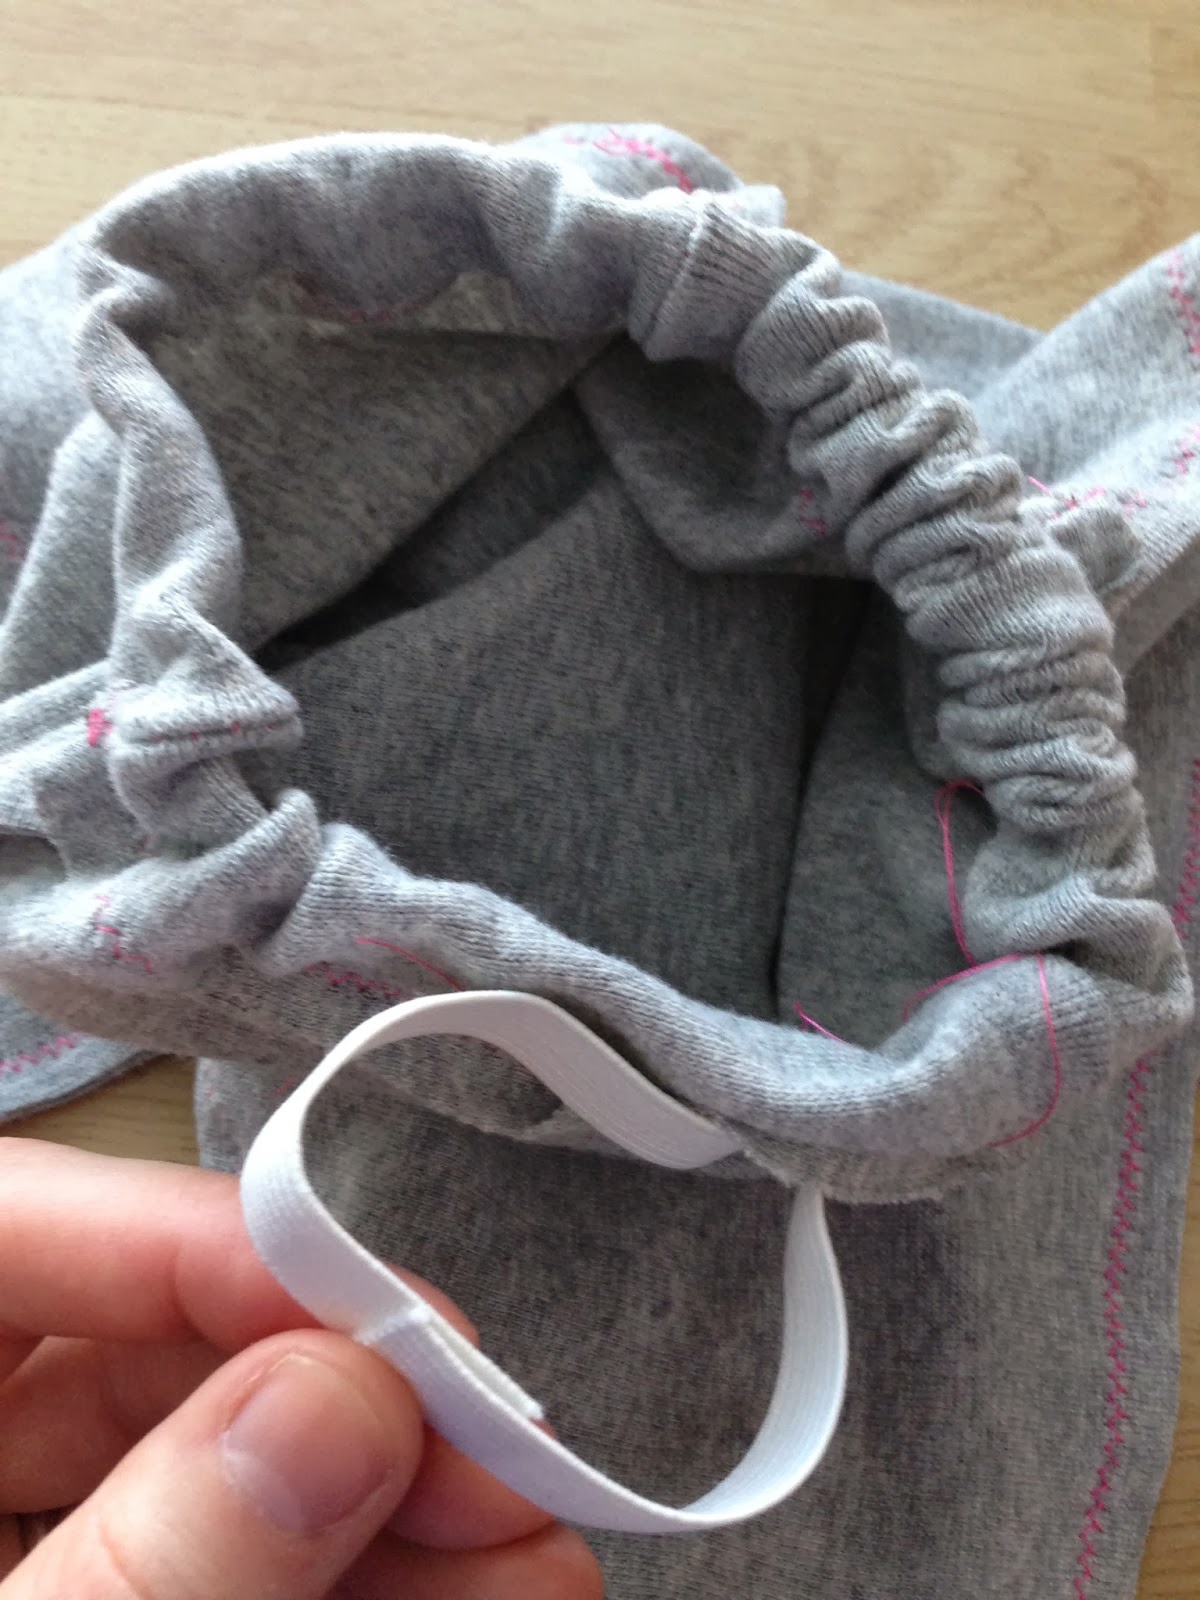
Pull the ends of the elastic out, and overlap them slightly, make sure not to twist the elastic.
Zigzag the end of the elastic a few times, making sure it is nice and secure.

Then pull the elastic tight and it should fit nicely back into the waist.

Then sew the opening shut so the elastic is now hidden!

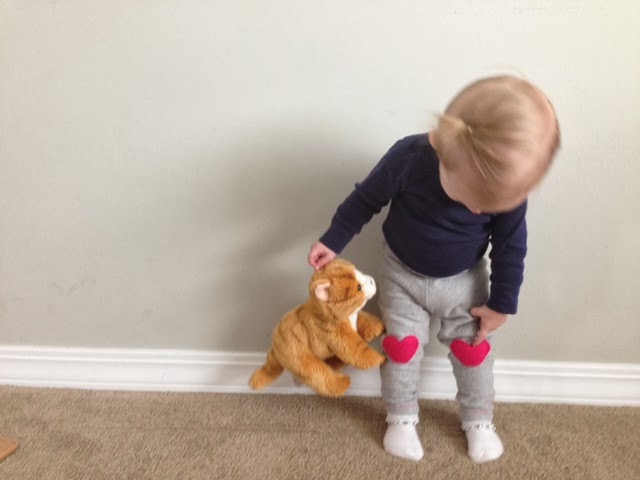
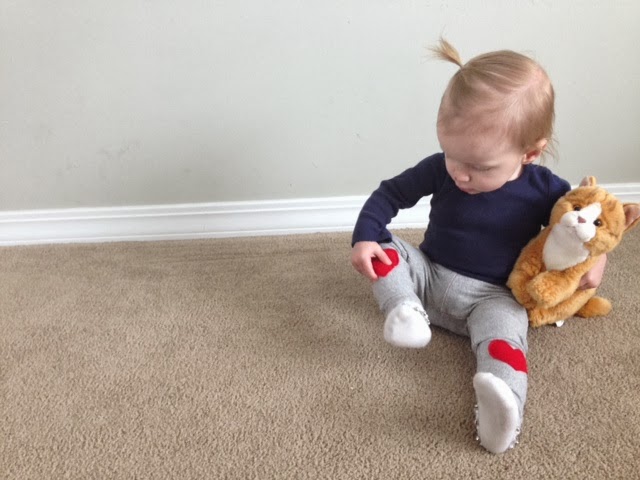
Oh they turned out so cute!! I love them! I put them on her every chance I get. Which isn’t that often because usually they have marker on them or some sort of food dribbled on them. How do you keep your kiddies clean?


so stinking cute! another blogger who inspires me to learn to use my sewing machine i inherited! wow from start to finish you make it look so easy to whip up a pair of pants! excellent tutorial!
Thanks! Using a sewing machine can sometimes be scary but I love what I can create with it! We are so glad you're here! Thanks for stopping by! Be sure to follow our blog too for all our posts!!!
Great tutorial…now I just need a toddler to sew for lol! Cute cute cute
Thanks! It so much fun to have a little one to sew for! But I plan on doing some posts for clothing for me too, so remember to stop by!