
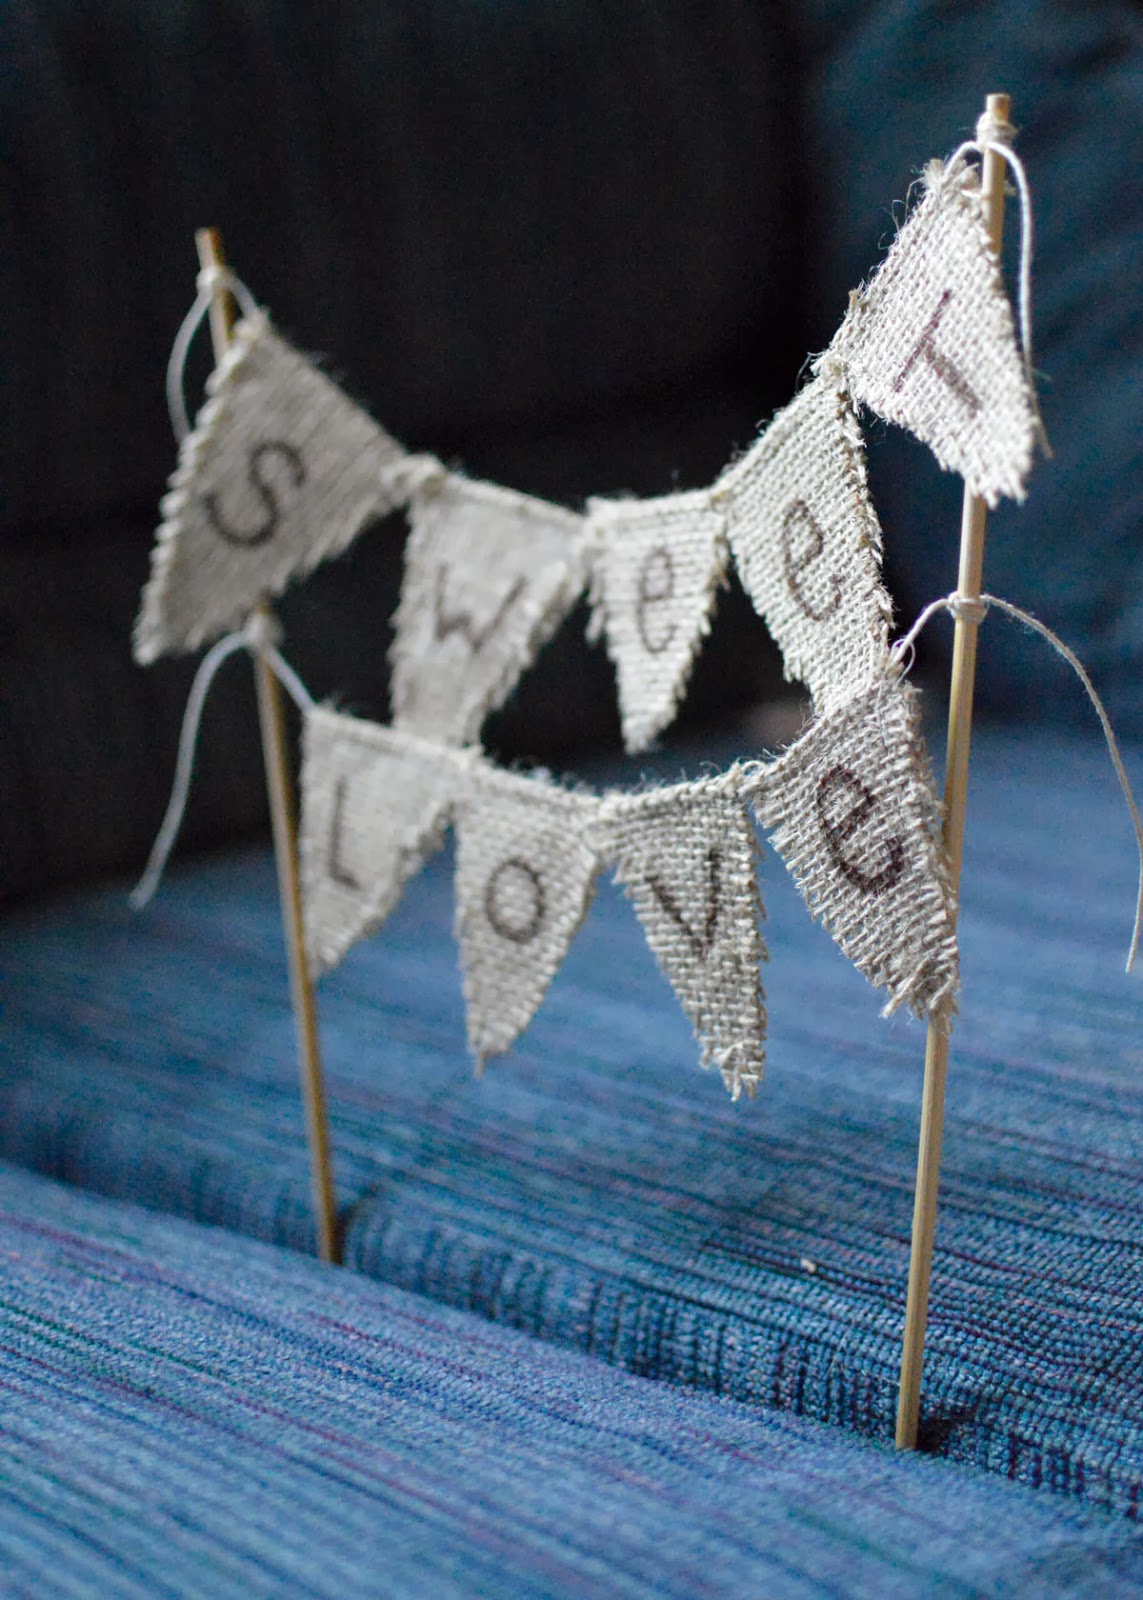
My sister got married a few days after Christmas. She had asked me to make the topper for their pecan pie they were having at the reception. After a few different failed attempts, I think it looks pretty good, and most importantly, my sister loved it.
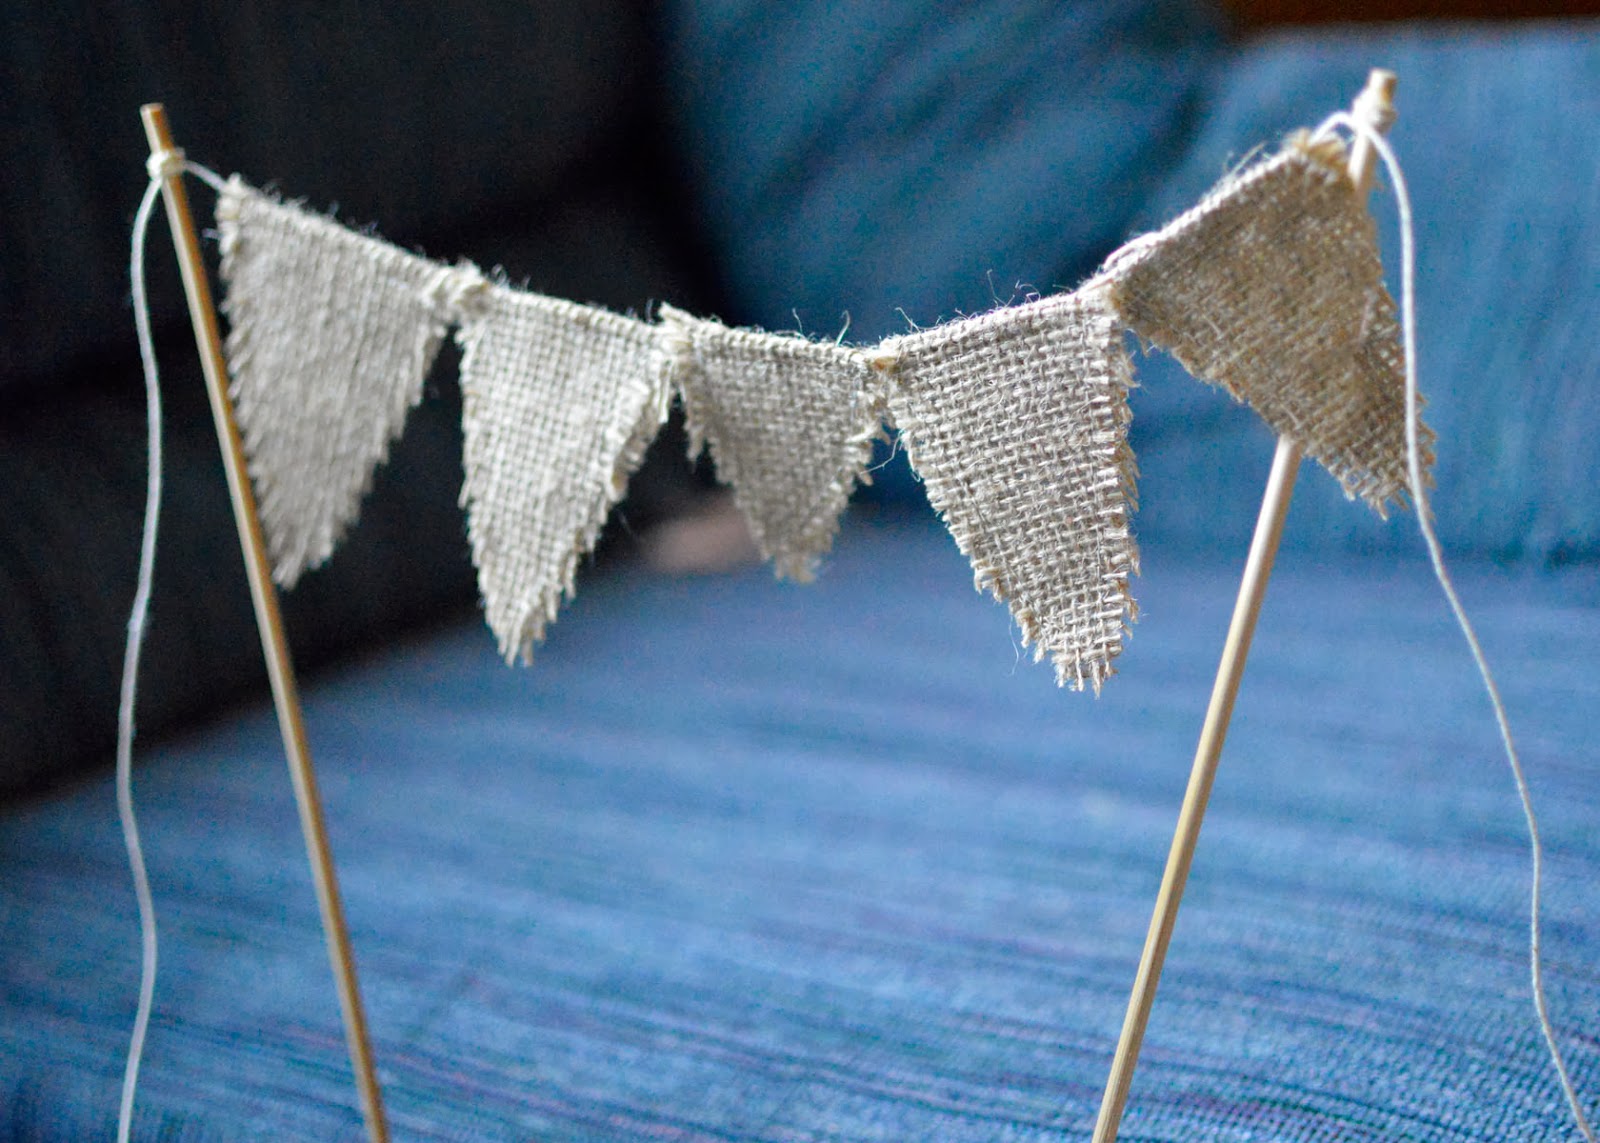
(And yes, I did photograph the final product being held up by my couch cushions. Silly me, I didn’t have a pie handy…and I was too busy with the cheese platter at the reception to take a picture of it actually
in the pie…)
When I first tried making this, I thought I had a pretty good idea-just cut out triangles and glue them on a piece of string that is tied to a couple skewers.
But the super glue got everywhere, the burlap I was using wouldn’t stick to it, and I ended up with my fingers glued together and a pile of sticky burlap.
After that first attempt, I was done. I quit. I called my sister to ask if she really needed a pie topper. She told me to eat a granola bar and try it a different way–just fold the burlap in half and sew it onto the string.
I told her it would never work and hung up the phone. But after my granola bar, I realized she was right.
So here’s how I made it:
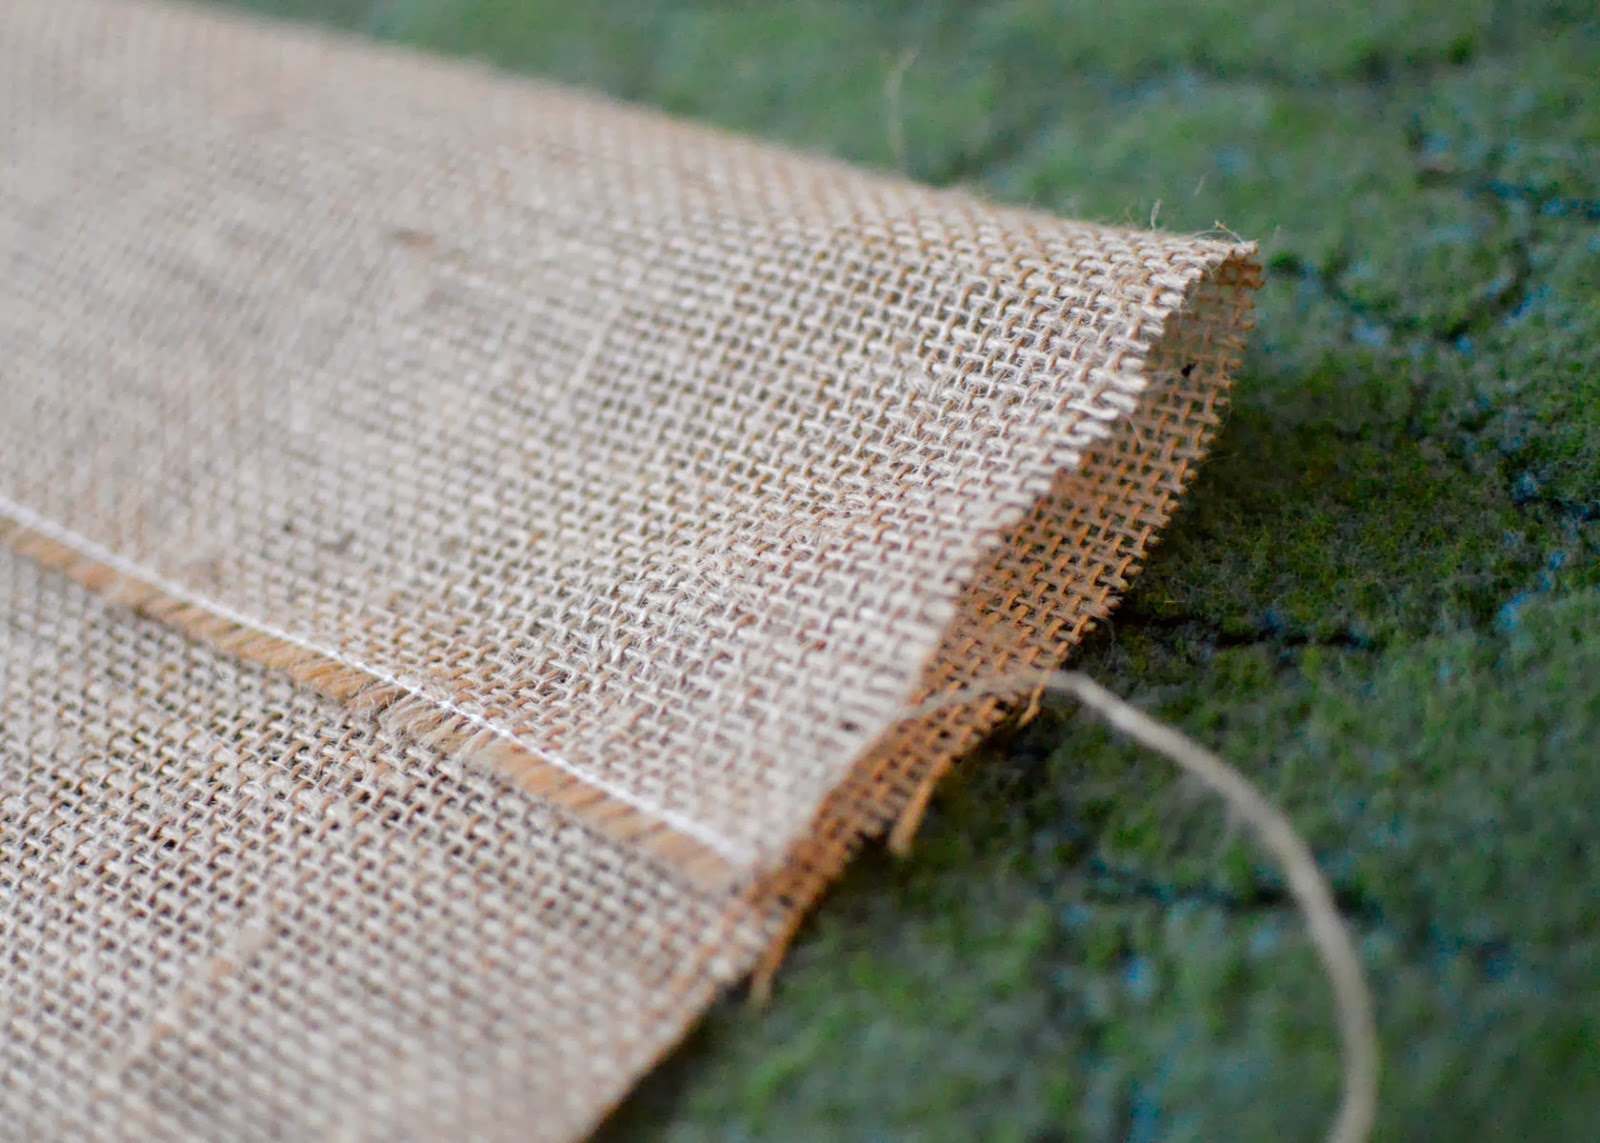
You’ll need some fabric. I used burlap because that’s what I was ordered to use. But any fabric you want will do…and will probably be easier. Burlap gets everywhere and it kind of smells funky.

Take the long side of the fabric and fold it over, like so:
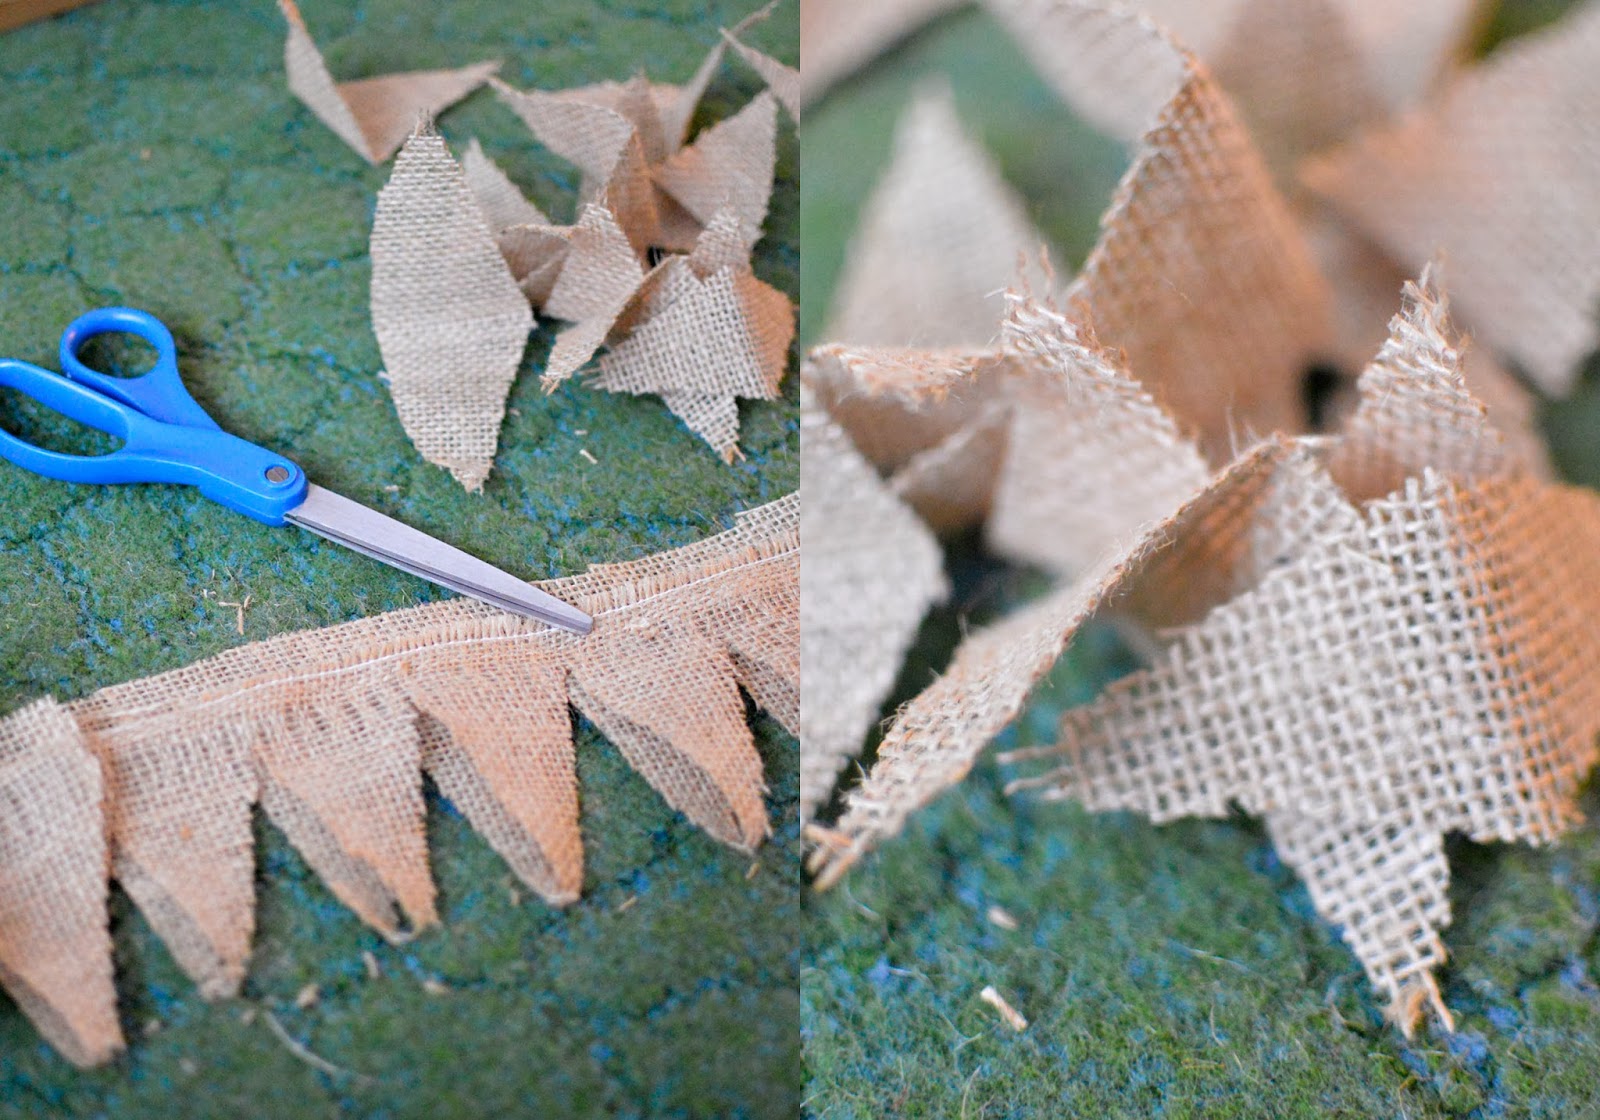
Then just cut out a bunch of little triangles. When you open them, they should resemble diamonds. And you don’t necessarily have to cut out triangles. You could do any shape you wanted.
Then fold a few onto a piece of string and pin them in place.
FYI, you’ll want an extra long piece of string. It’s easier to cut off any excess…but if you run out of string…well, then you run out of string.

Once they’re pinned, you can sew them onto the string.
Now, I had my mom do this part because I was still grumpy and my sewing skills are pathetic. One of my goals this year is to get a little better/braver at sewing stuff. Next project I do that requires sewing I promise I will actually do it and not make my mom come and do it for me.
Anyway, all she did was sew them down onto the string, and then she sewed the sides down so they weren’t open.
I kind of cleaned up the sides, but I didn’t trim all the way to where my mom sewed the triangle shut. Burlap can come apart easily so I didn’t want it to come open or anything.
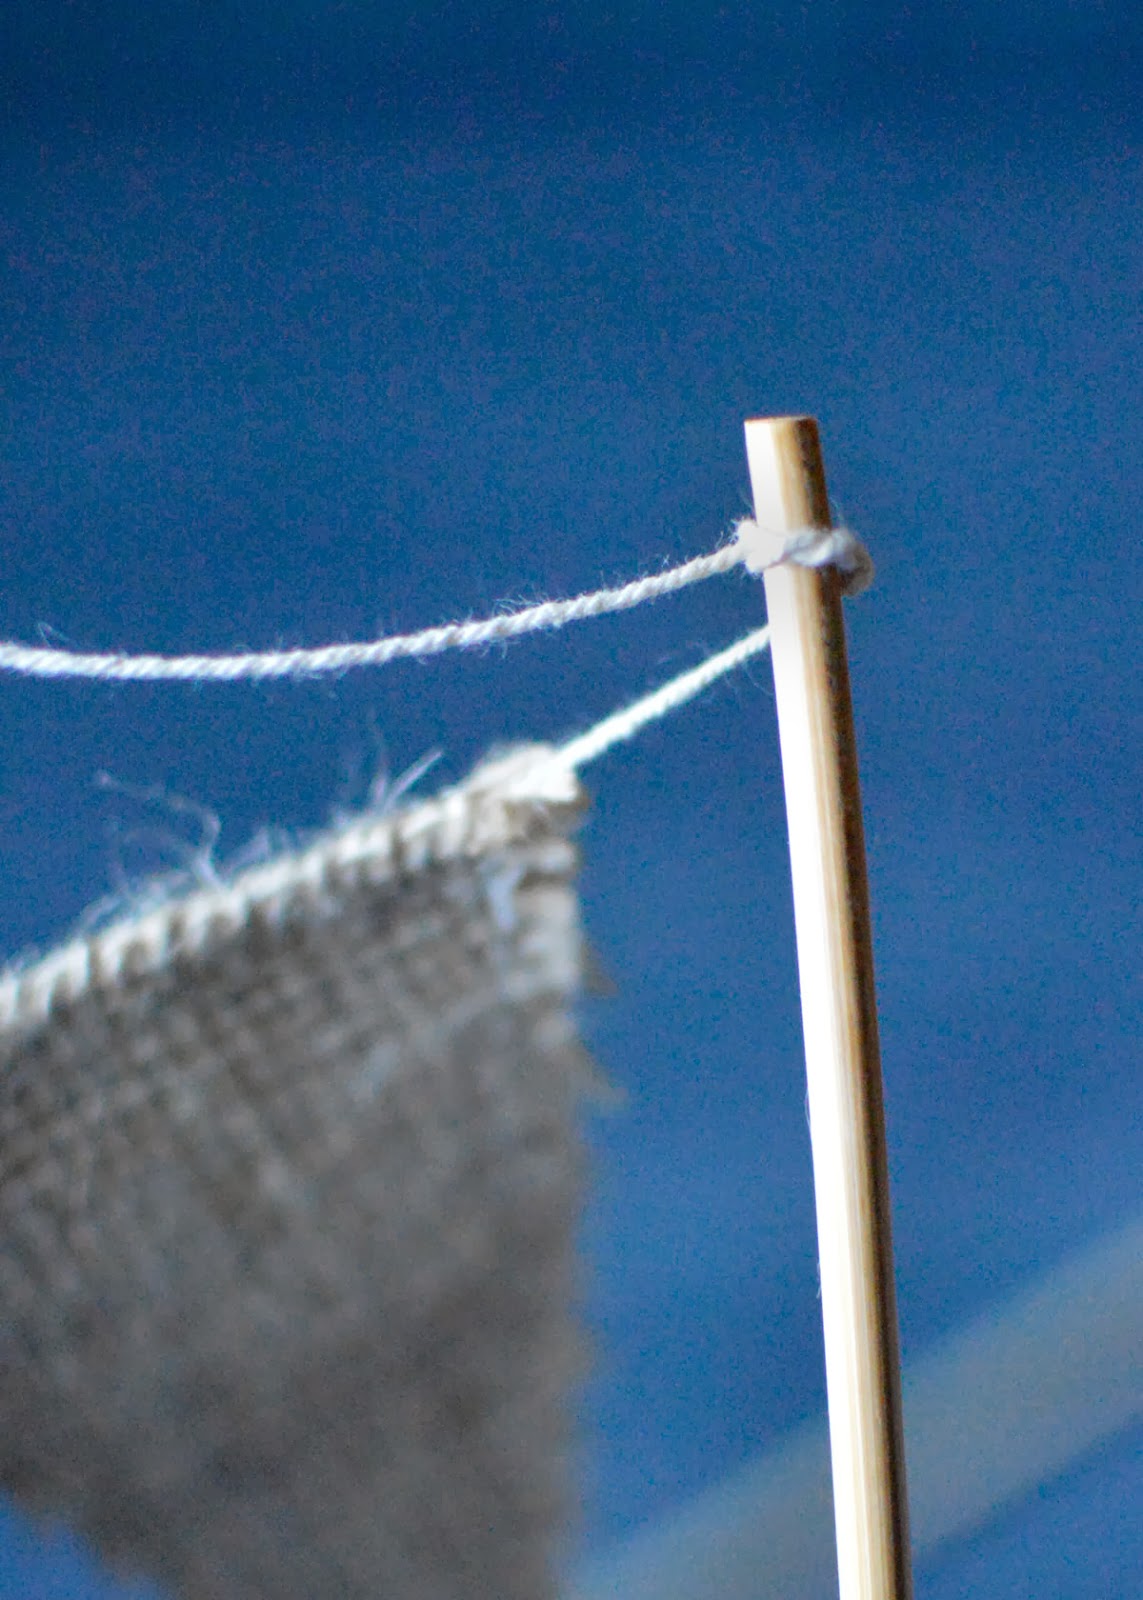
Once they were all sewed down, I tied the ends to a wooded skewer. I used the ones intended for
shish-ka-bobs…they were the perfect size for a little pie topper.
I tied them a few times and put a small dab of super glue on the knot to secure it in place.
For this banner, I used a sharpie to write the letters. I’m sure if you’re more proficient in sewing you can sew letters on.
I learned a few different things while making this little banner:
1. Never try and make anything while you are hangry
2. Super glue will get everywhere
3. Mom’s can fix anything
I think I might try another banner like this soon…with easier fabric and on a bit larger scale.
I wish I had a photo of it in the pie, but that cheese platter was so dang delicious.
My sister loved it though, and that’s all that matters.


Your banner is so cute! I'm making one to put out as a decoration at my daughter's 3rd birthday party. Camp Claire! It will look so cute.