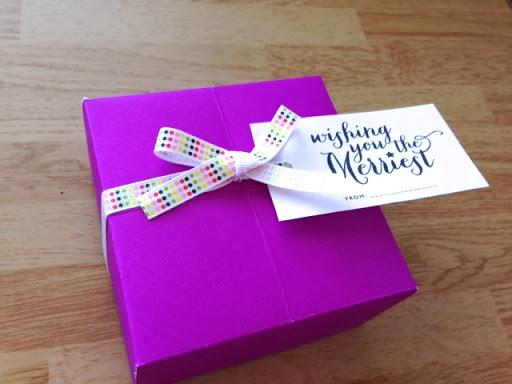
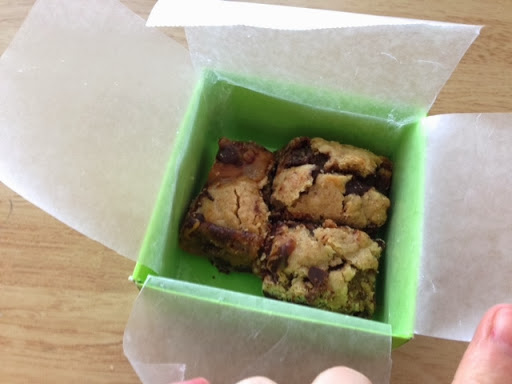
So I’ve been thinking about what I should make my neighbors for a small Christmas present. I decided to make some super scrumptious Chocolate Chip Bars. But I wanted something cute to deliver them in. Then I remembered some boxes I used to make when I was little, I think my sister showed me how to make these. So I got my paper out and started folding and they turned out great! I added a bow and a tag and it made that all that much more awesome! What do you think?

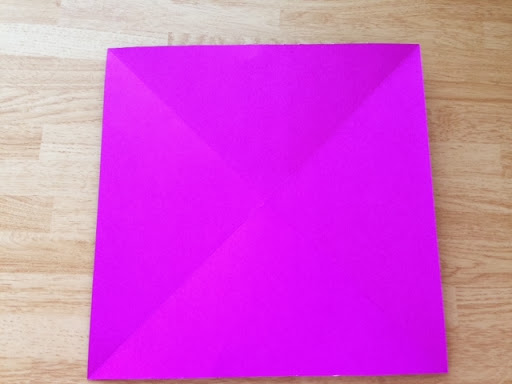
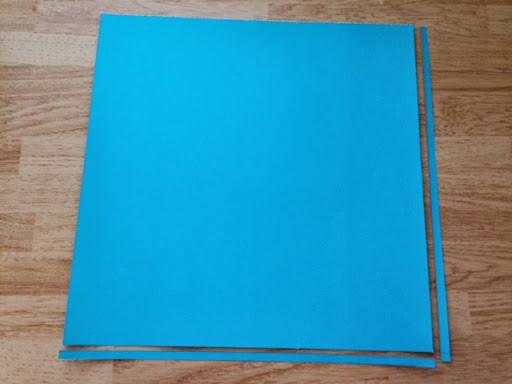
First we are going to start with a square piece of paper. Mine is 12″x12″. Any size square will work for this, the directions will be exactly the same, but it’ll just make a different size box.


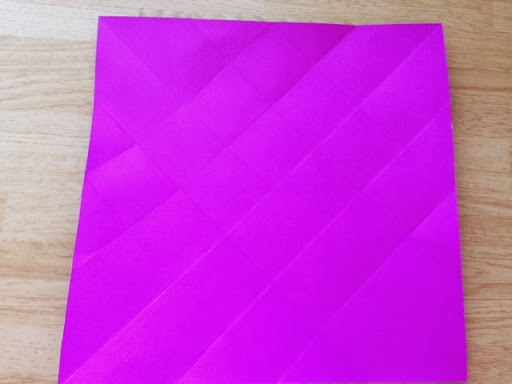
Now you should have something like this, a square with an X in the middle.

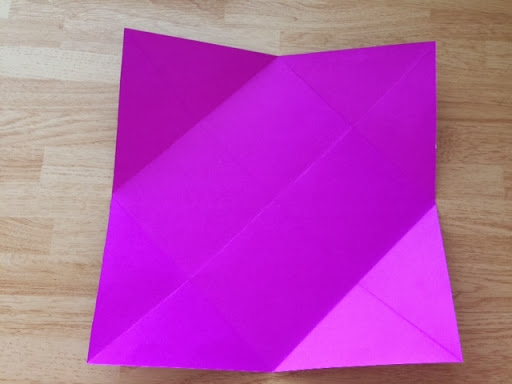
Do this to all 4 corners, you should now have something like this.
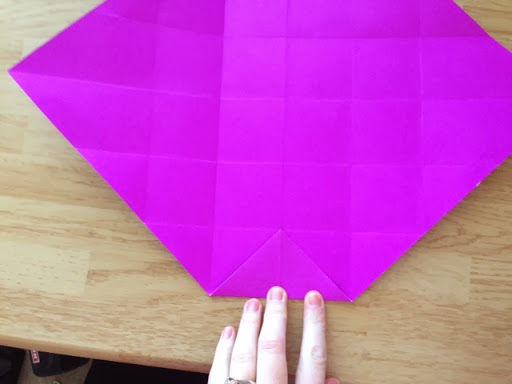
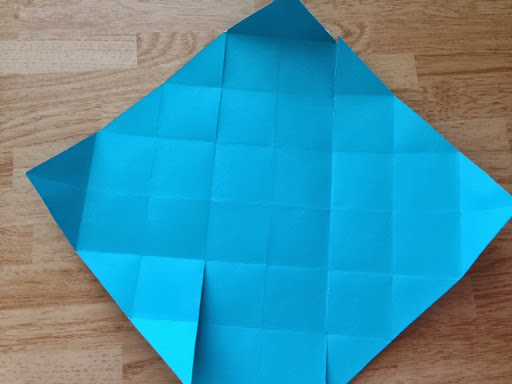
You should then have something like this. Lots of fold and lots of little squares.
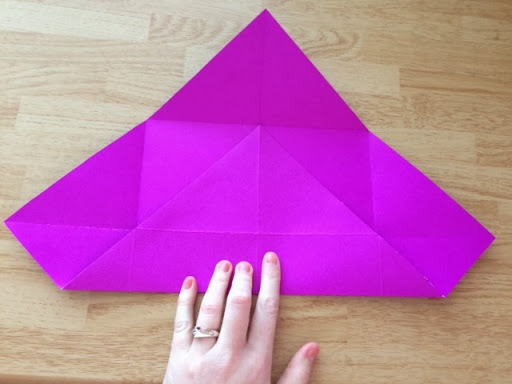
Now you should have something like this, with even more folds, squares, and triangles.

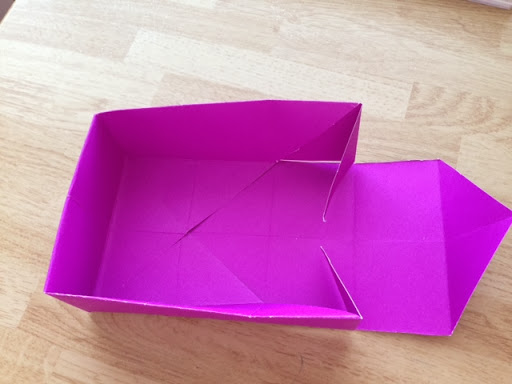
Next, we are going to make a couple of cuts. The small triangle that you just made with the previous fold, cut in two squares worth at the ends of that triangle.

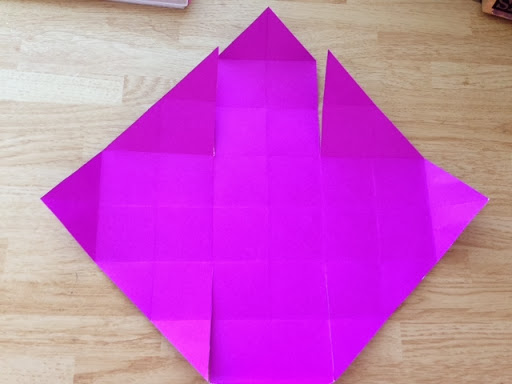
Now turn so you have one of the corners that of the square that you didn’t cut. It should look like this.

At the very edges fold in the small triangles, using the folds that are already there.


Unfold and then fold over the small squares.


Fold down the corner to the middle.

Fold over again, unfold.

Fold over the the two small squares.
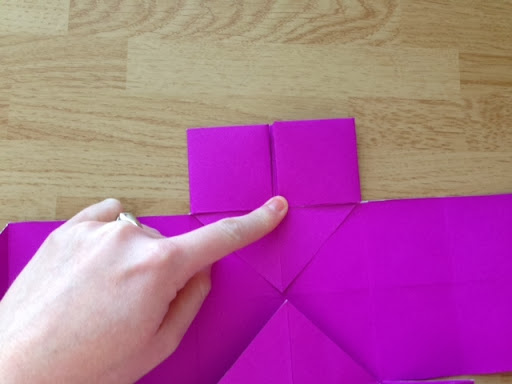
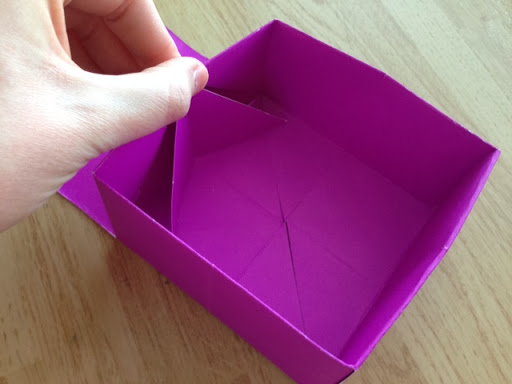
Now turn to the opposite corners. The small squares that you folded over should be standing up like this.


Now pull up the side of the box so it covers the outside of the two smaller square flaps.
Now fold over the rest so that the top corner folds right back to the center.
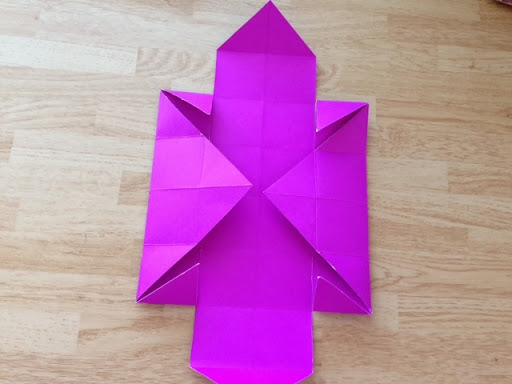
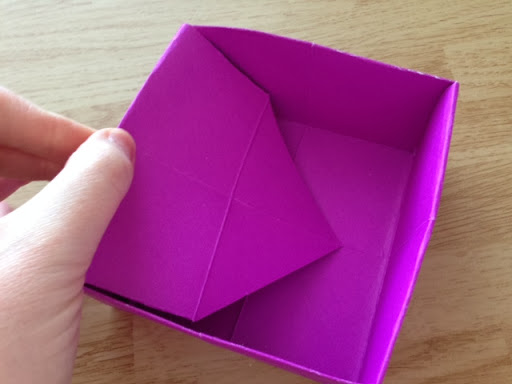
Now you should have something that looks like this.
Fold up the outer side.

And then fold over the flap so that the outer corner is back in the middle.
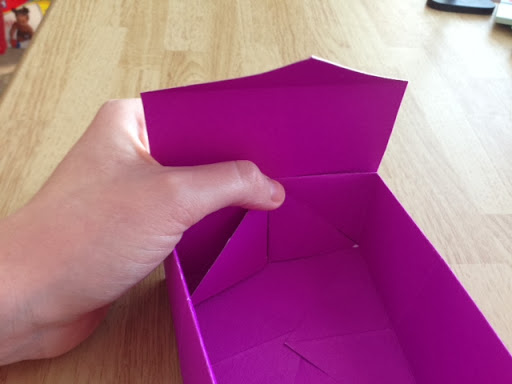
Yay! You are done with one part!


So just a little strip of paper from two sides.
Now make all the same folds that you did for the lid.

Again, same cuts.
Fold the sides just like the top.

And you should have something that looks just like the lid.
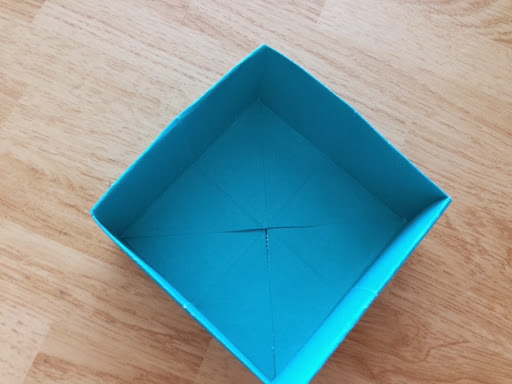

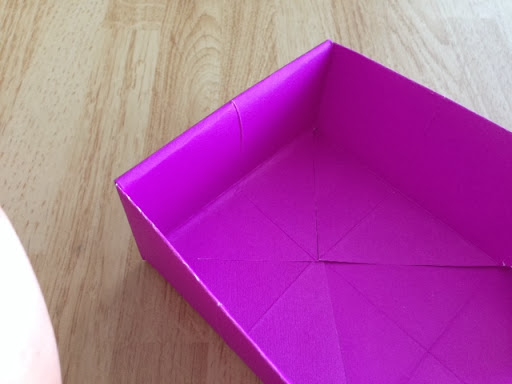
And the base should fit just barely into the lid.

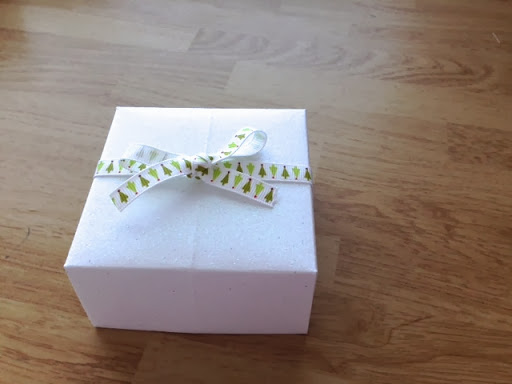
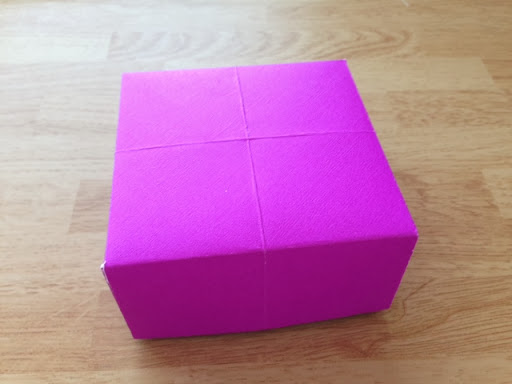
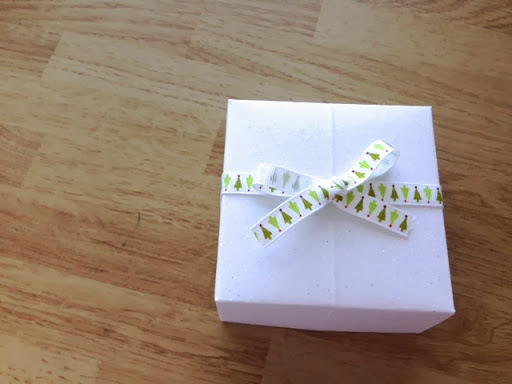
Turn it over and you have a nice little gift box!
This one I also added a little tag for something a little extra. I found the tag over at Minted Strawberry. So cute!